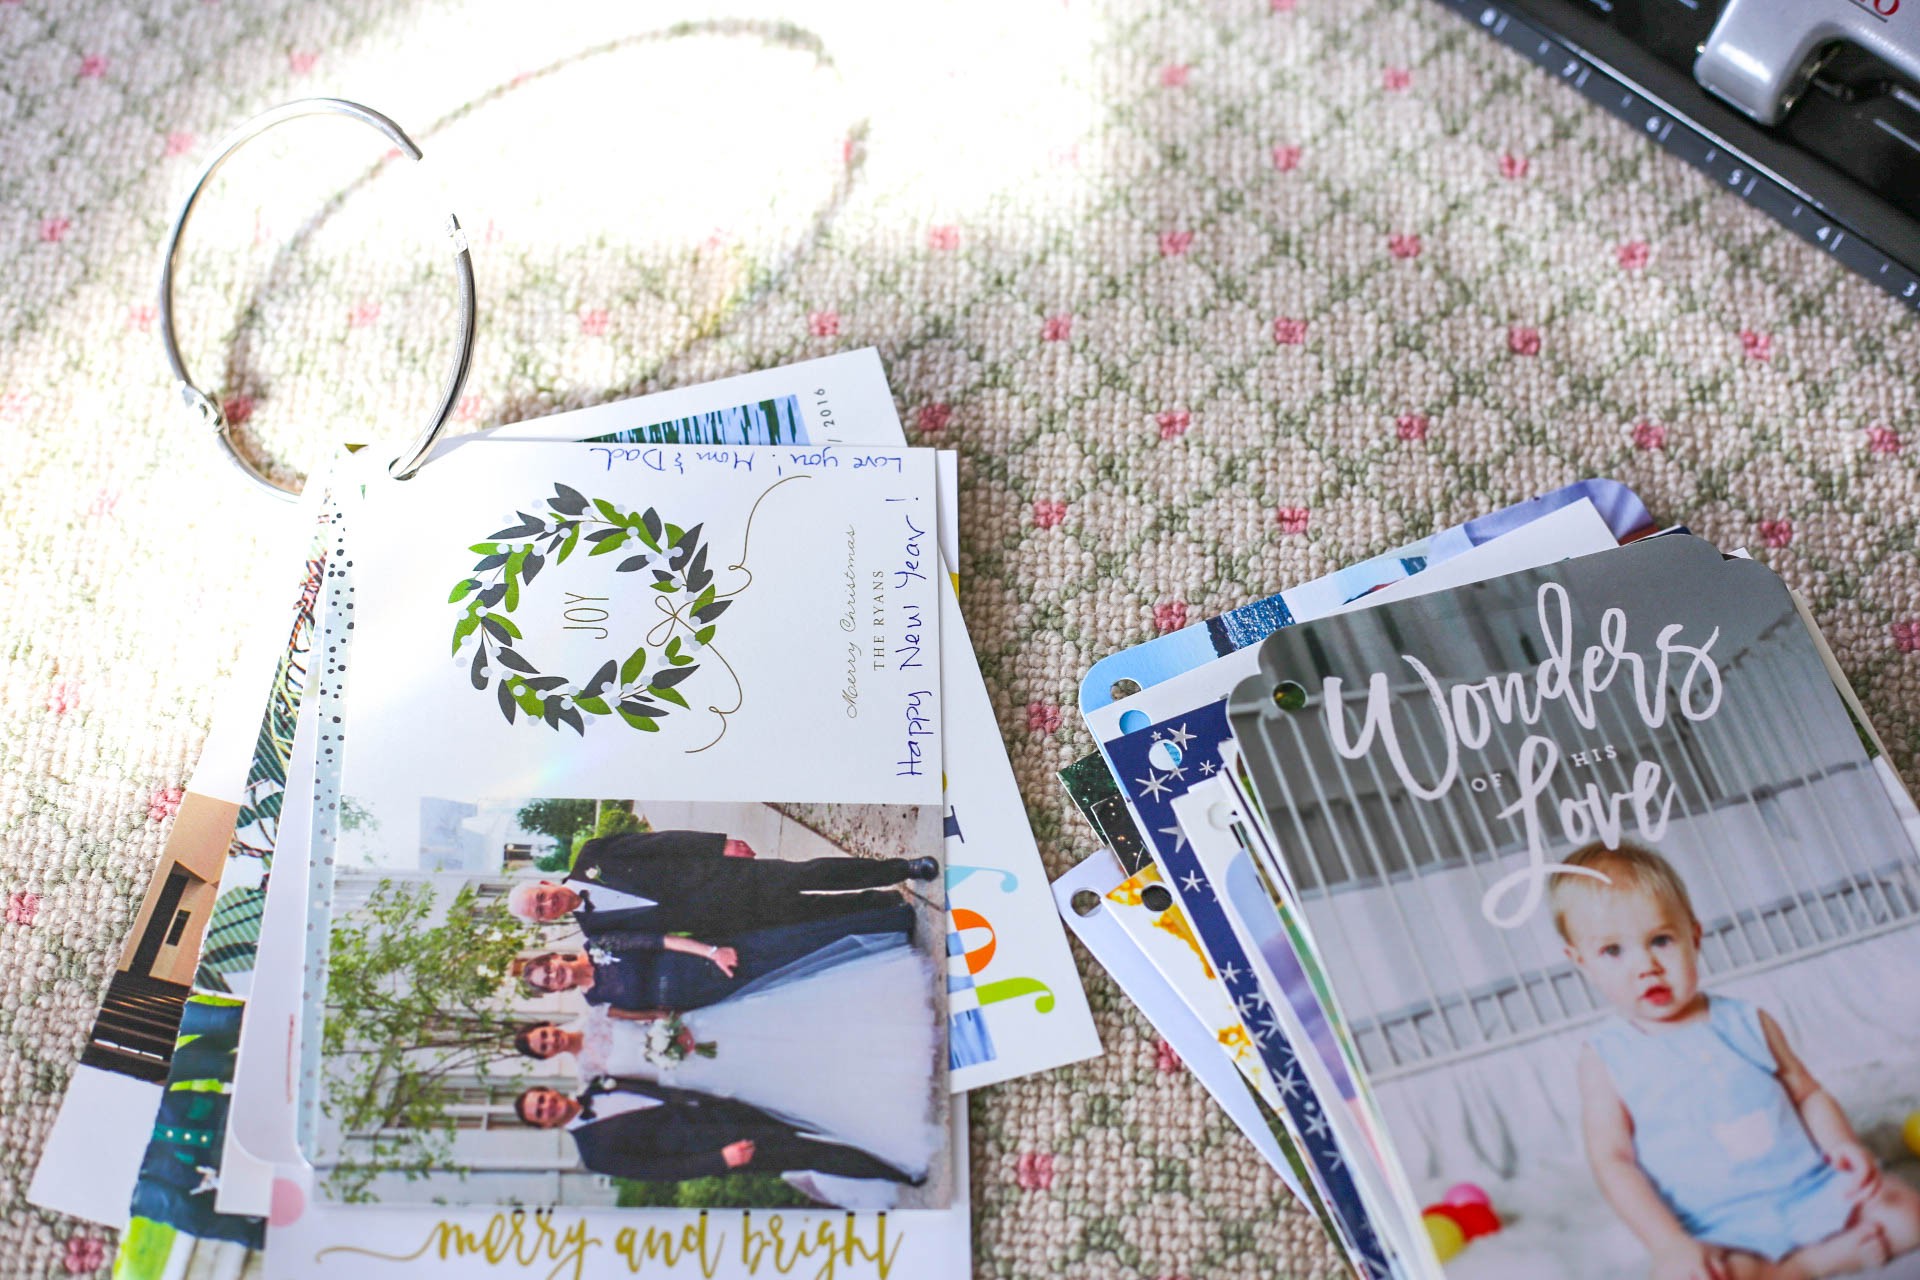
If you’re like me and can’t wait for that time of year when Christmas cards start flooding in, then you’ll love this post! I look forward to the Holidays every.single.year. for numerous reasons {the smell of christmas trees, holiday parties, milk punch… #thelistgoeson} but one of my most *favorite* parts of the Holiday season is receiving cards from family & friends! I get so excited when I hear the slot on the door speak open and the mail fall through. I always quickly flip through the other mail looking for the envelopes I think carry the goods – and immediately tape them to my refrigerator! I spend so much time in the kitchen and family room and just seeing these photos every day make me SO happy. Sigh. I wish I could keep them up all year! And honestly…..I might have had it not been for my SIL, Katelyn, who gave me the best. idea. ever.
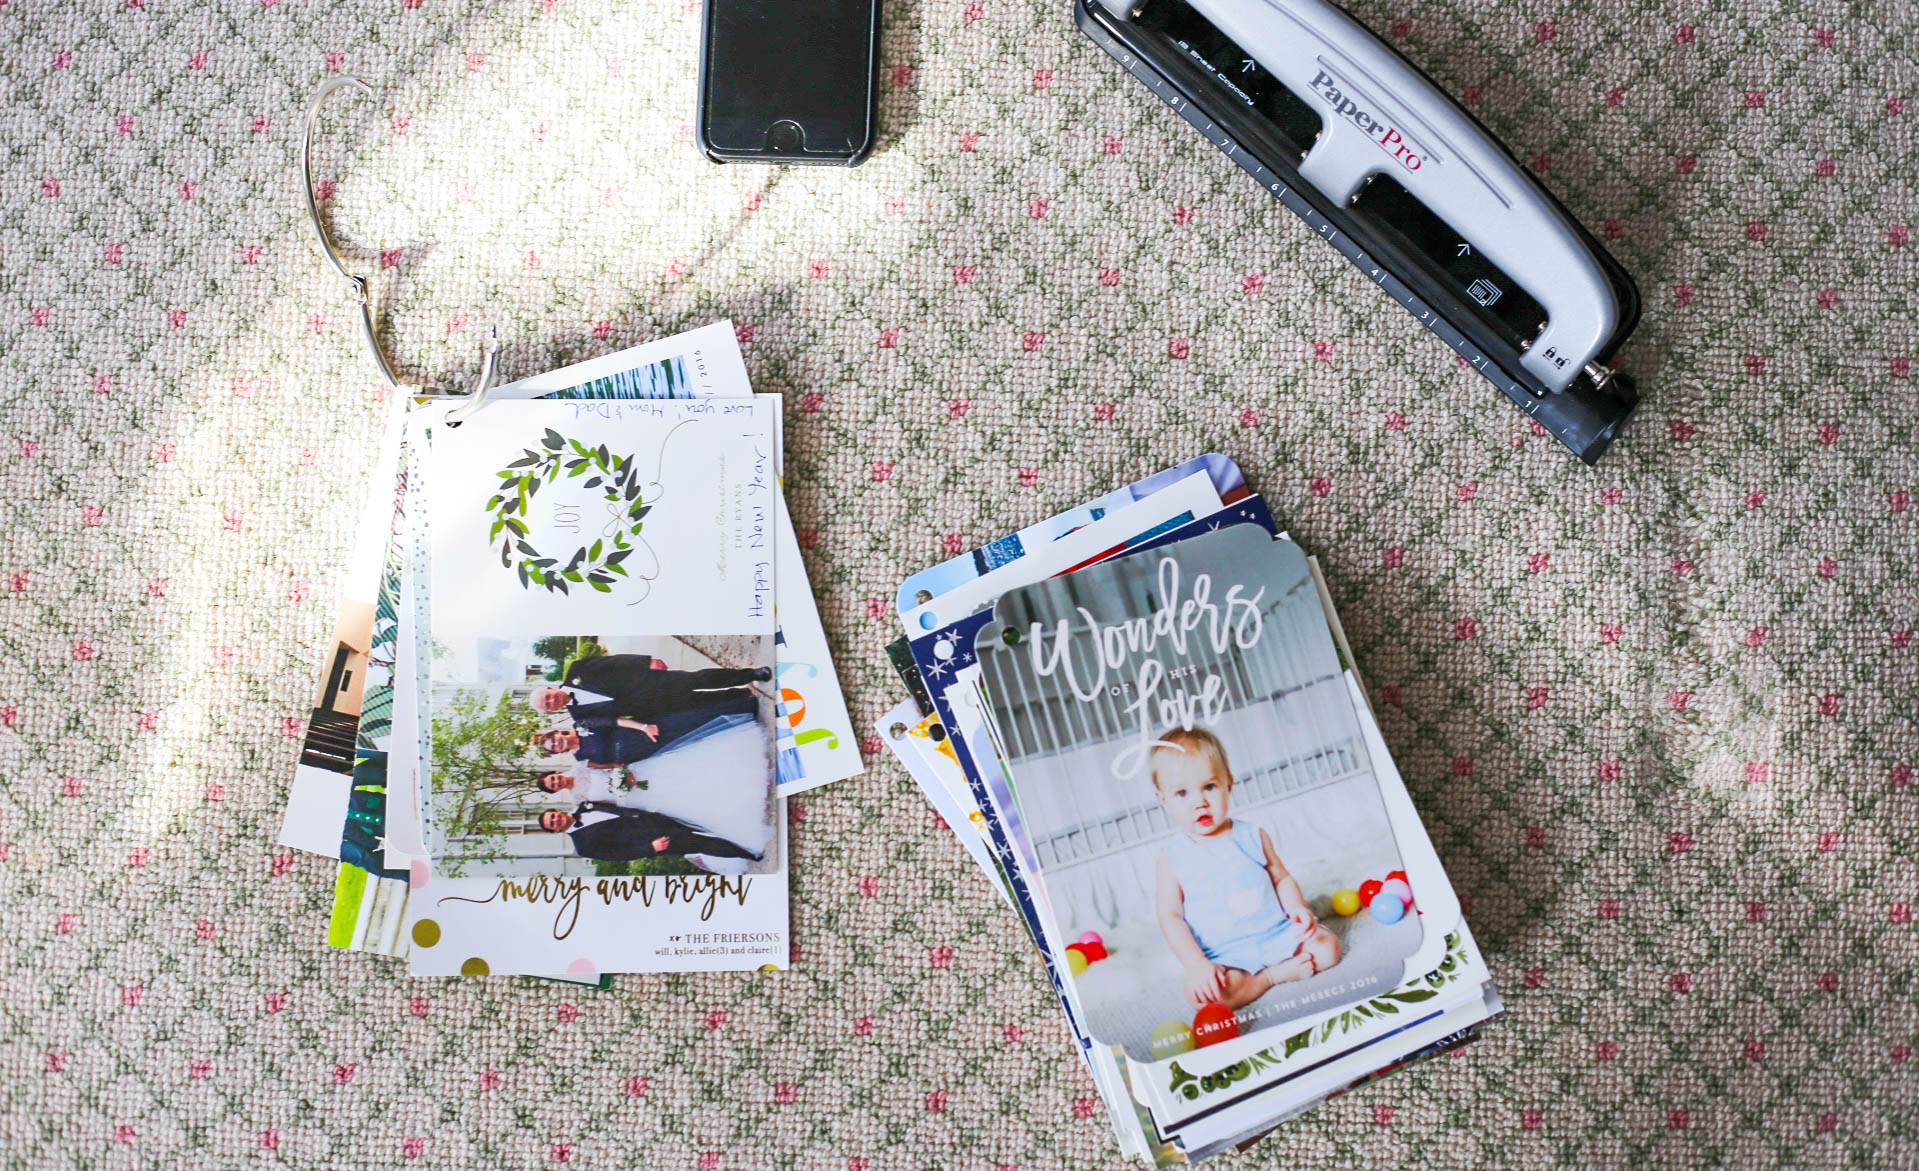
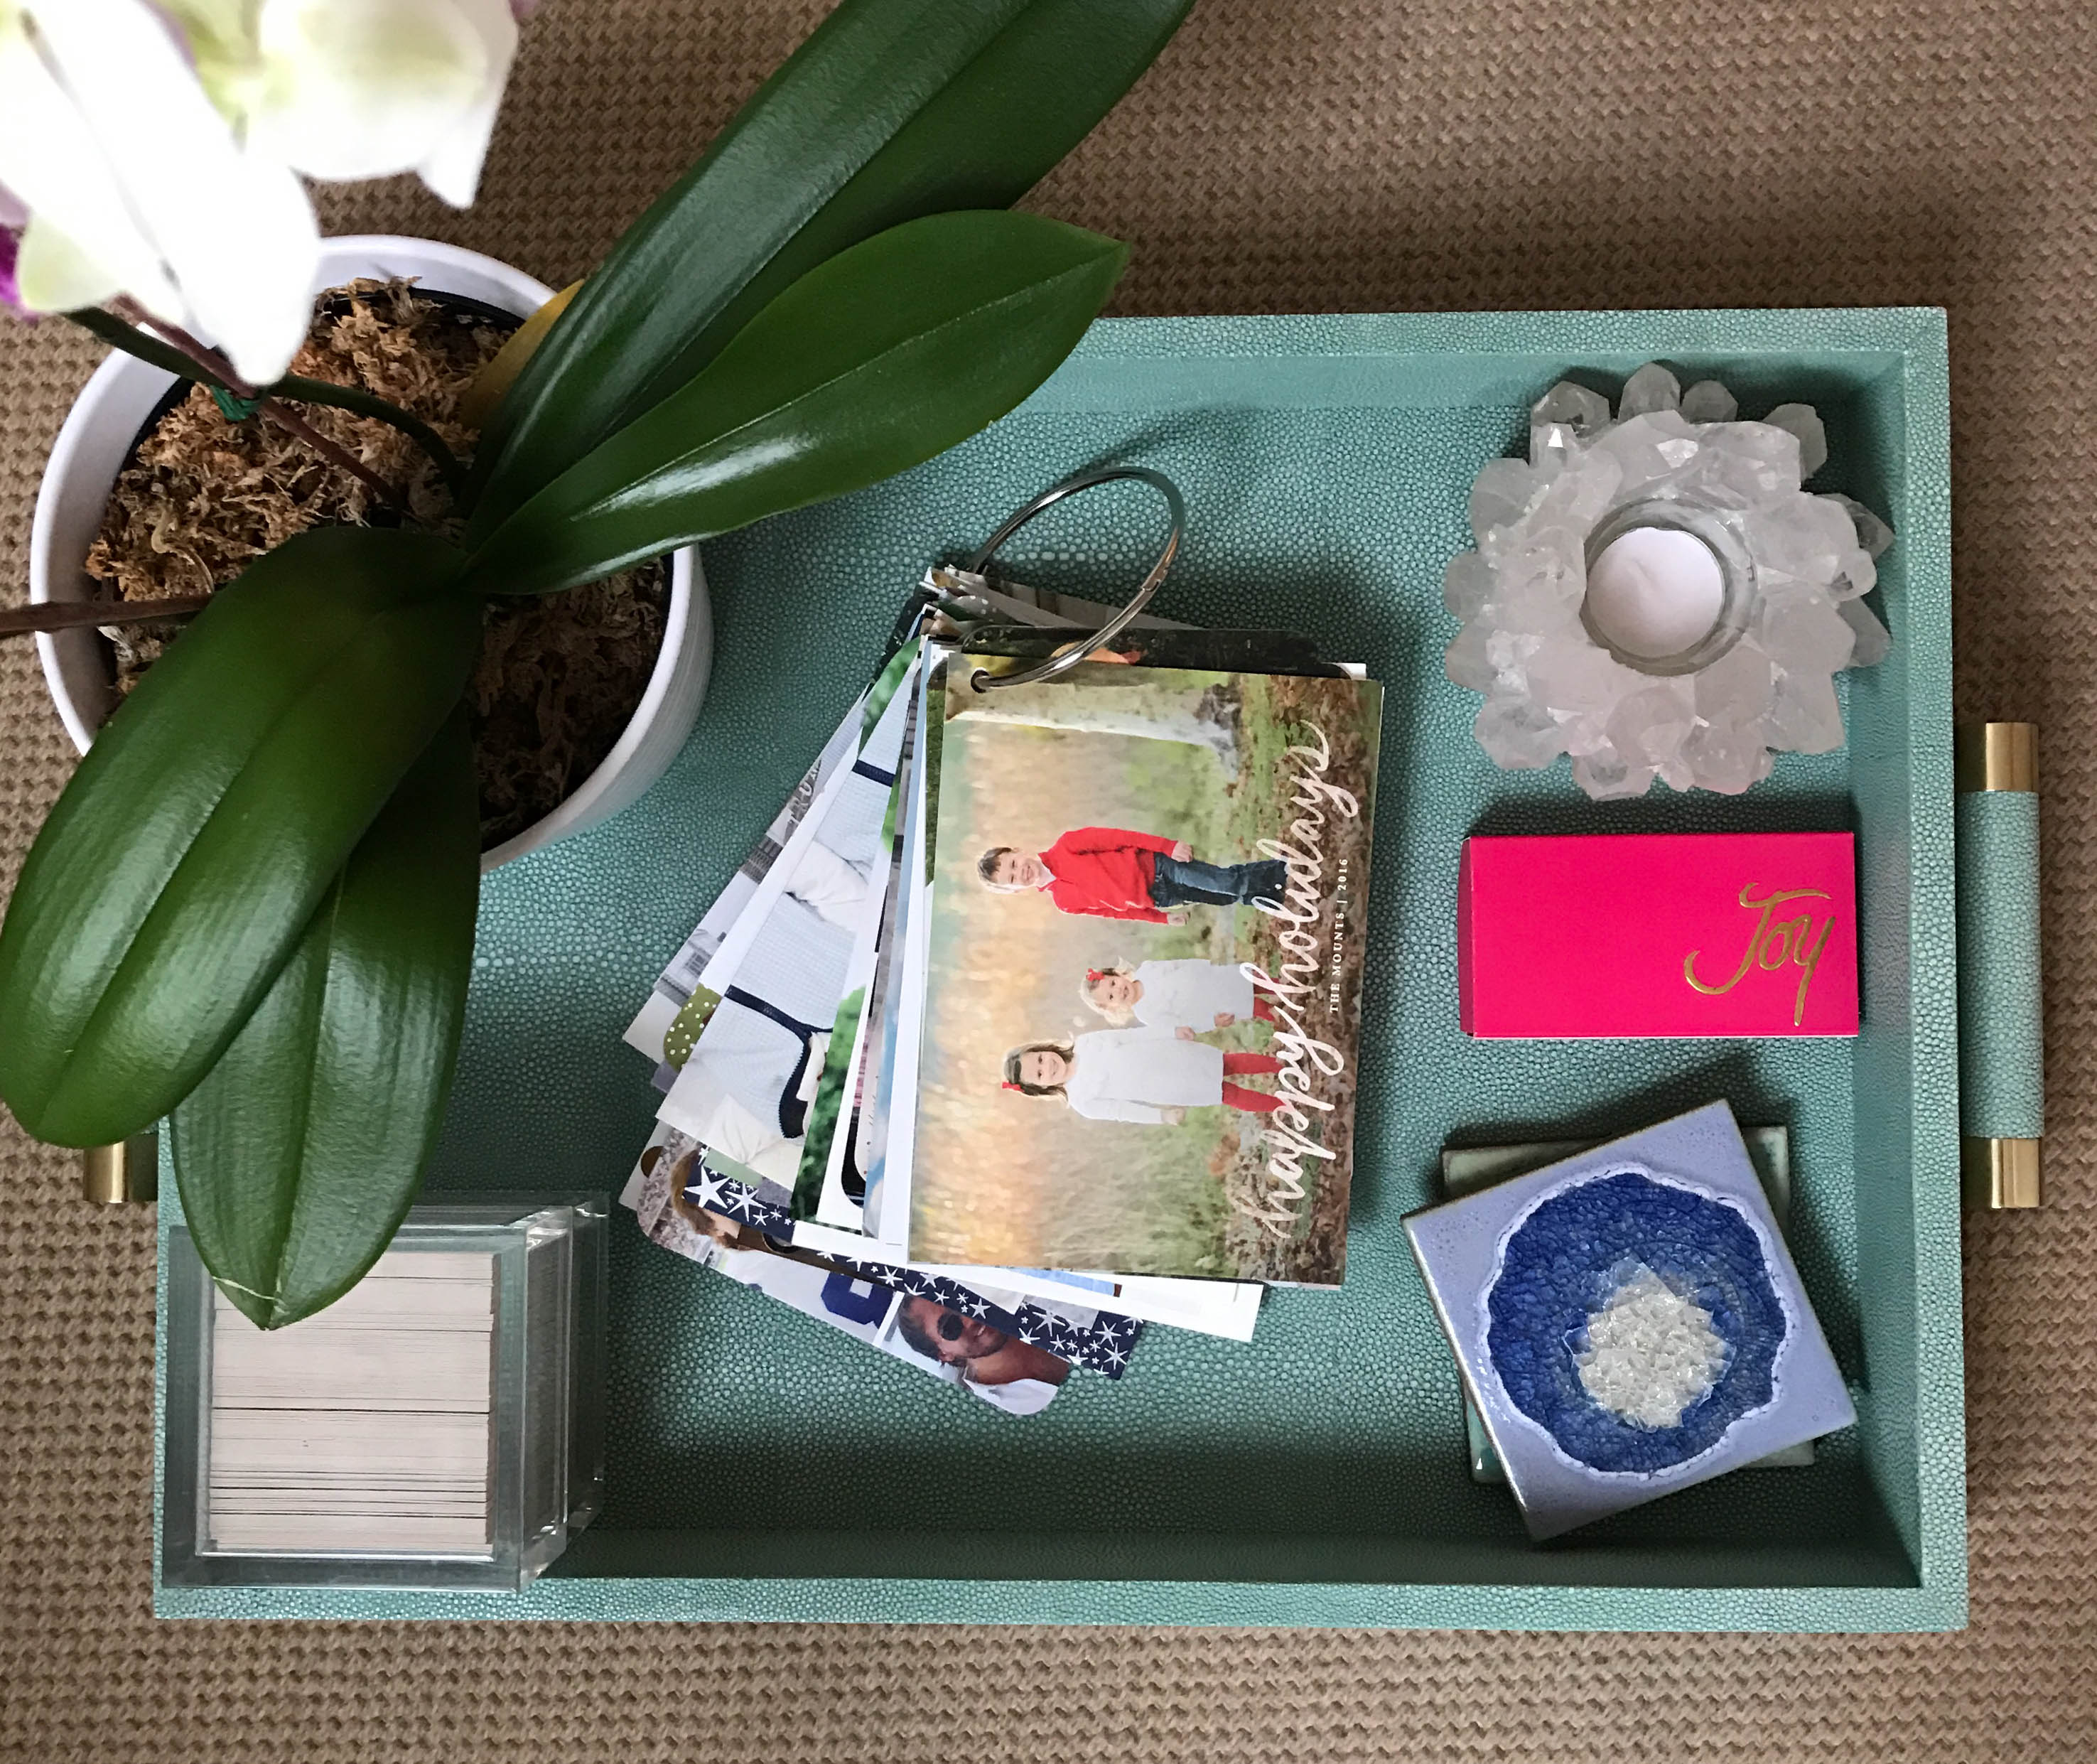
She bought a packet of binder rings and hole punched the cards to make a little booklet that could then be displayed on her coffee table year round! Amazing, right?! I loved that this prolonged the life of these cute little cards, and still allowed me {and others!} to enjoy them without looking like the crazy lady with months-old cards still up on her fridge. Plus, as soon as I took them down, I had wedding invitations, save-the-dates, b-day party invites and others to replace them – so it was truly a win-win! My tips for successful book making are below:
1. Line up the cards as you want them to lay on the ring – Aka, make all of the pictures line up as best you can, and make sure the folding cards are laid out in the correct side way you want! Also, I’m well aware that this may be obvious to some, but I say it just in case! There is nothing worse than multiple holes! I chose the top left corner for mine.
2. Buy a big enough ring! I used the 2″ diameter ring because I had more than a few cards, but they come in multiple sizes
3. Make sure your hole puncher is far enough down the card – I had a few bad punches and it was a pain! So check before you punch. Also, I used this 3-hole punch because I had it on hand already, but I think this style would be easier!
And thats it! Super easy. The best part about this DIY is that it takes less than 20 minutes {we all know that any longer, and these cute cards would probably end up in the trash!} Good luck, and don’t hesitate to share with me y’alls! Would love to know if any of y’all try it out 🙂
Happy hump day!
xx B


