When Sephora reached out to me about working together on a May color story, I said yes immediately. We all know I’m a simple girl when it comes to my everyday make up – a little bronzer, some eyebrows and a swipe of mascara and I’m good to go. But with Sephora’s May color story, I knew I wanted to do something a little different. While still keeping a natural look, I wanted to bring my look up a notch using Huda Beauty’s Desert Dusk eyeshadow palette. I thought the bronze-y & pink colors would look so pretty for summer, and especially with my brown eyes.
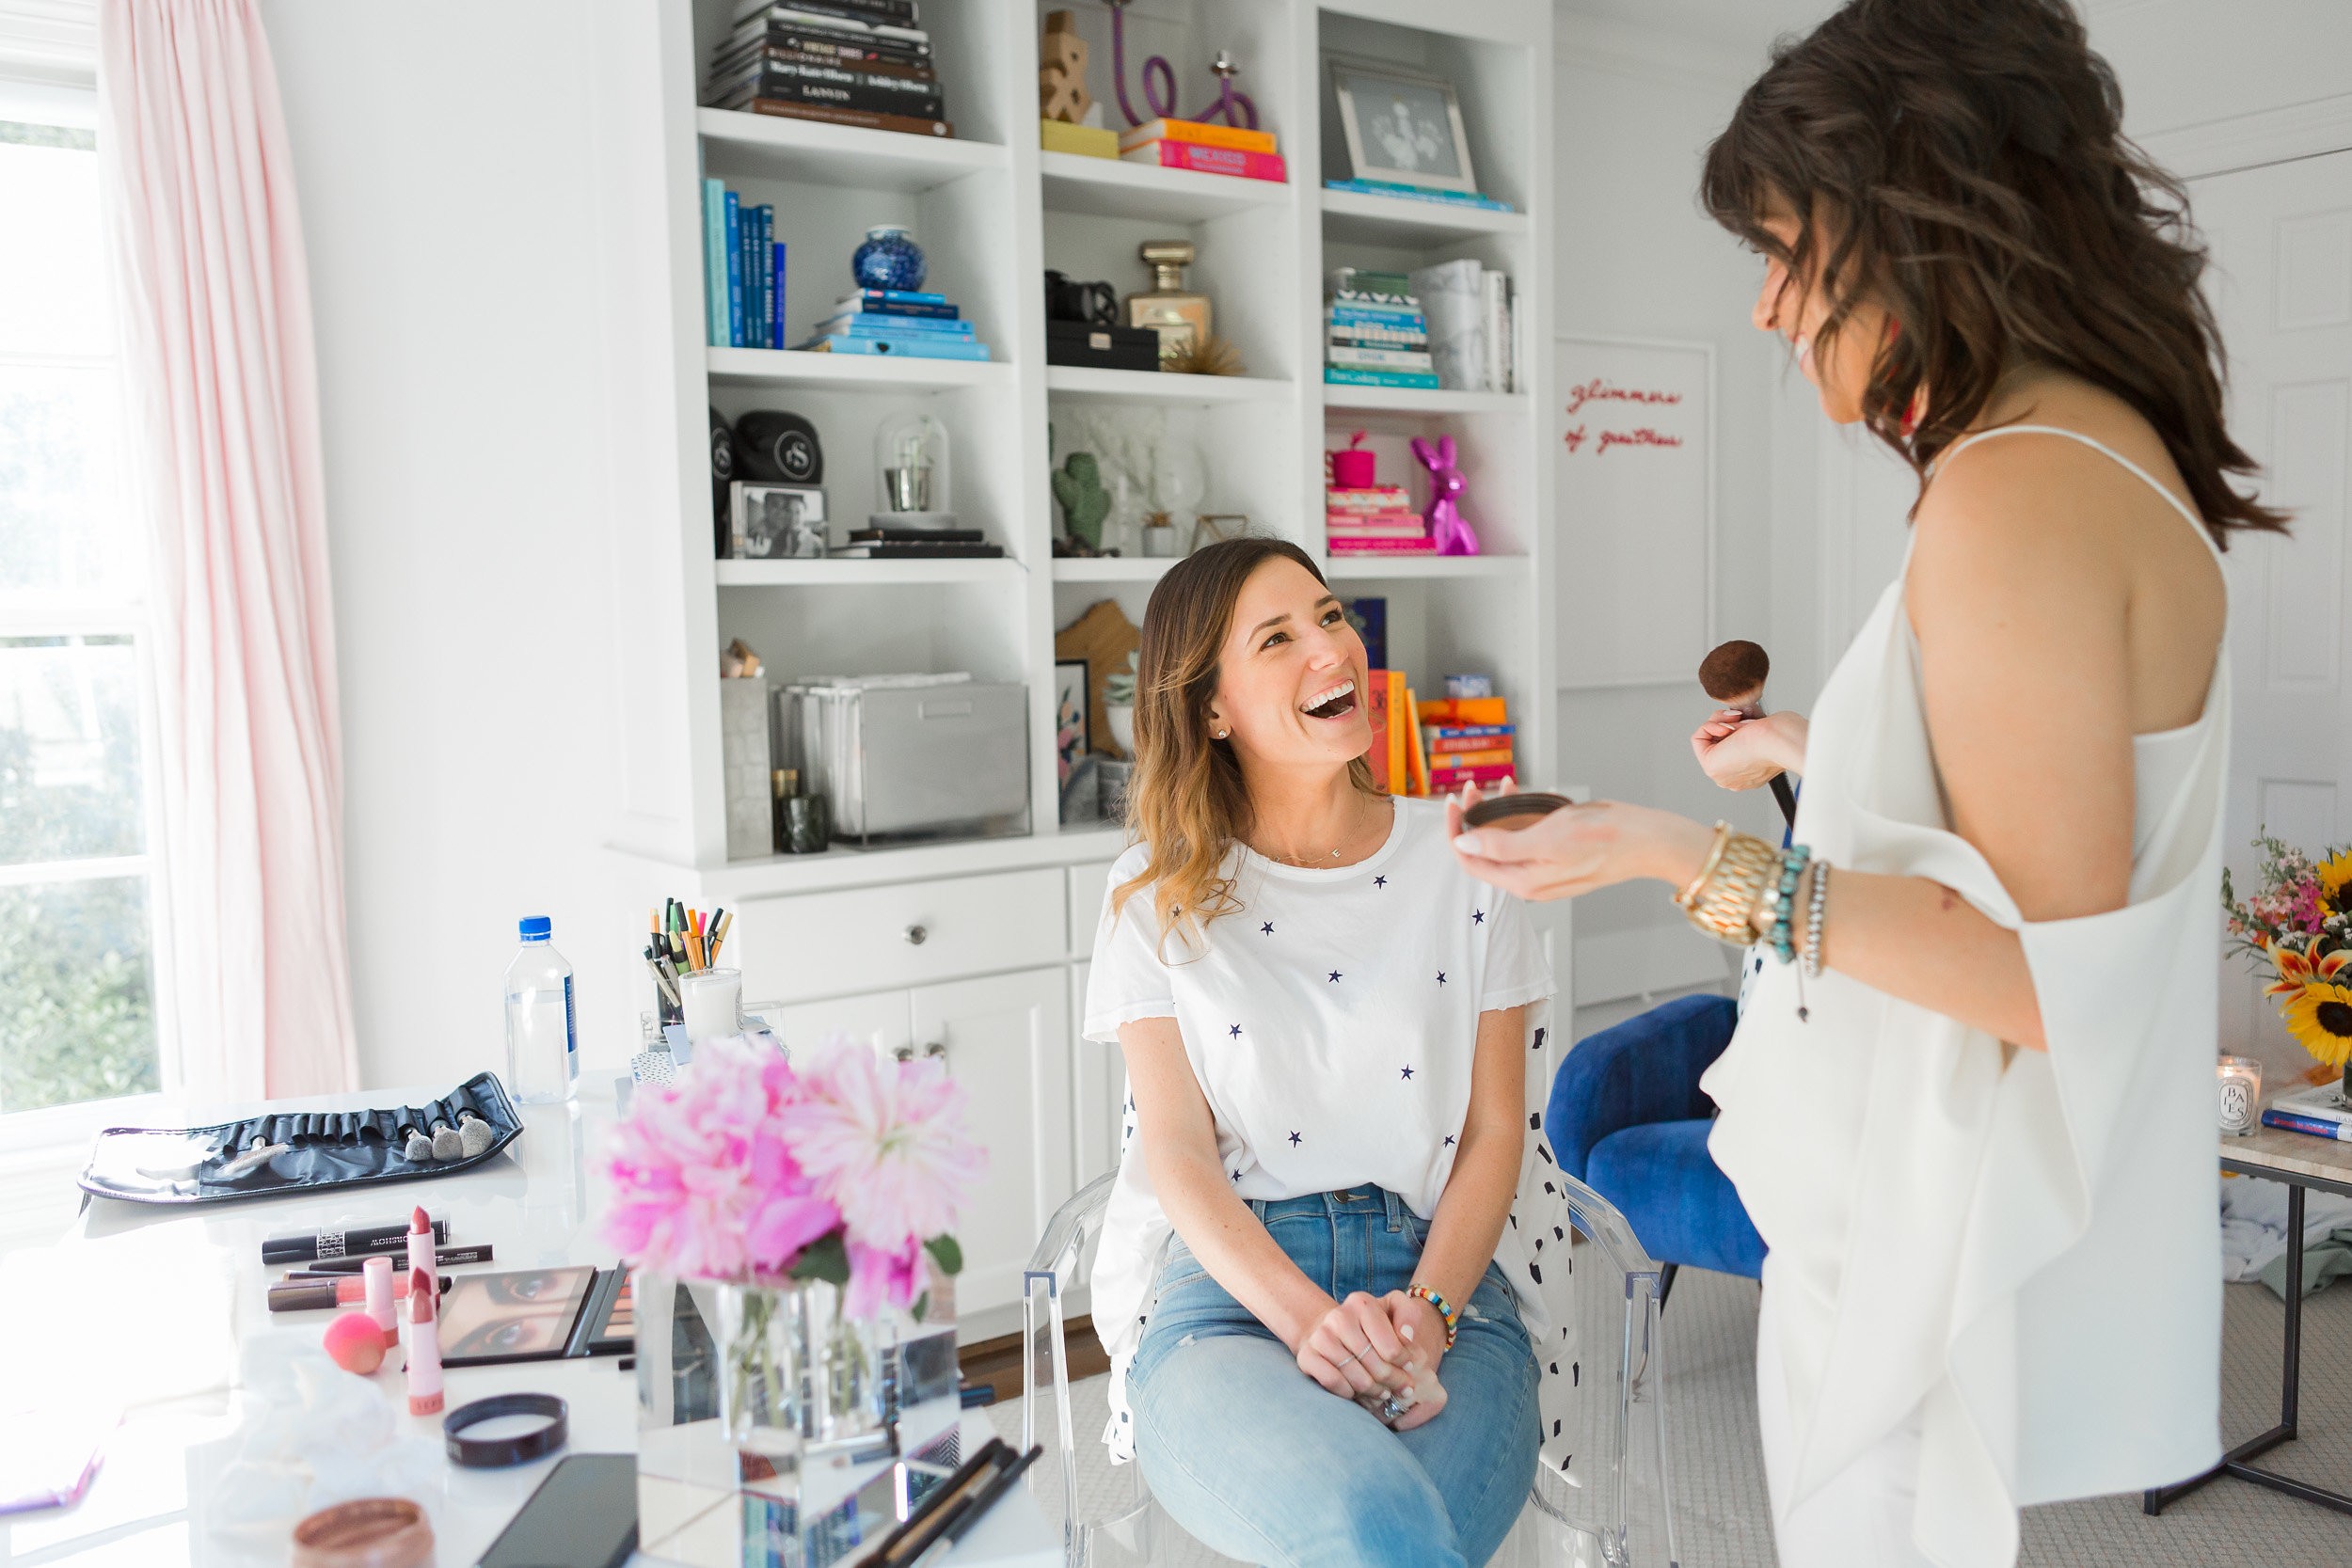
With that being said, I am no make up pro, and I have no shame in calling in the professionals when I need them. Enter in my seriously talented friend, Courtney. Courtney and I worked together a while ago, and have remained friends. What I always found amazing about Courtney was her incredible love and knowledge of make up. In college she was hired as a professional makeup artist and would do weddings, and portraits on the side. She built an incredible portfolio and clientele! Although she no longer does make up full time {she has a corporate job at a major fashion company!} she’s still incredibly talented, and was nice enough to agree to do this post with me!
I’m so excited to let her take the reins from here. Let us both know if you have any questions!
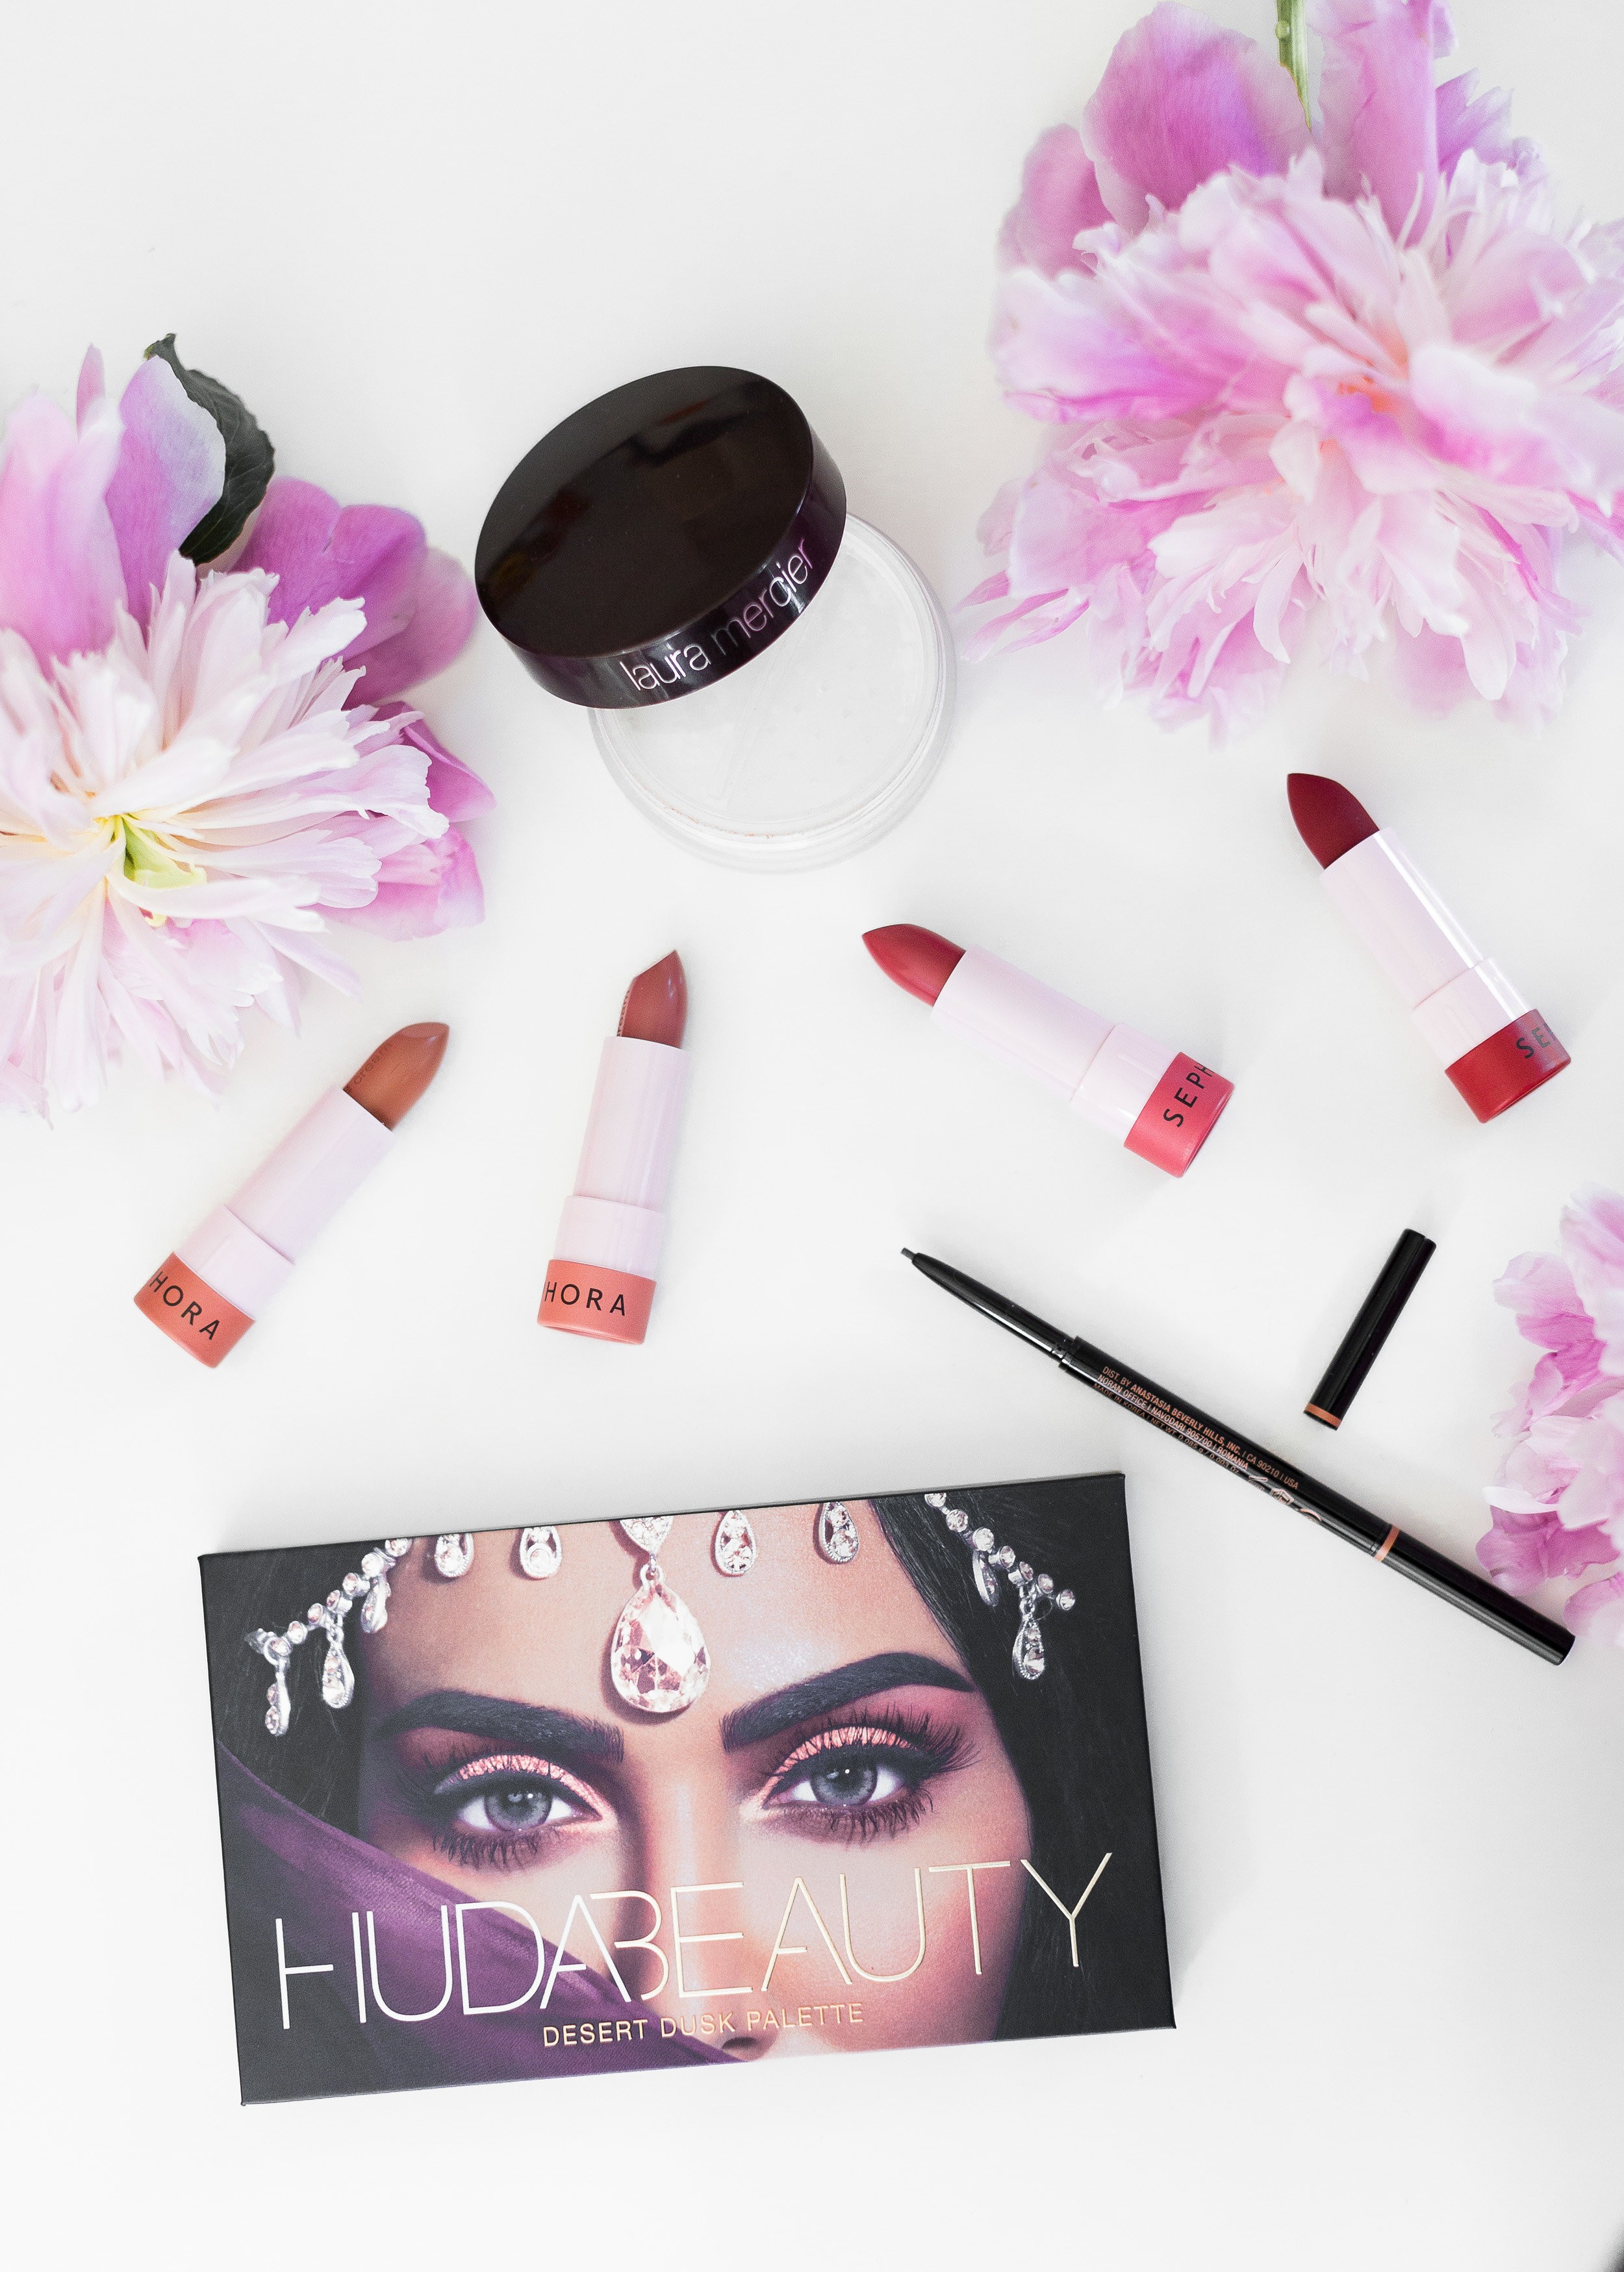
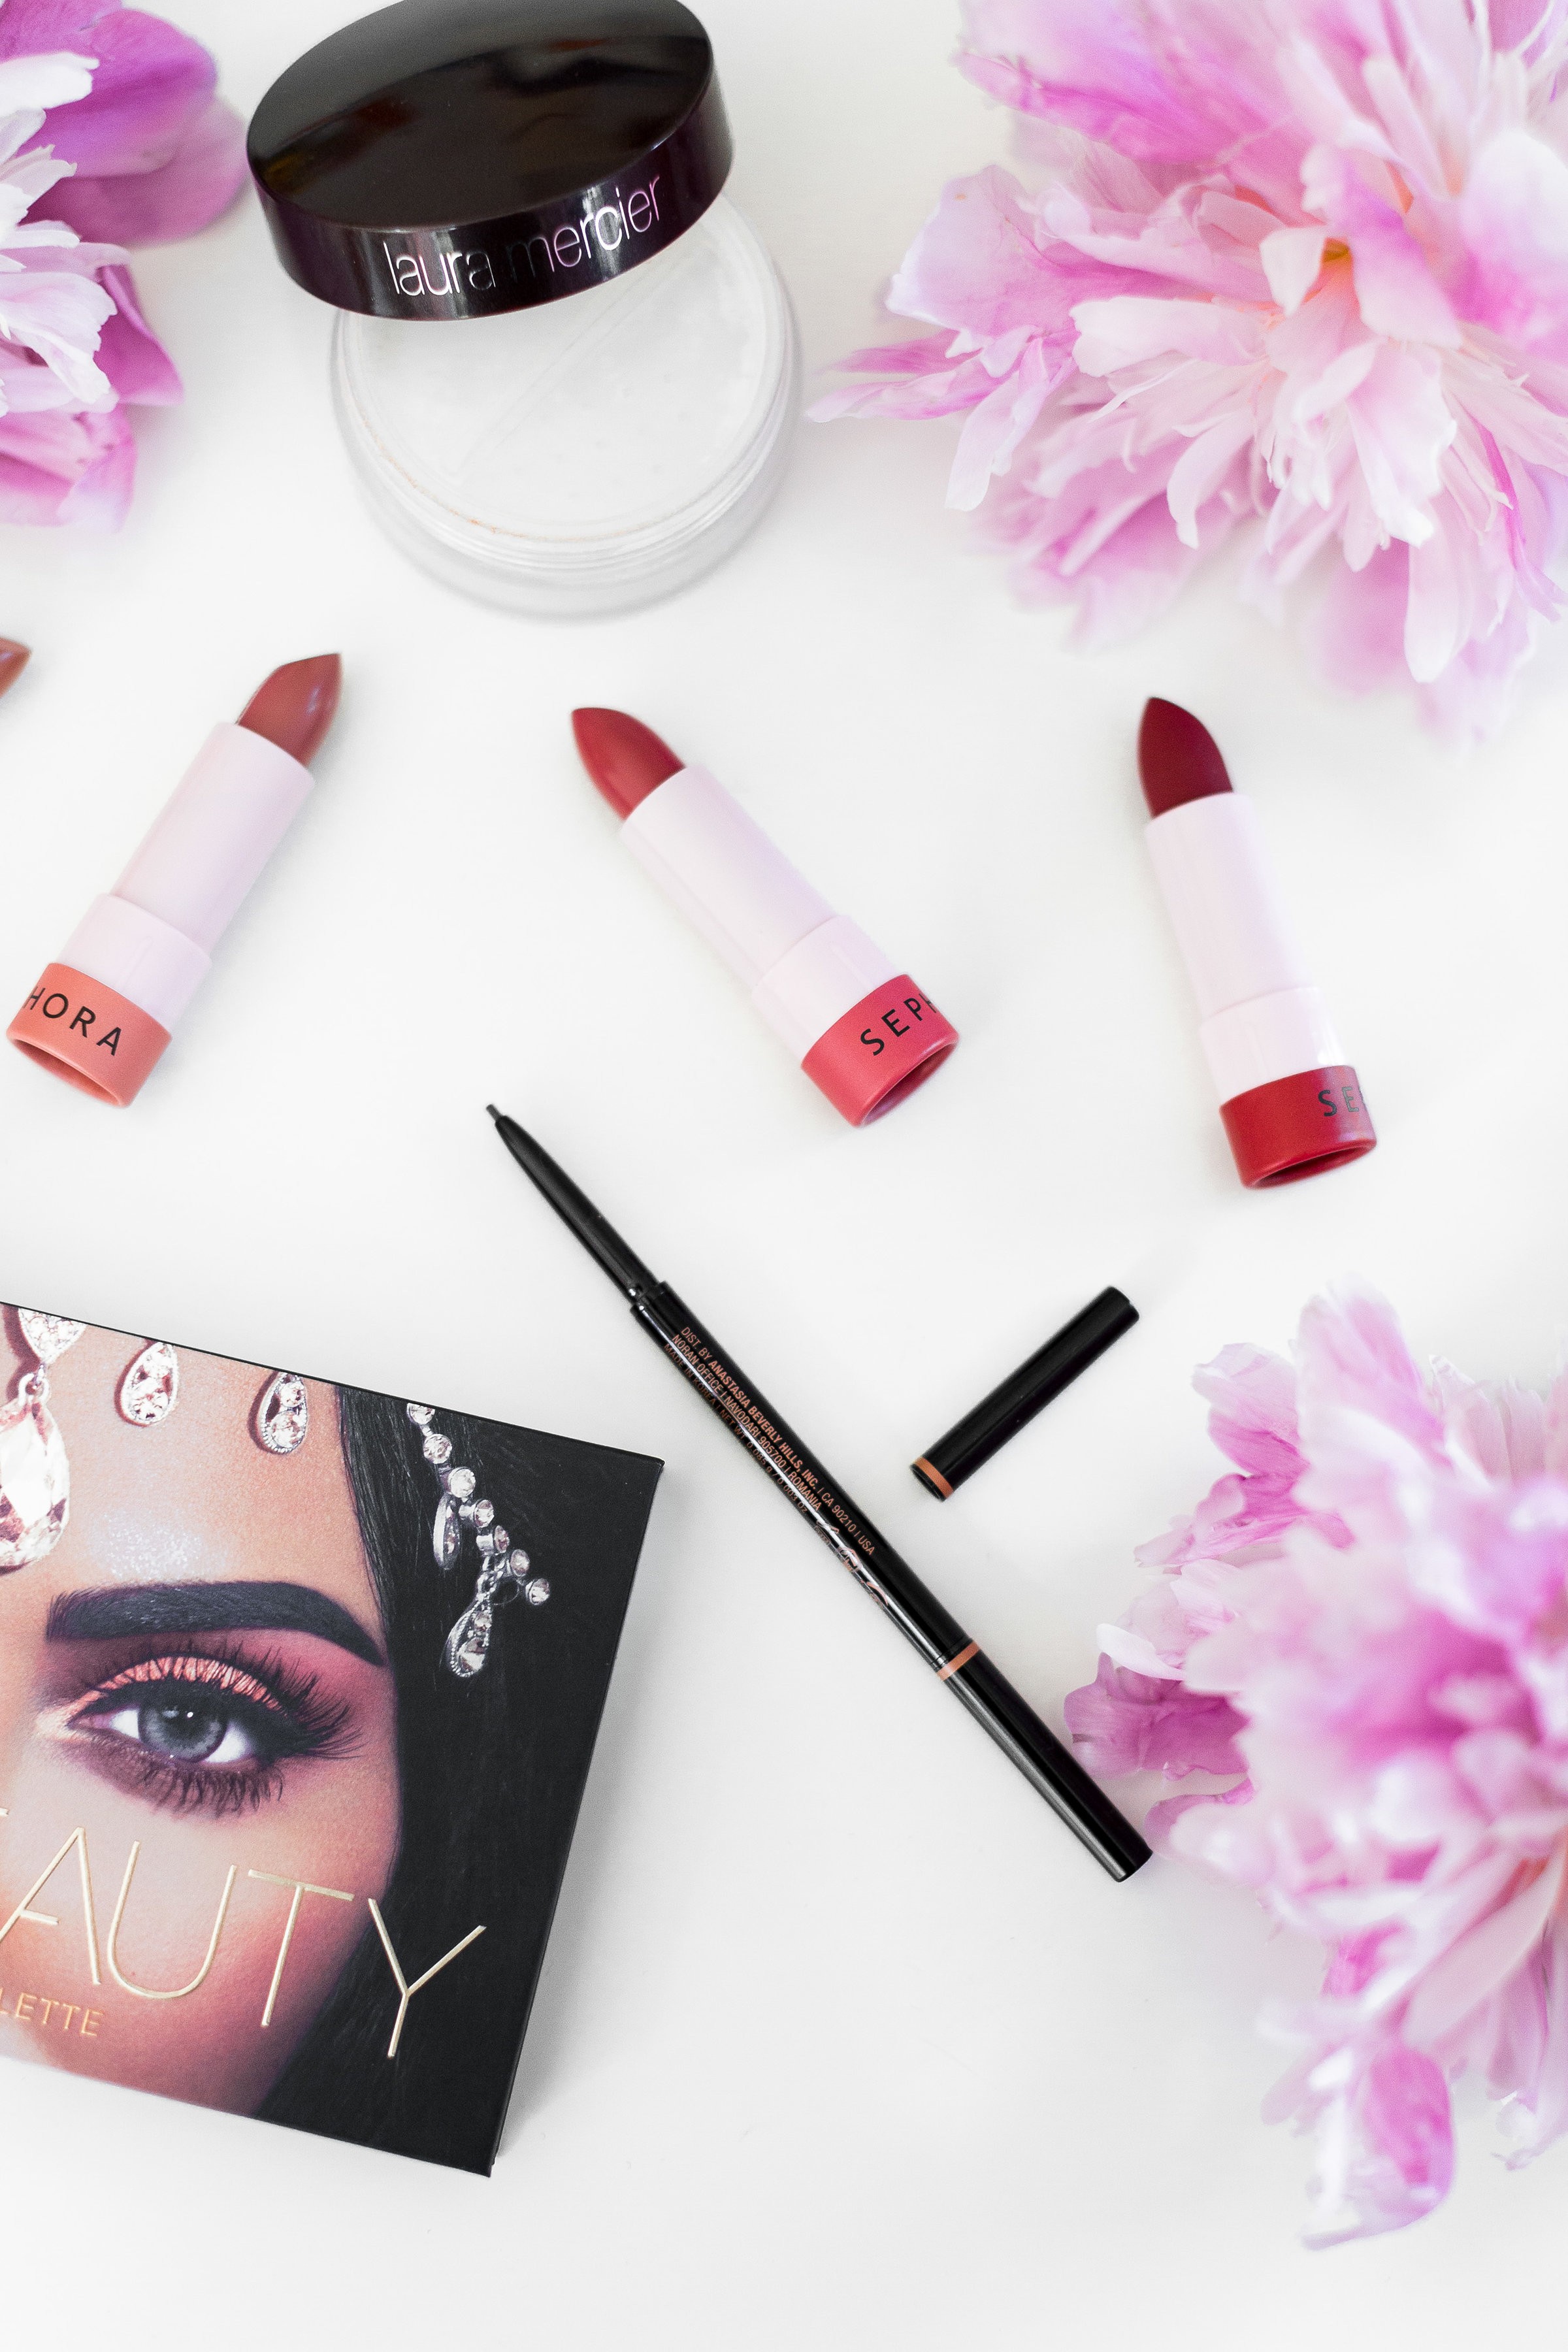
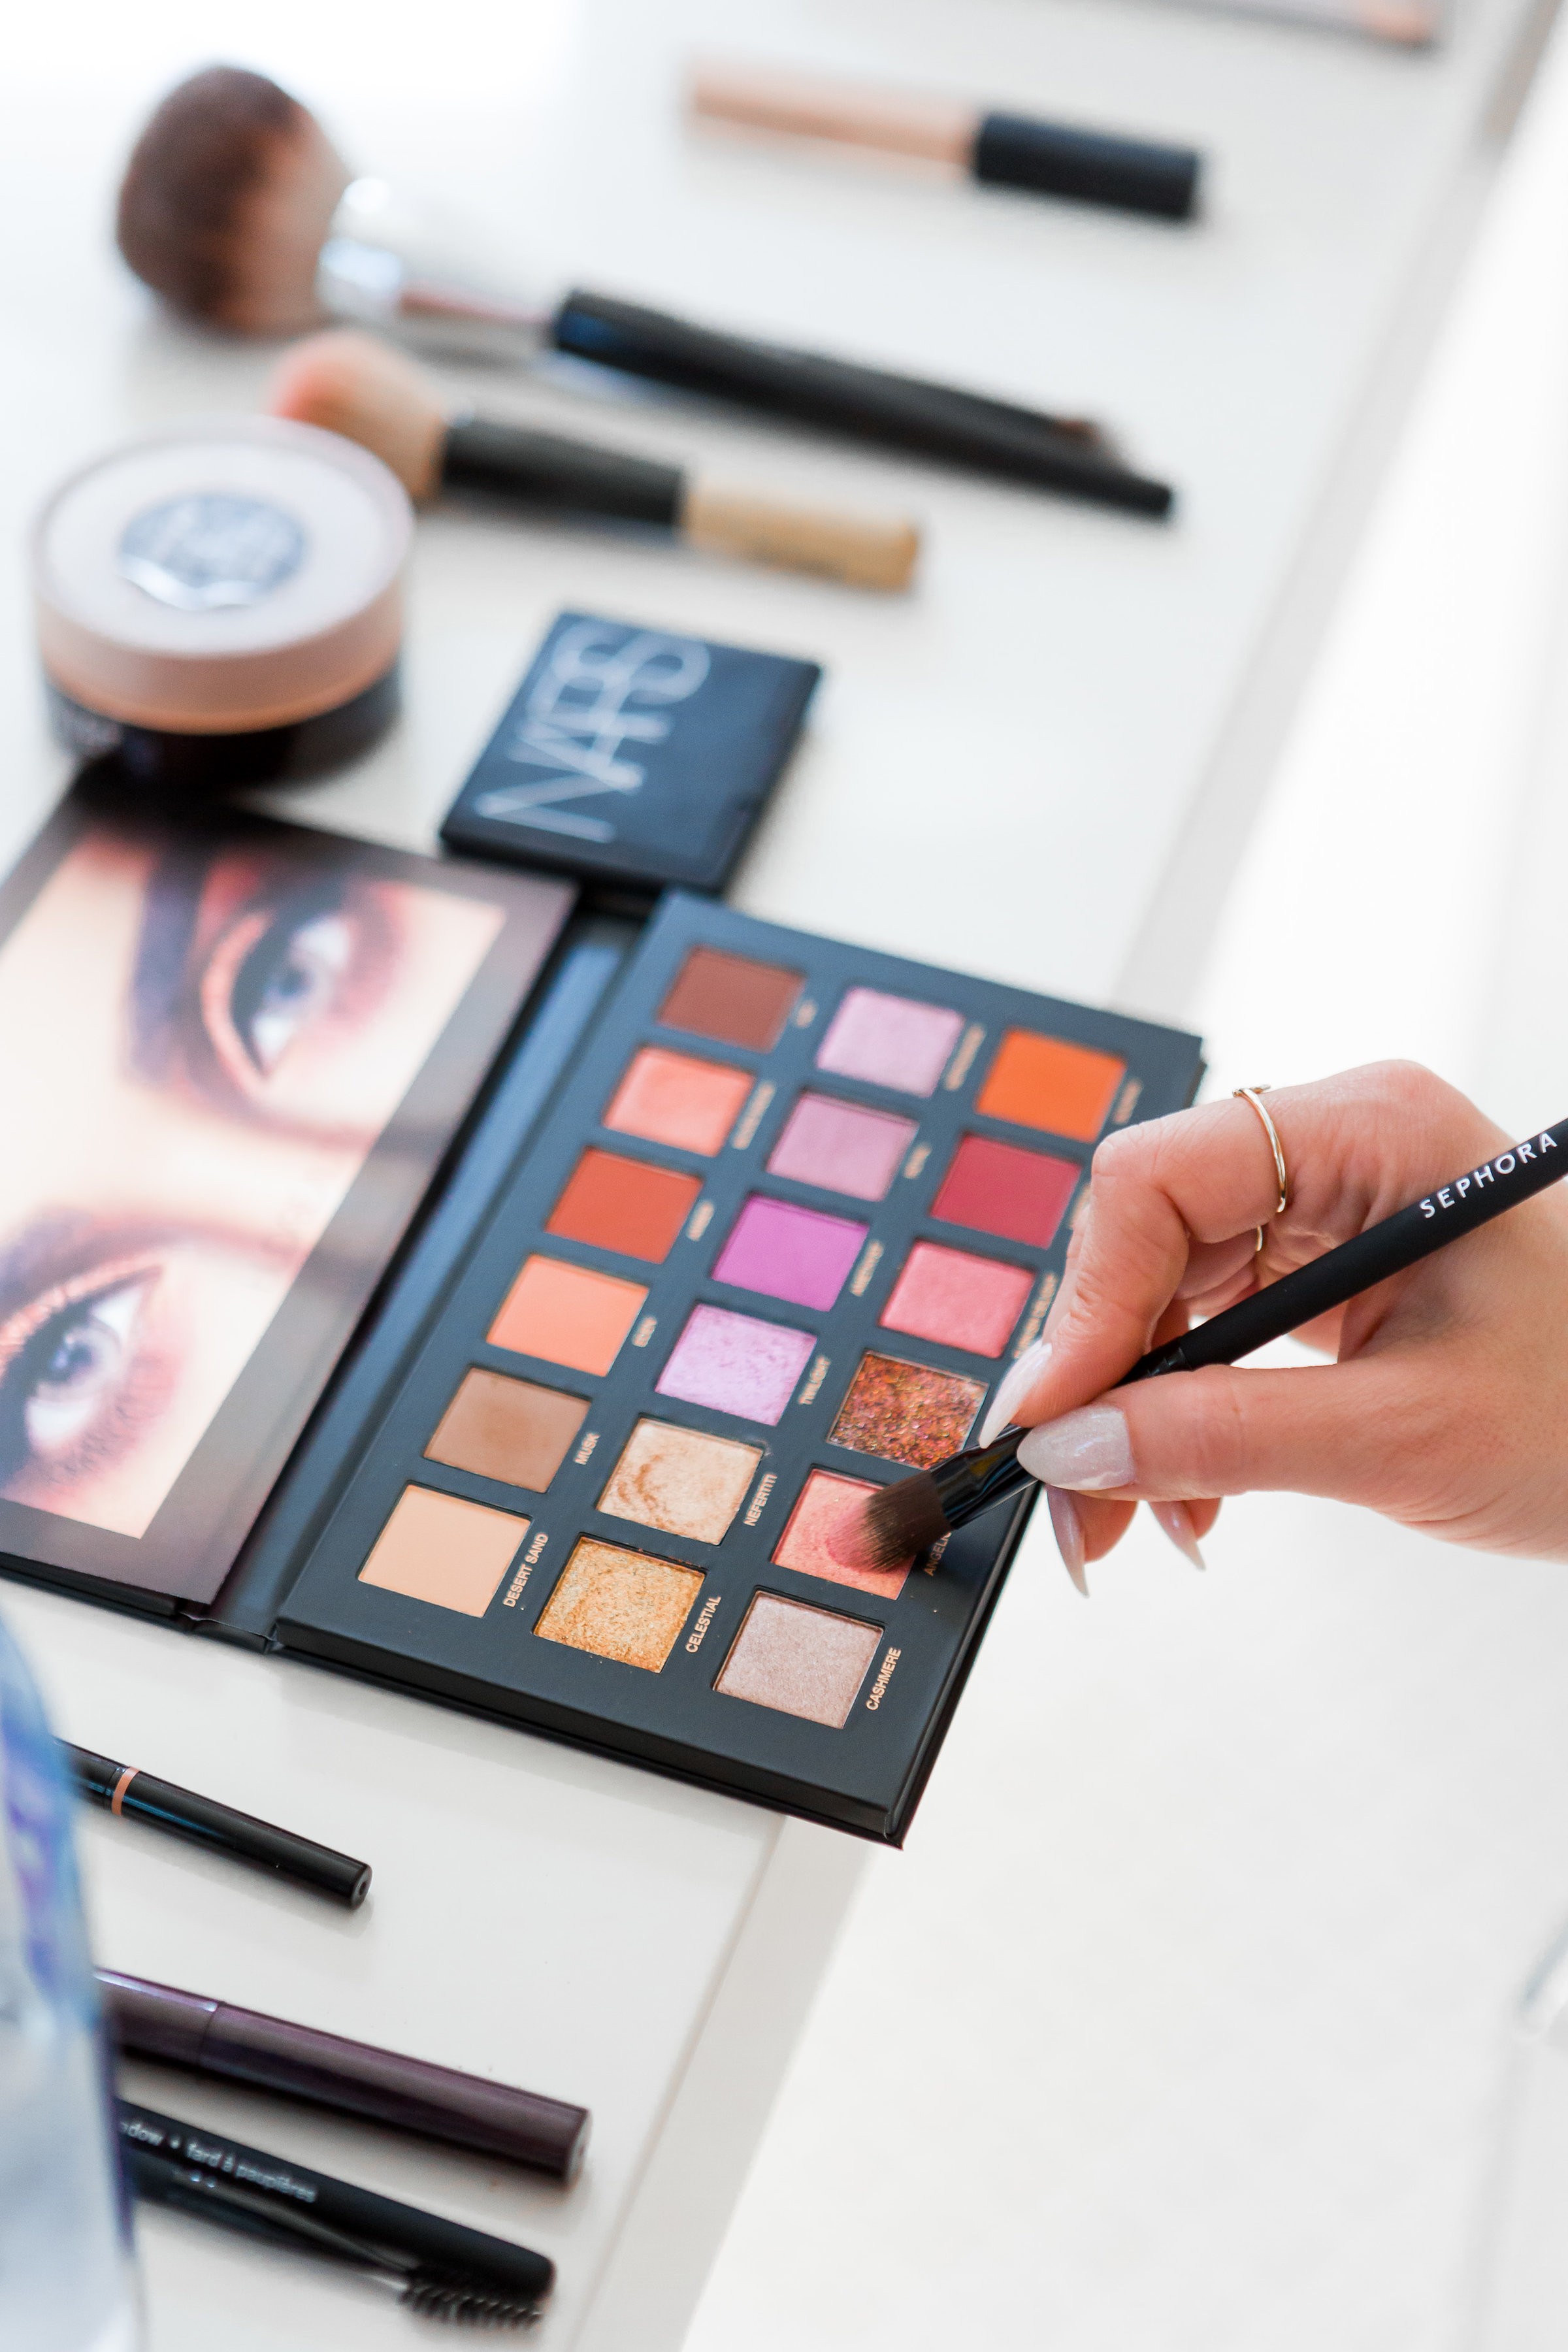
Laura Mercier Translucent Setting Powder // Sephora Collection Lipstories Lipstick in colors {from L to R: #6 Tan lines, #3 Oui, #36 Spring Break, #23 After hours} // Anastasia Beverly Hills Brow Wiz {in medium brown} // Huda Beauty Desert Dusk Eyeshadow Palette
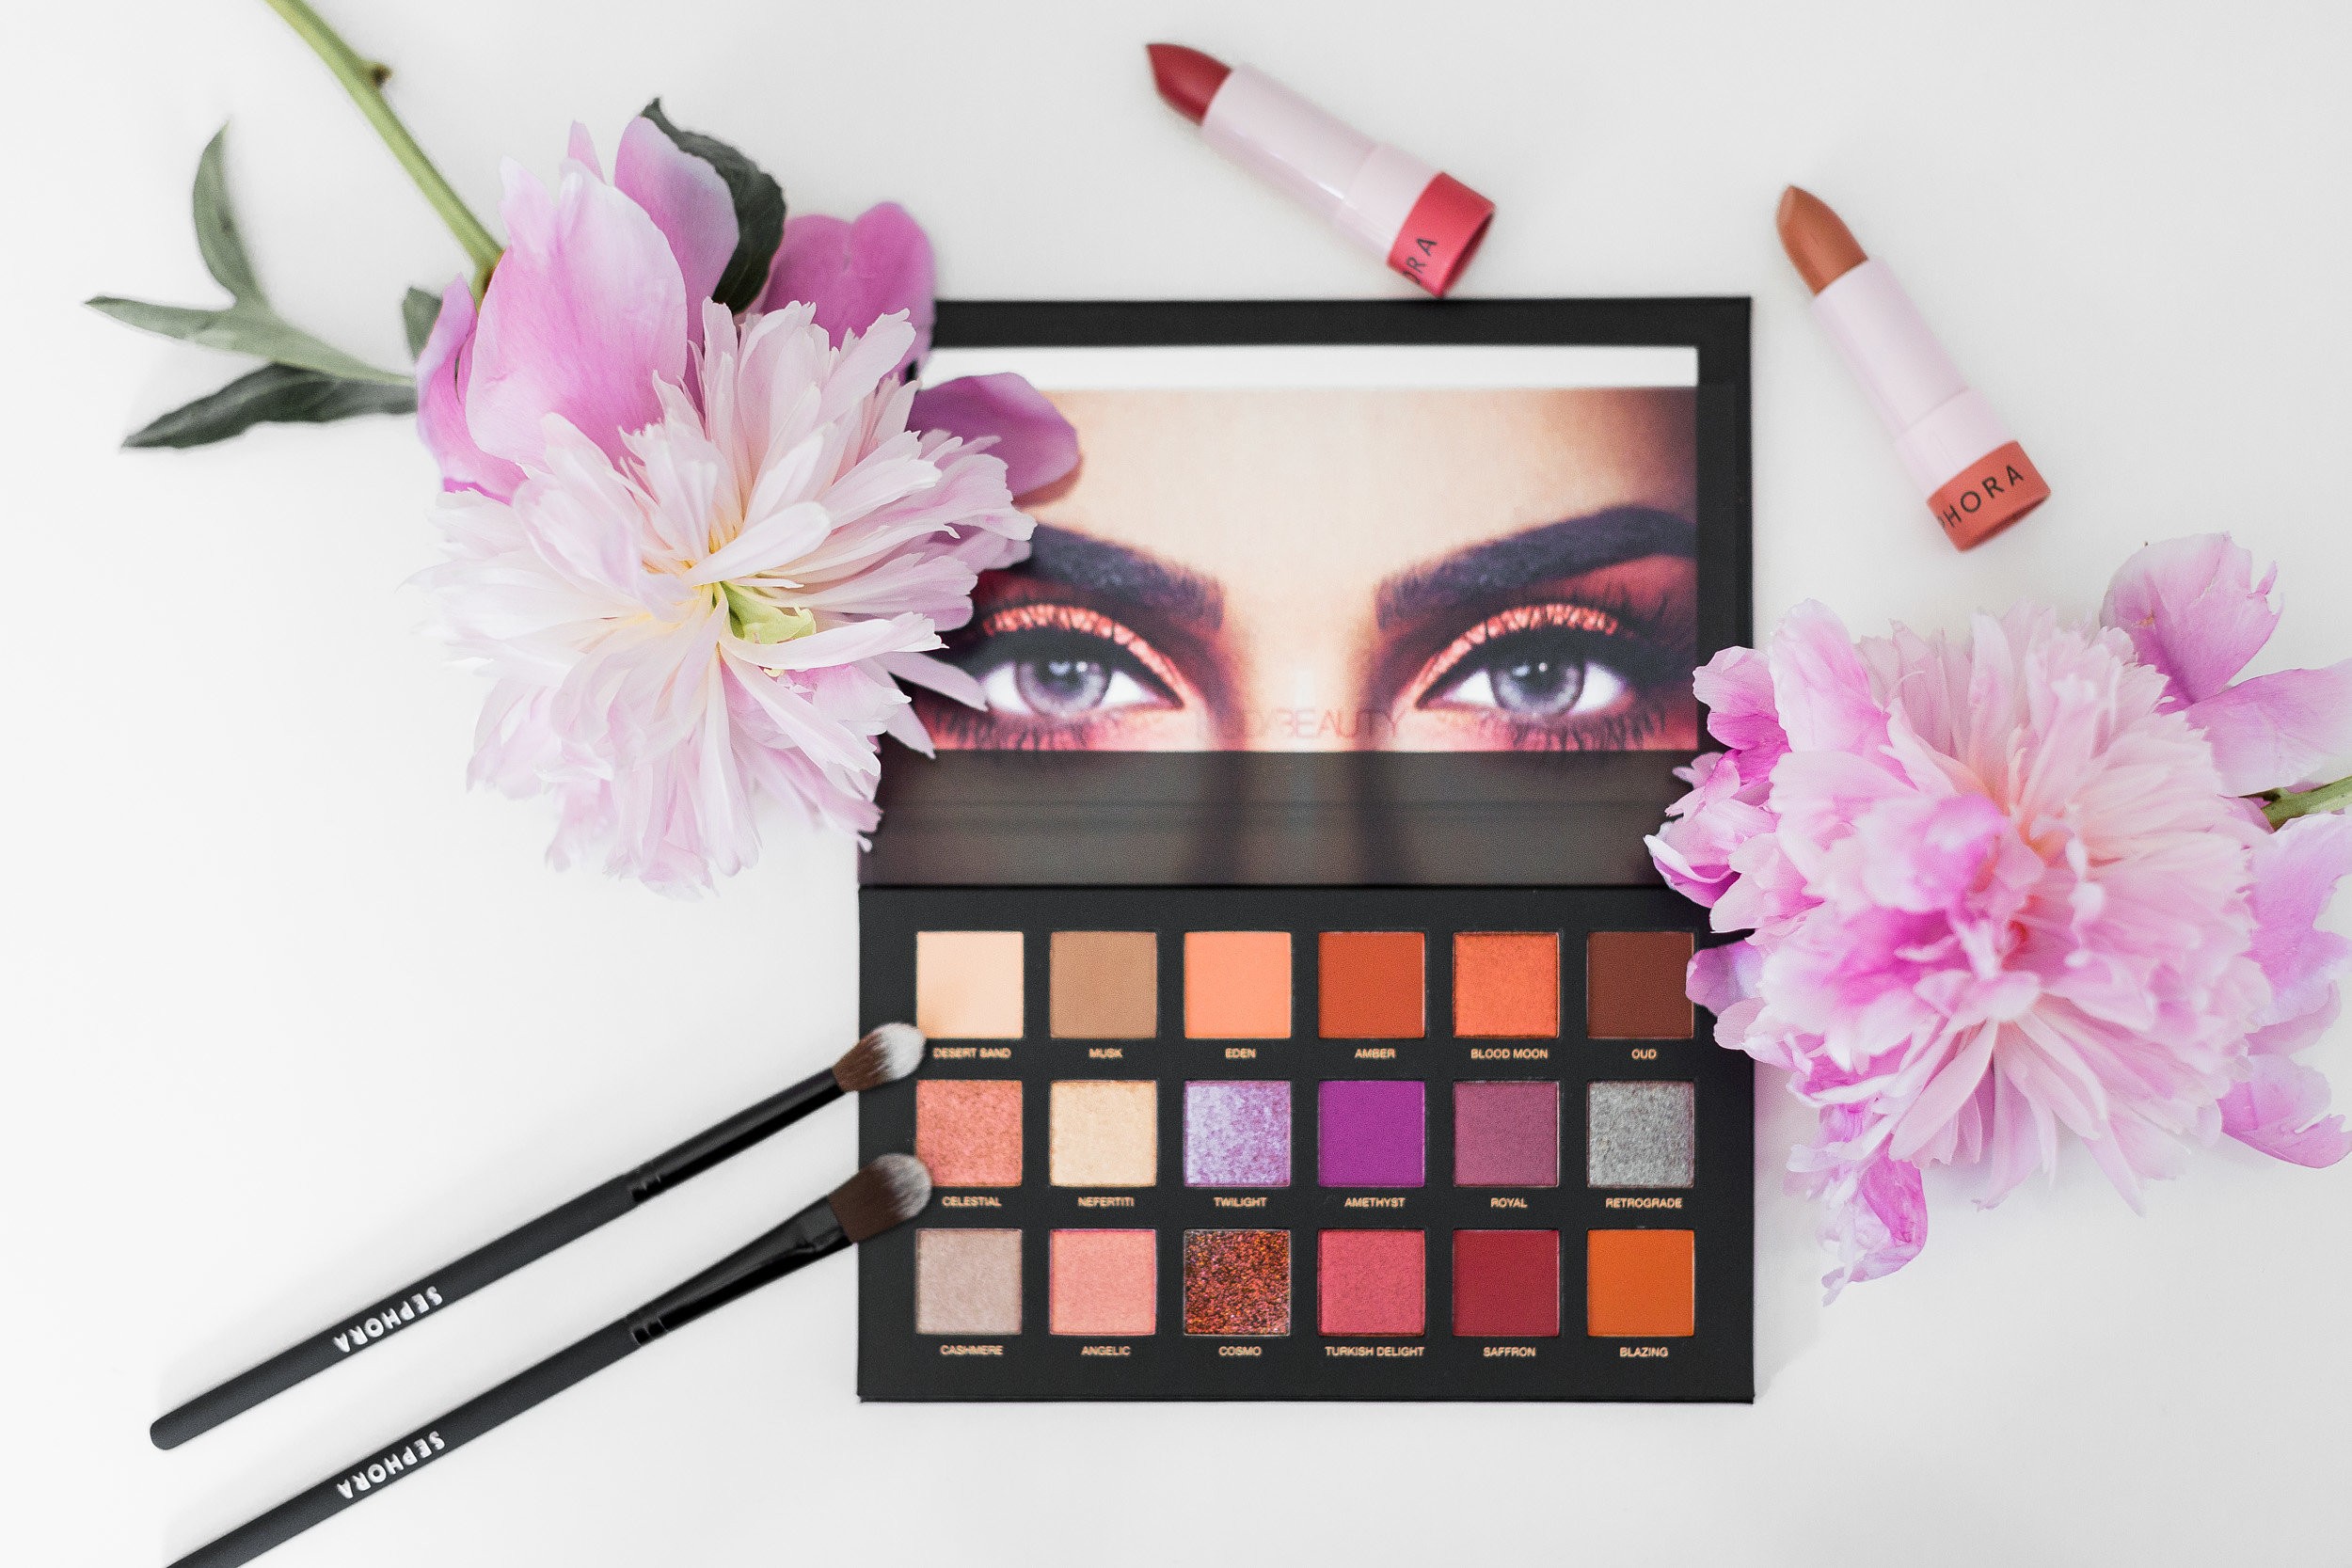
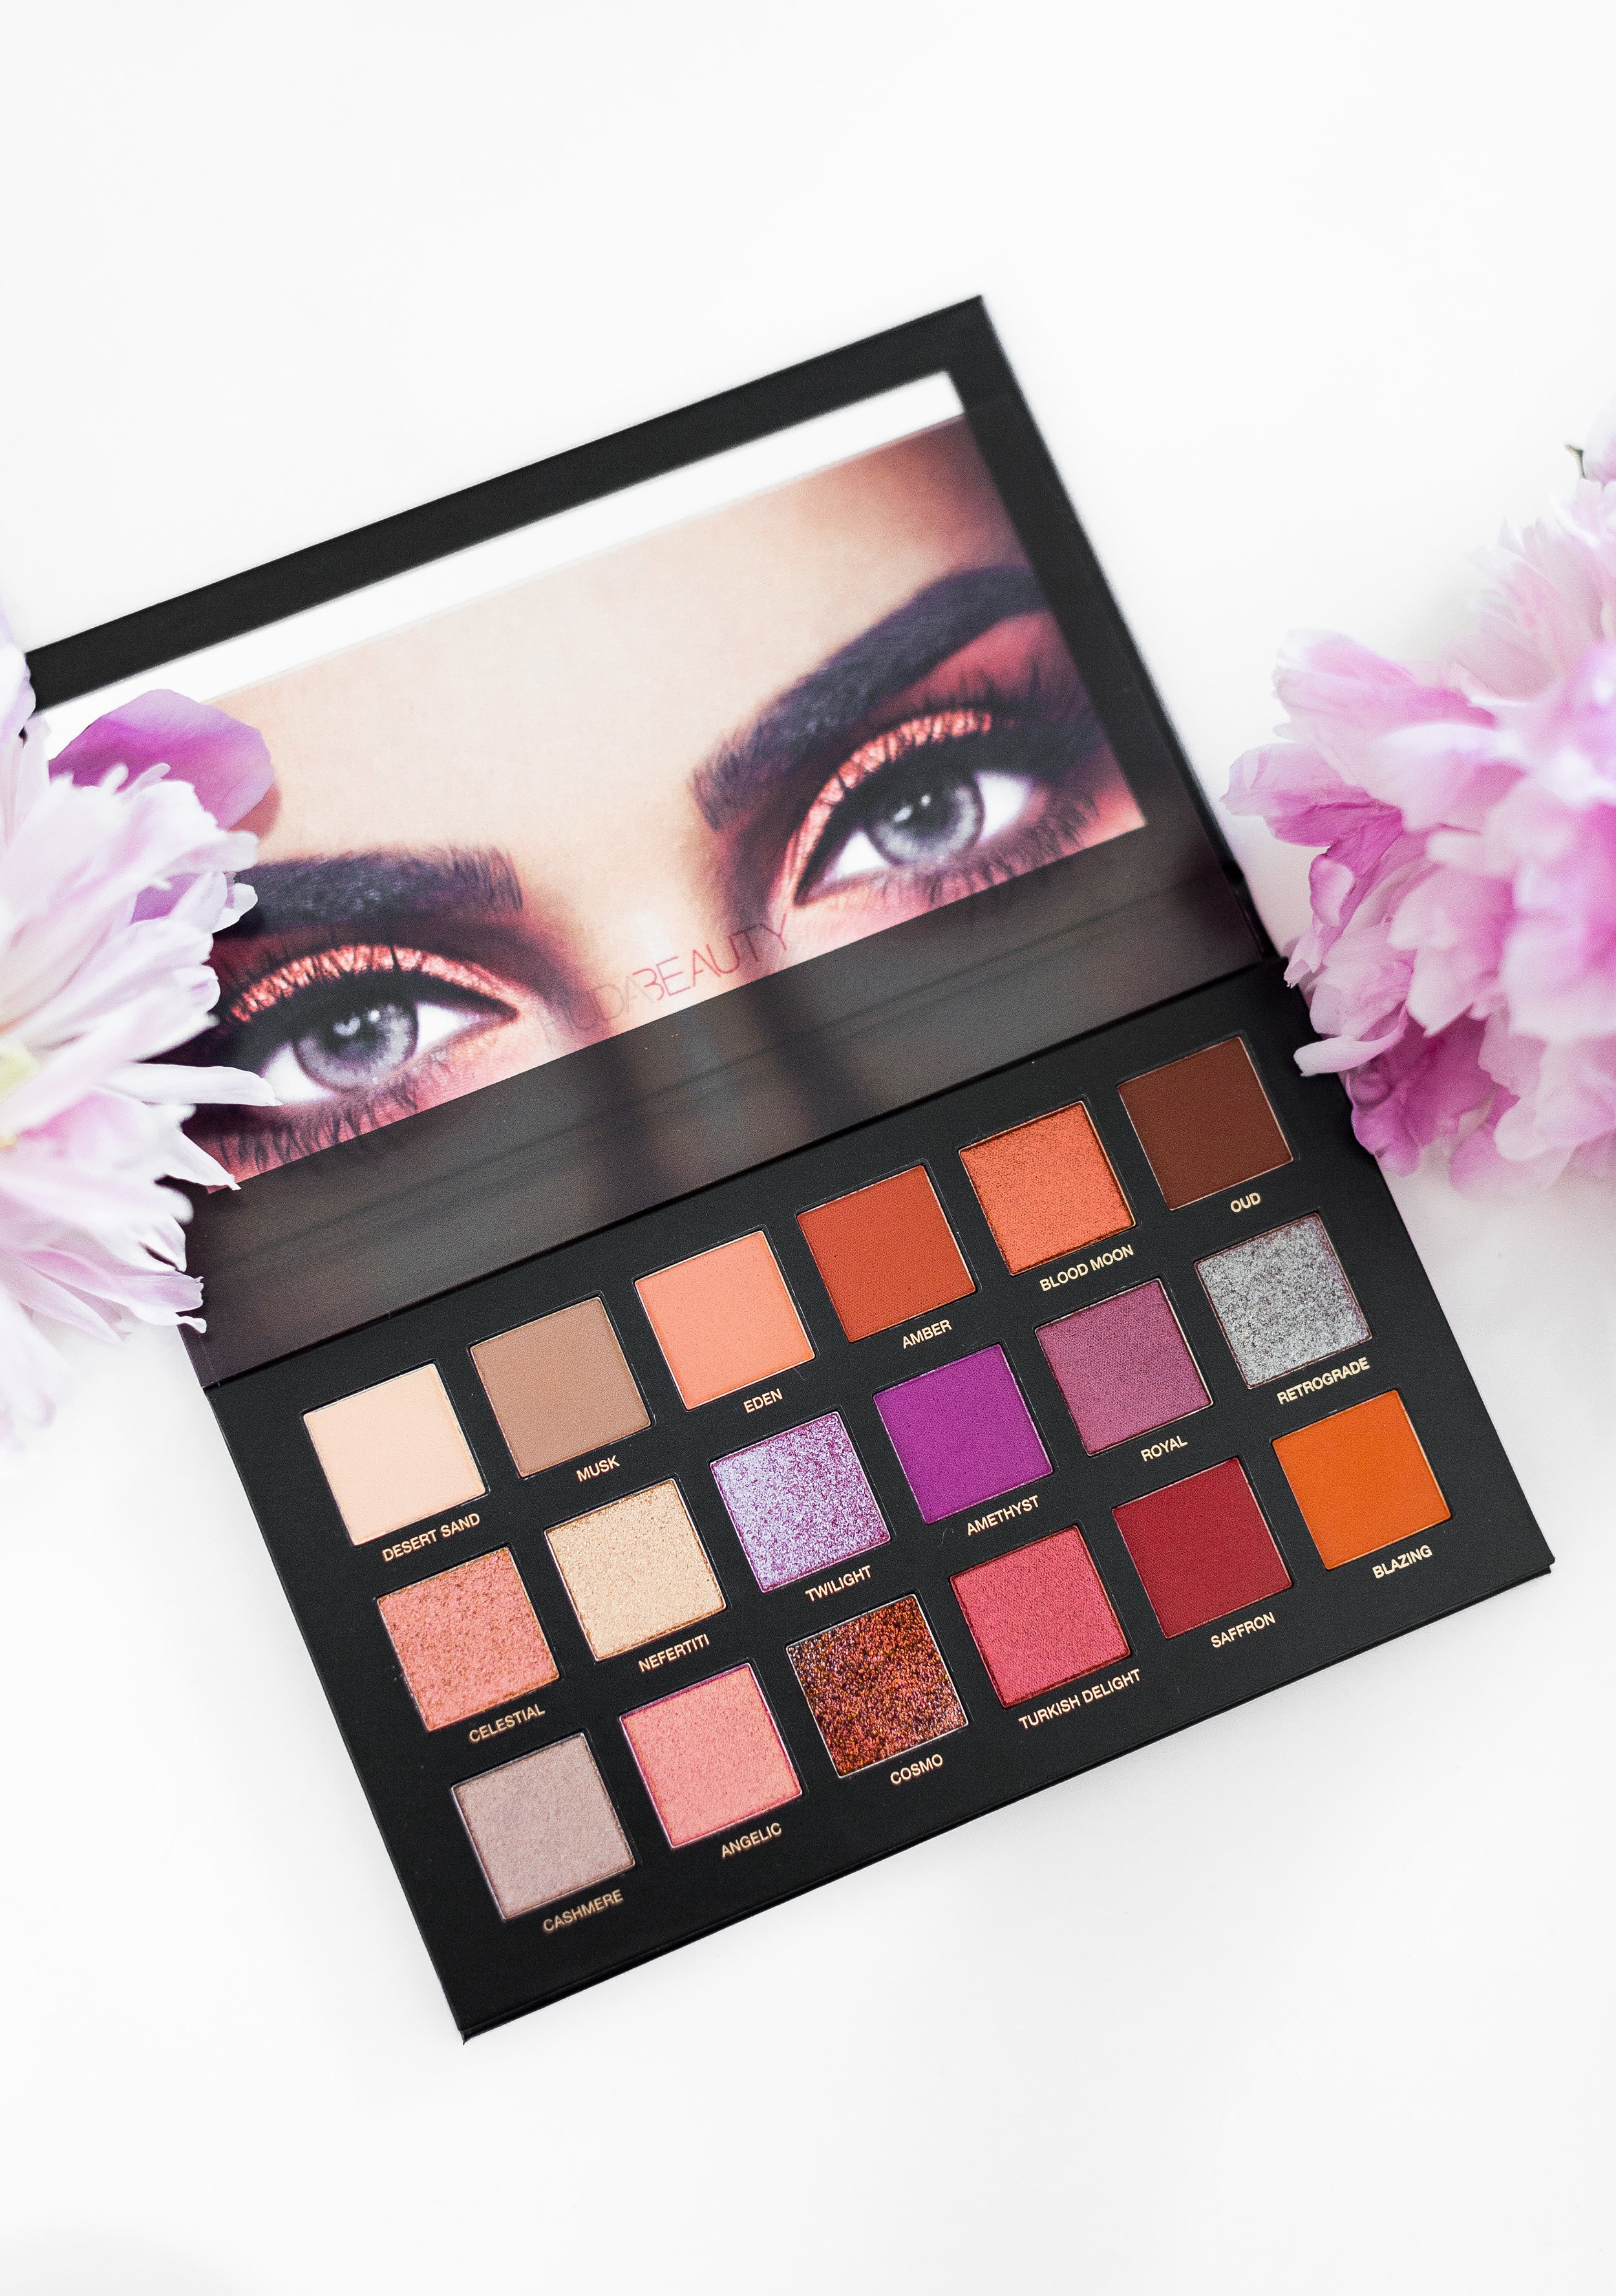
How beautiful are these bronze-y and pink colors? Amber, Celestial & Eden are gorgeous, and Desert Sand, Musk & Neferetti are also the perfect neutrals.
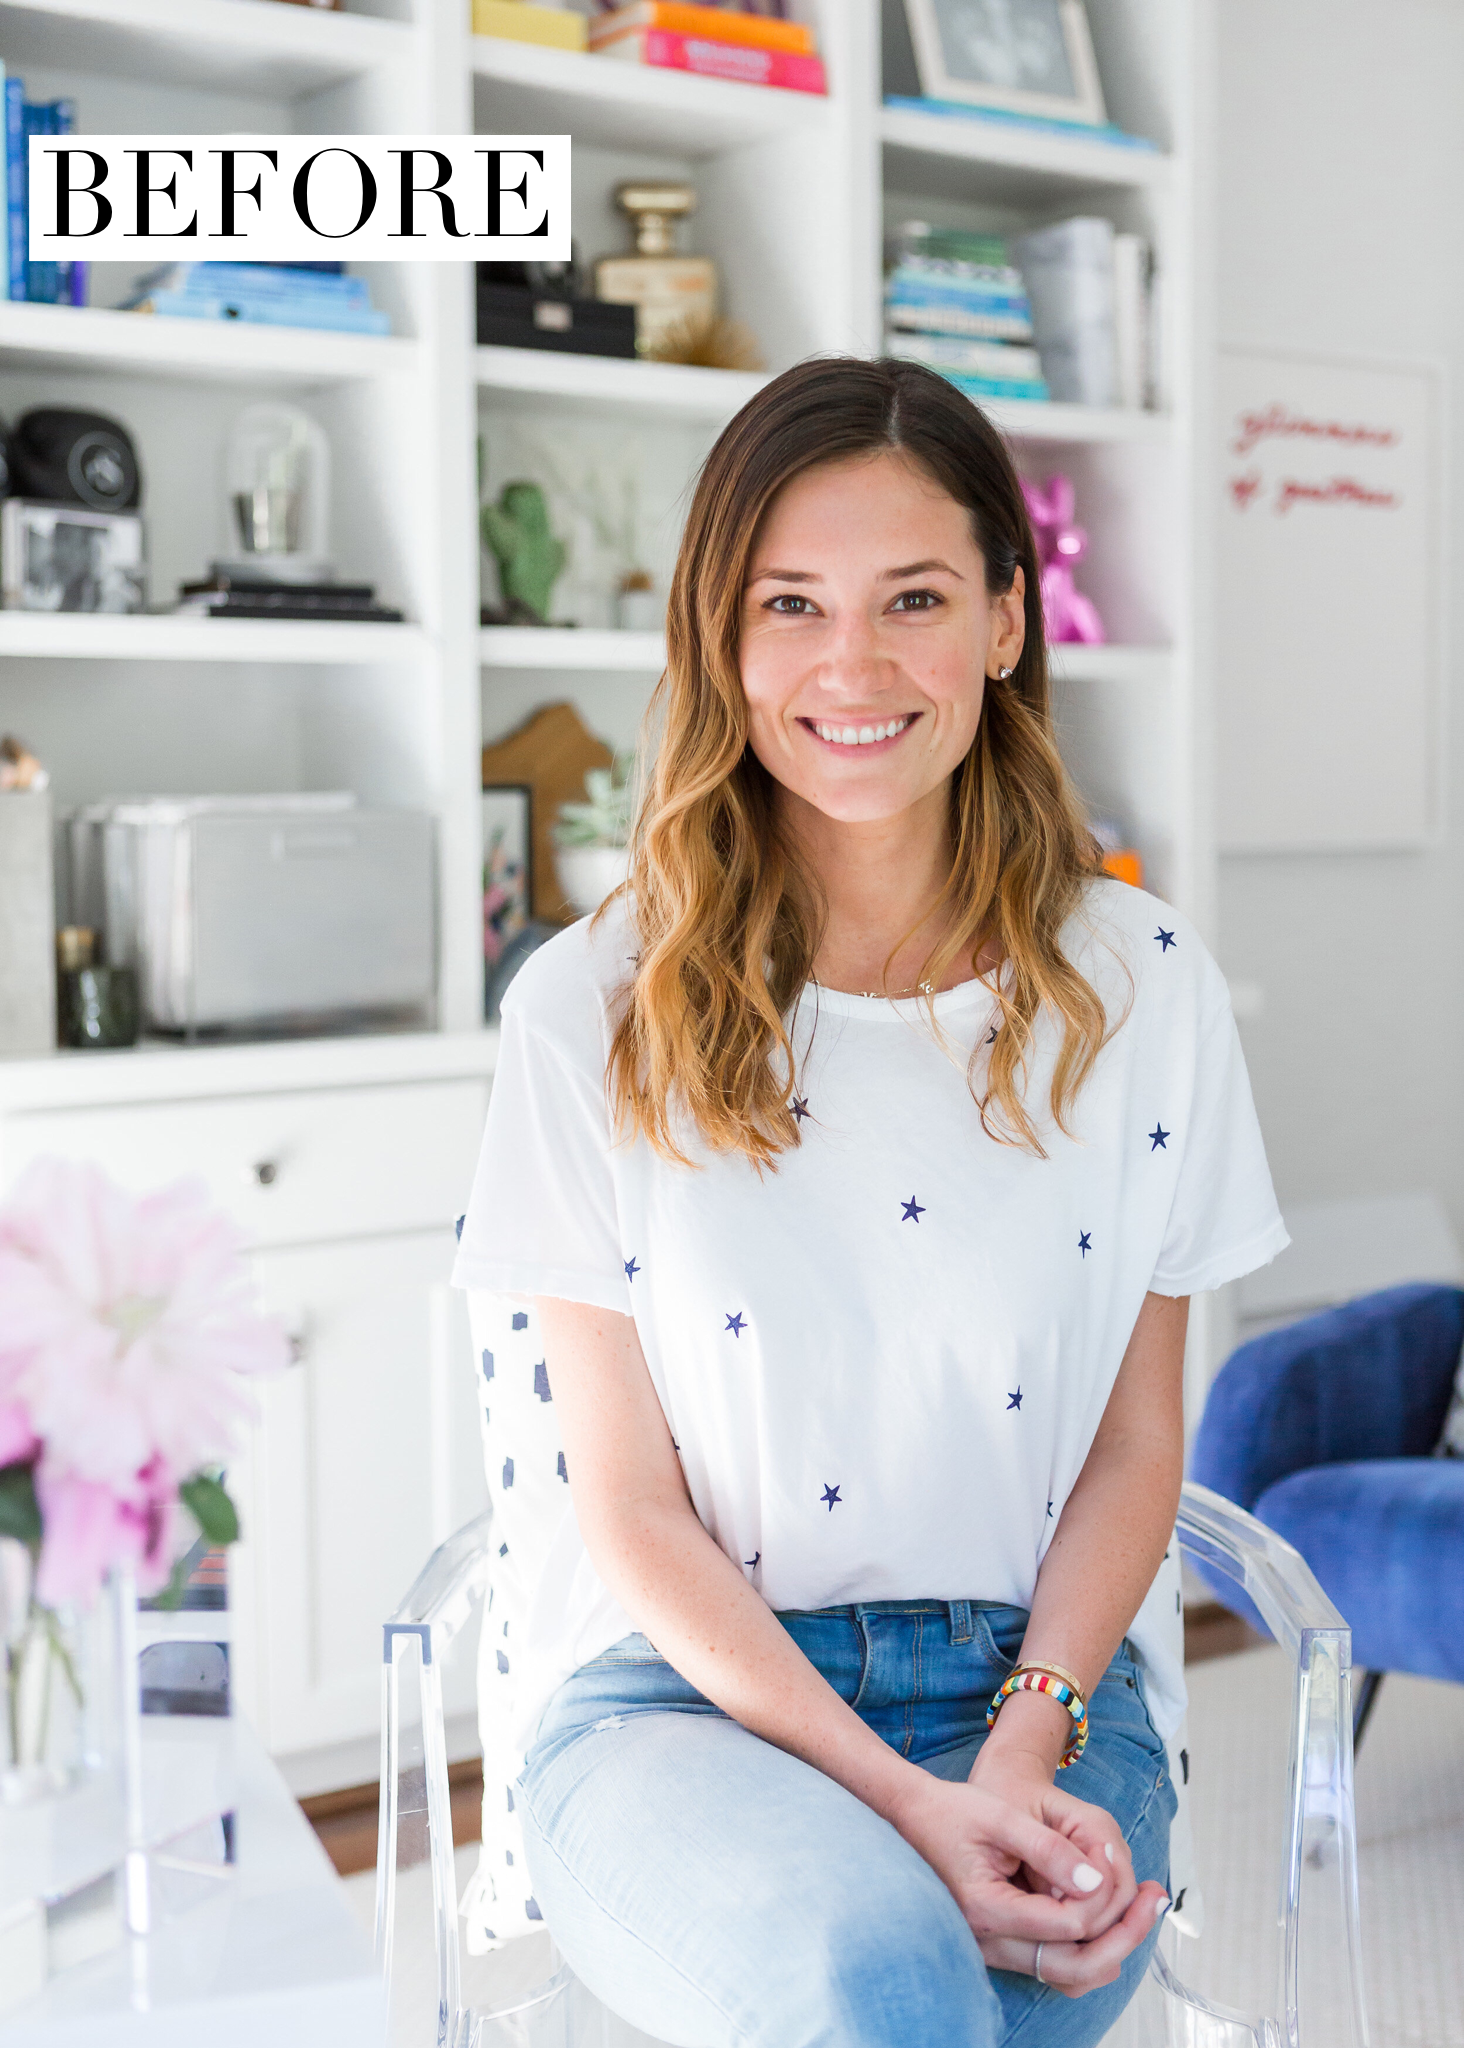
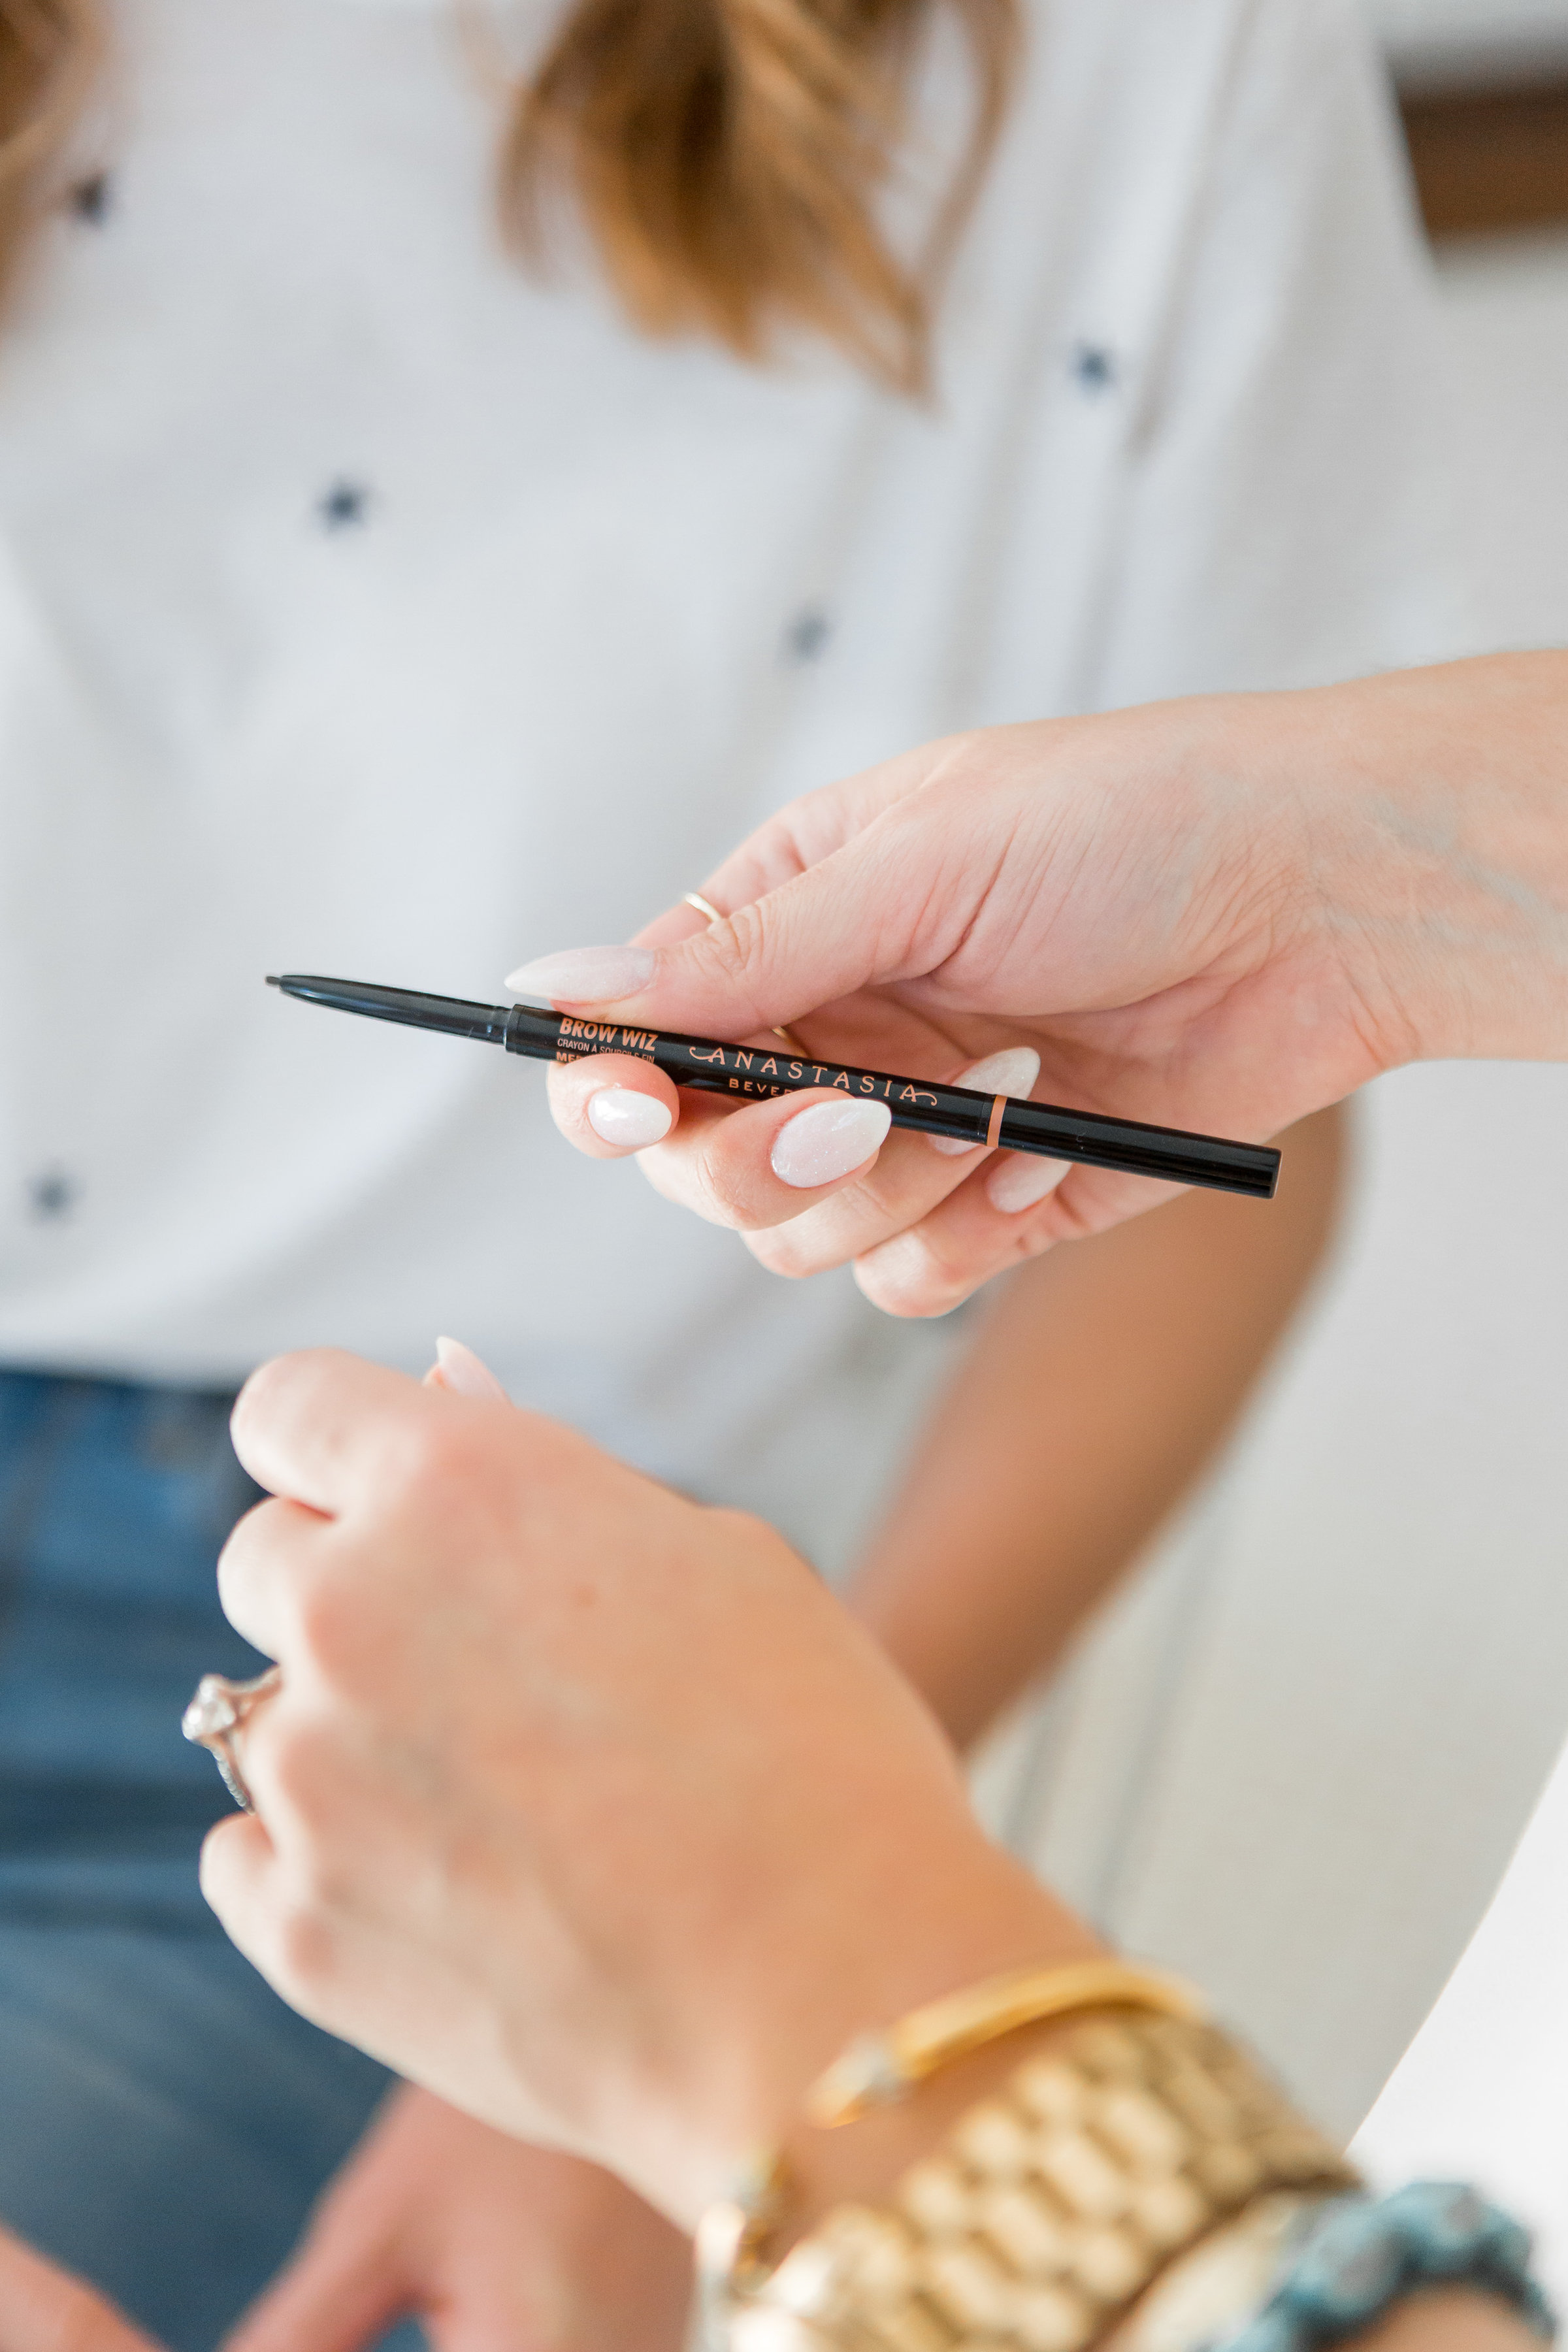
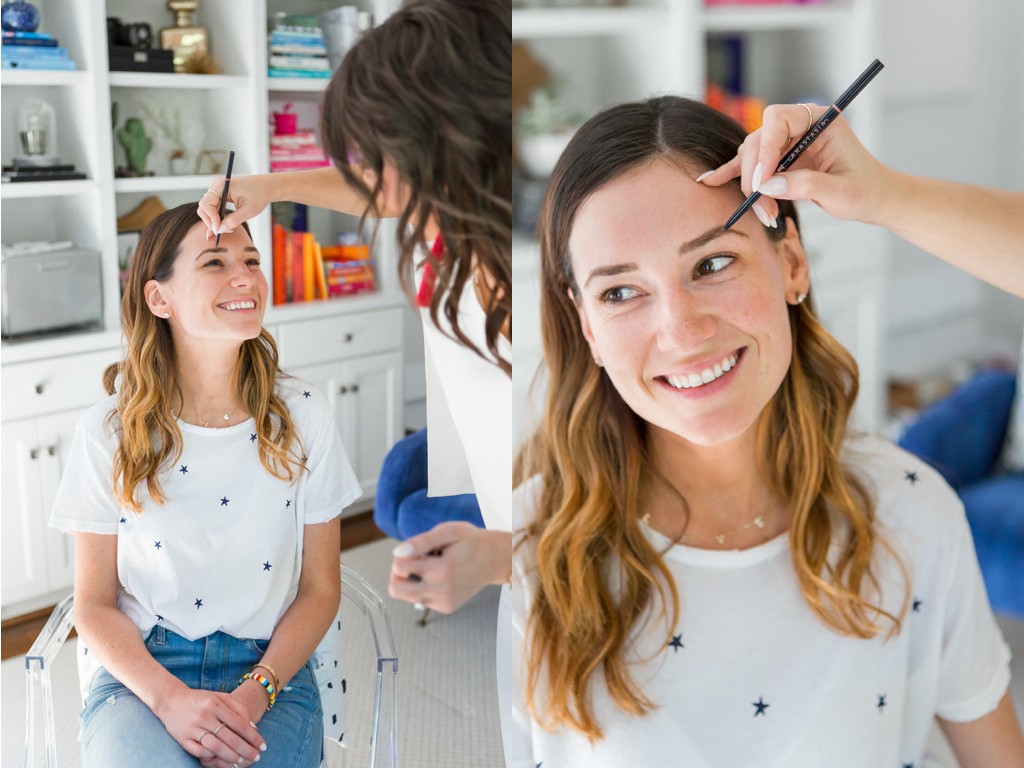
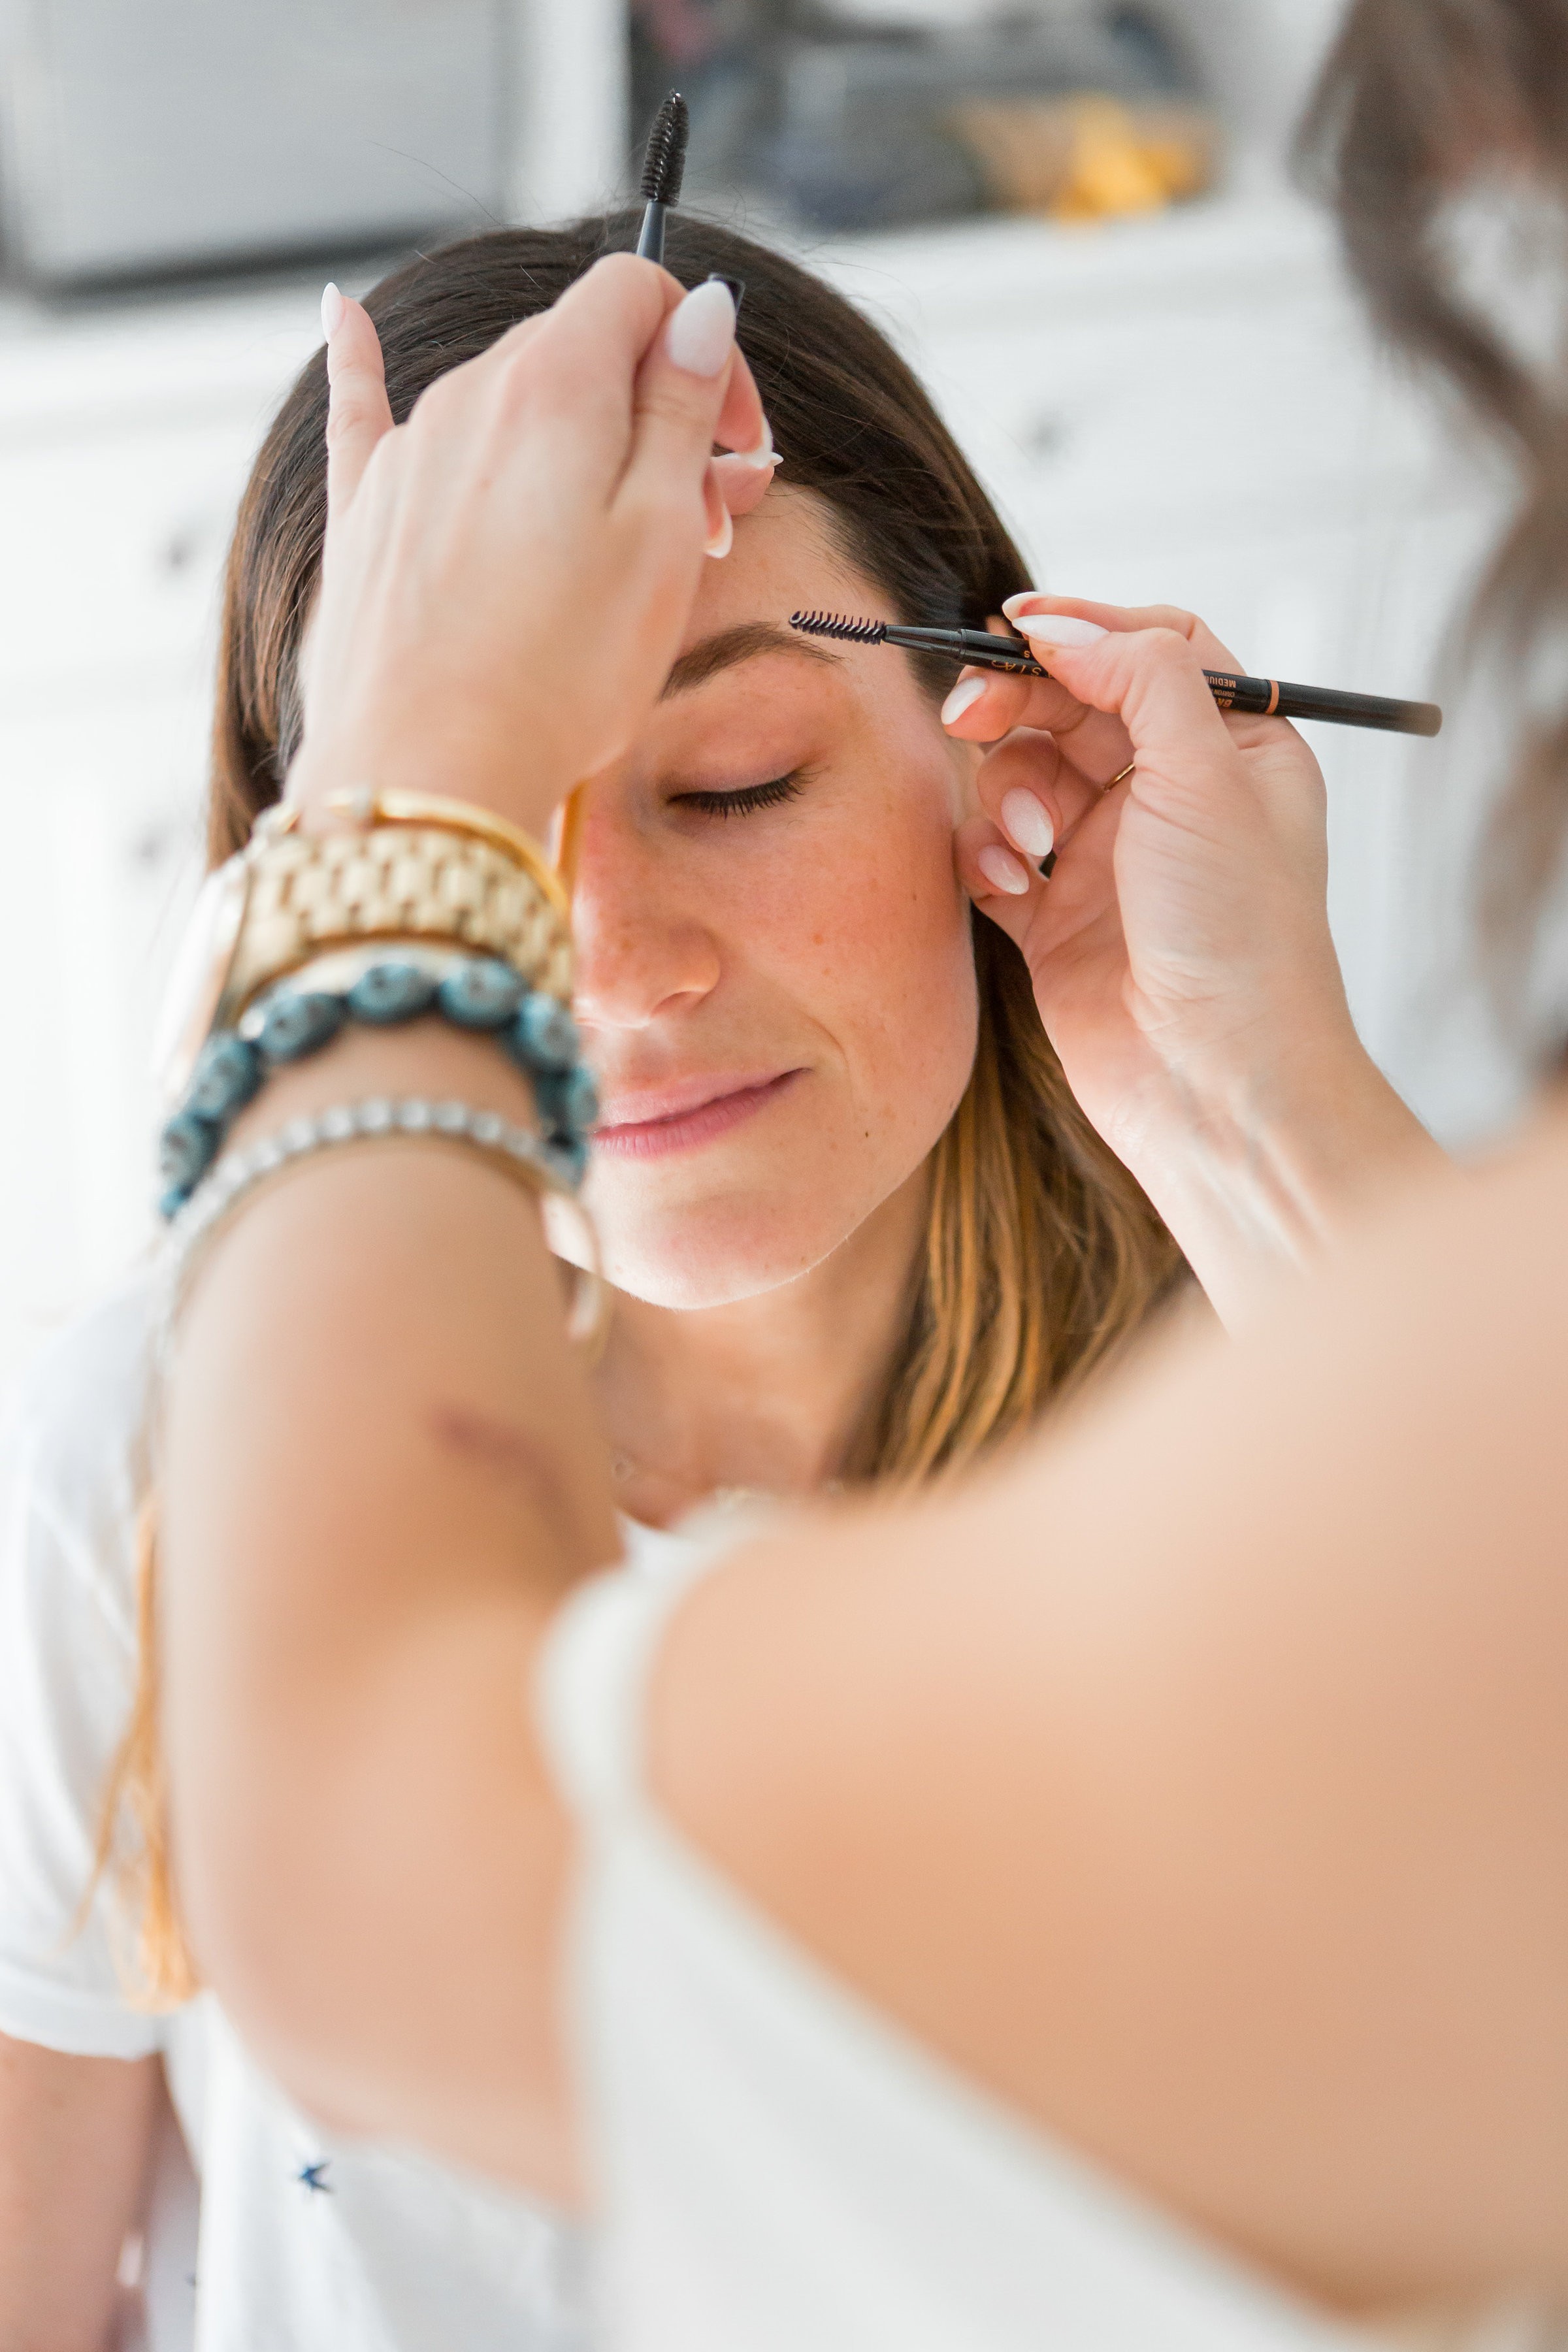
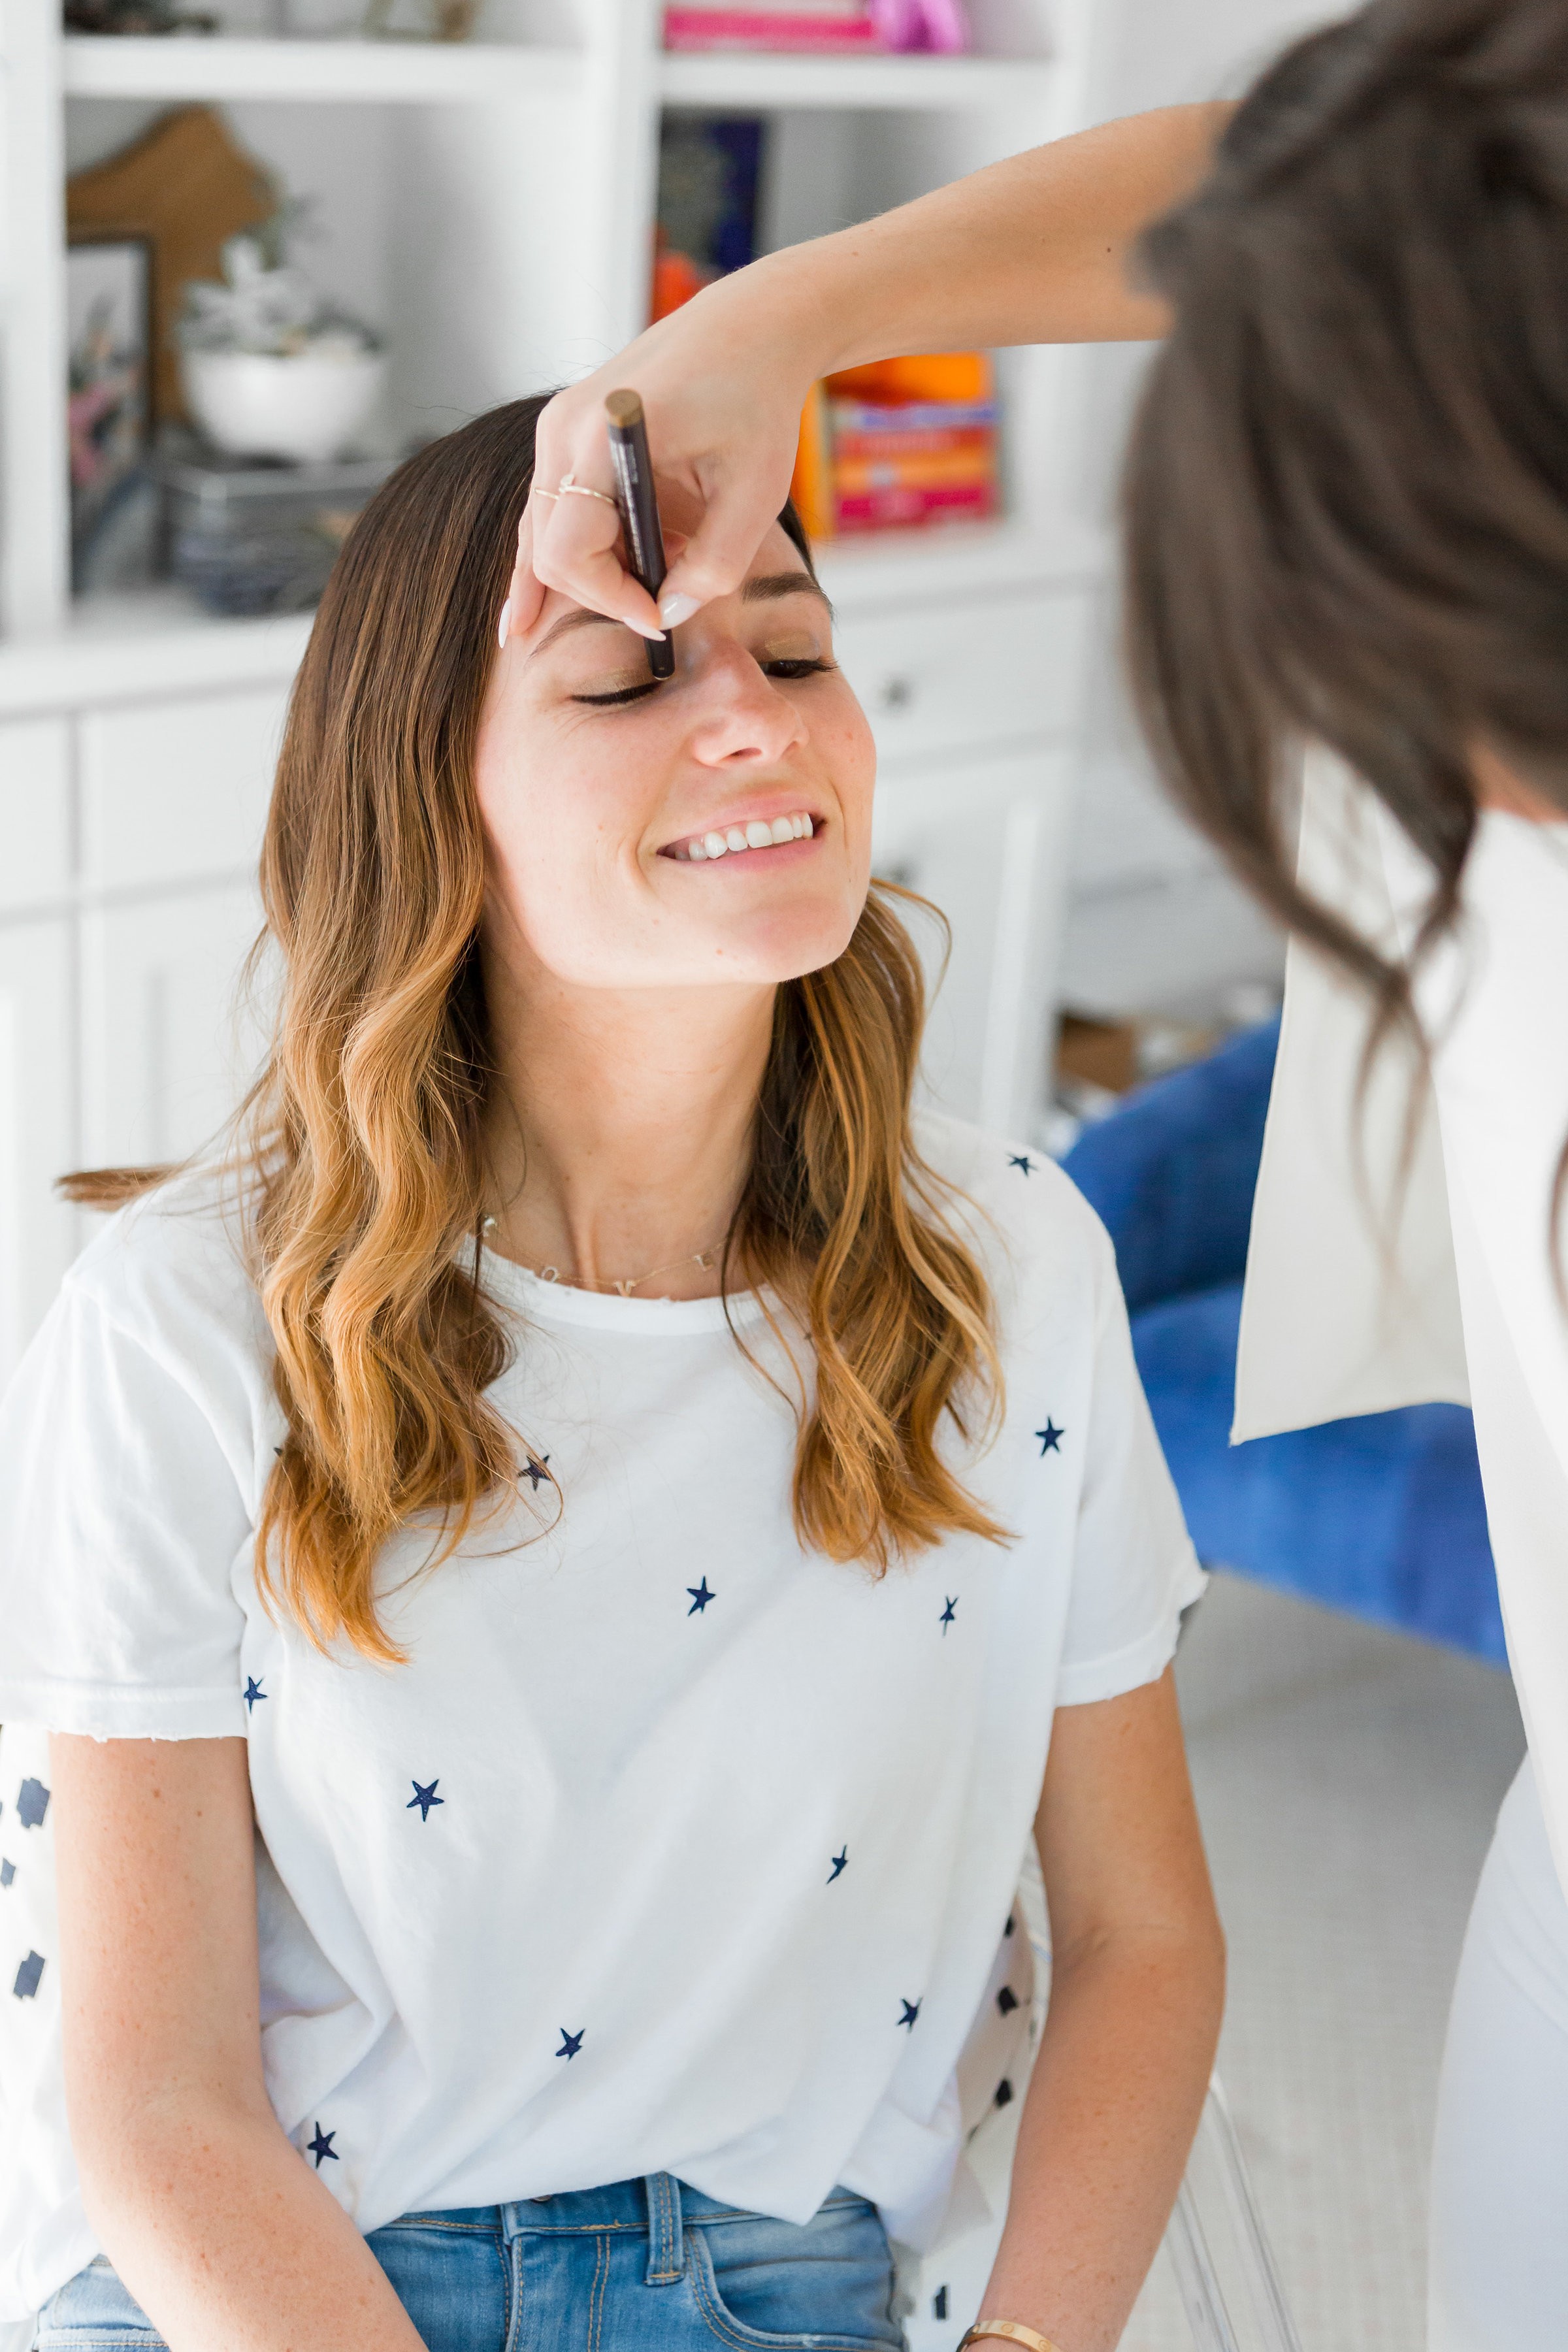
Courtney here! Bridget is bare faced and ready to go! I started by filling in her eyebrows with Anastastia Brow Wiz in medium brown.
After warming the product up by swiping it a few times on my hand, I apply using the pencil end. I then used the brush end to help comb product through the eyebrow to create a more natural/softer look. Doing this in layers/steps (pencil, pencil, brush brush) will also help create a softer more natural look. Bridget already has great shape to her brows, so a little went a long way!
After brows, I moved onto the lids. I started with an eyeshadow base, using the Laura Mercier Eyehadow Caviar Stick in sand glow. Starting with an eyeshadow base/primer helps color “stick” and helps prevent creasing. I rubbed this onto Bridget’s lid with my ring-finger, which is the softest finger on your hand and the preferred finger to use when applying eye cream.
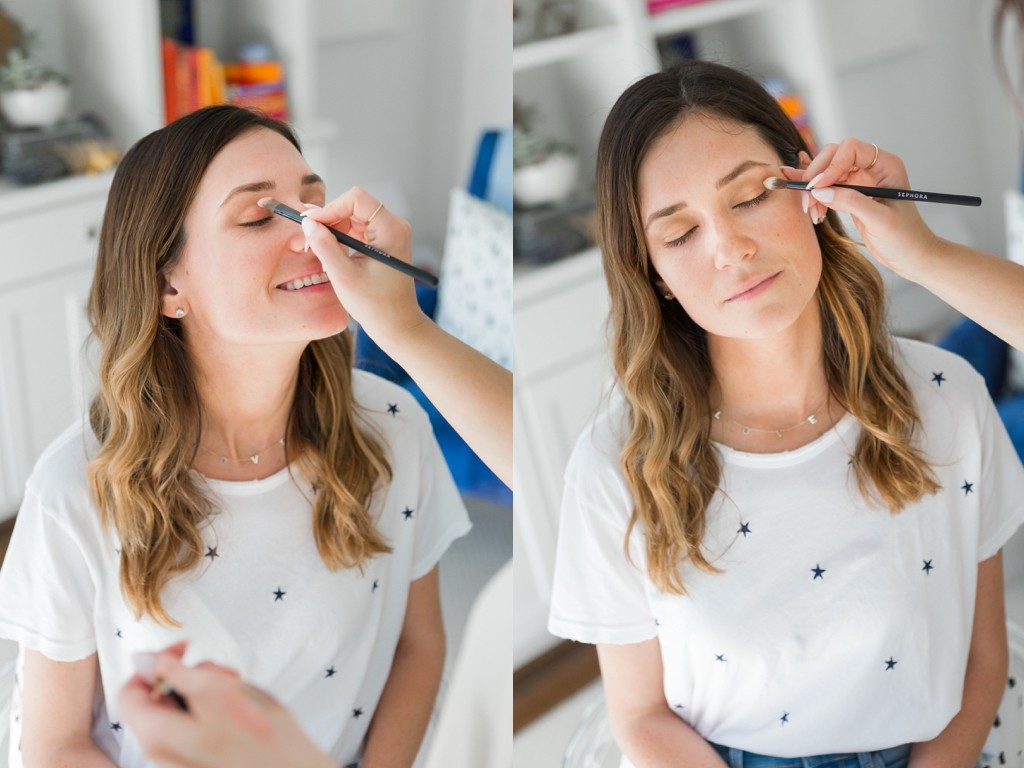
I created some depth on Bridget’s lids using the two natural colors in the top left corner – Desert Sand and Musk. I blended these into the crease of her lid and took the fat blending crease brush to help create a soft smoky-eye-like finish by BLENDING, BLENDING, BLENDING!
Then I took Nefertiti & Angelic, with a flat eyeshadow brush and pressed them onto Bridget’s eyelid, from her lash line to your crease. Take the fat blending crease brush and BLEND, BLEND, BLEND to smooth the color out and to get rid of any harsh lines
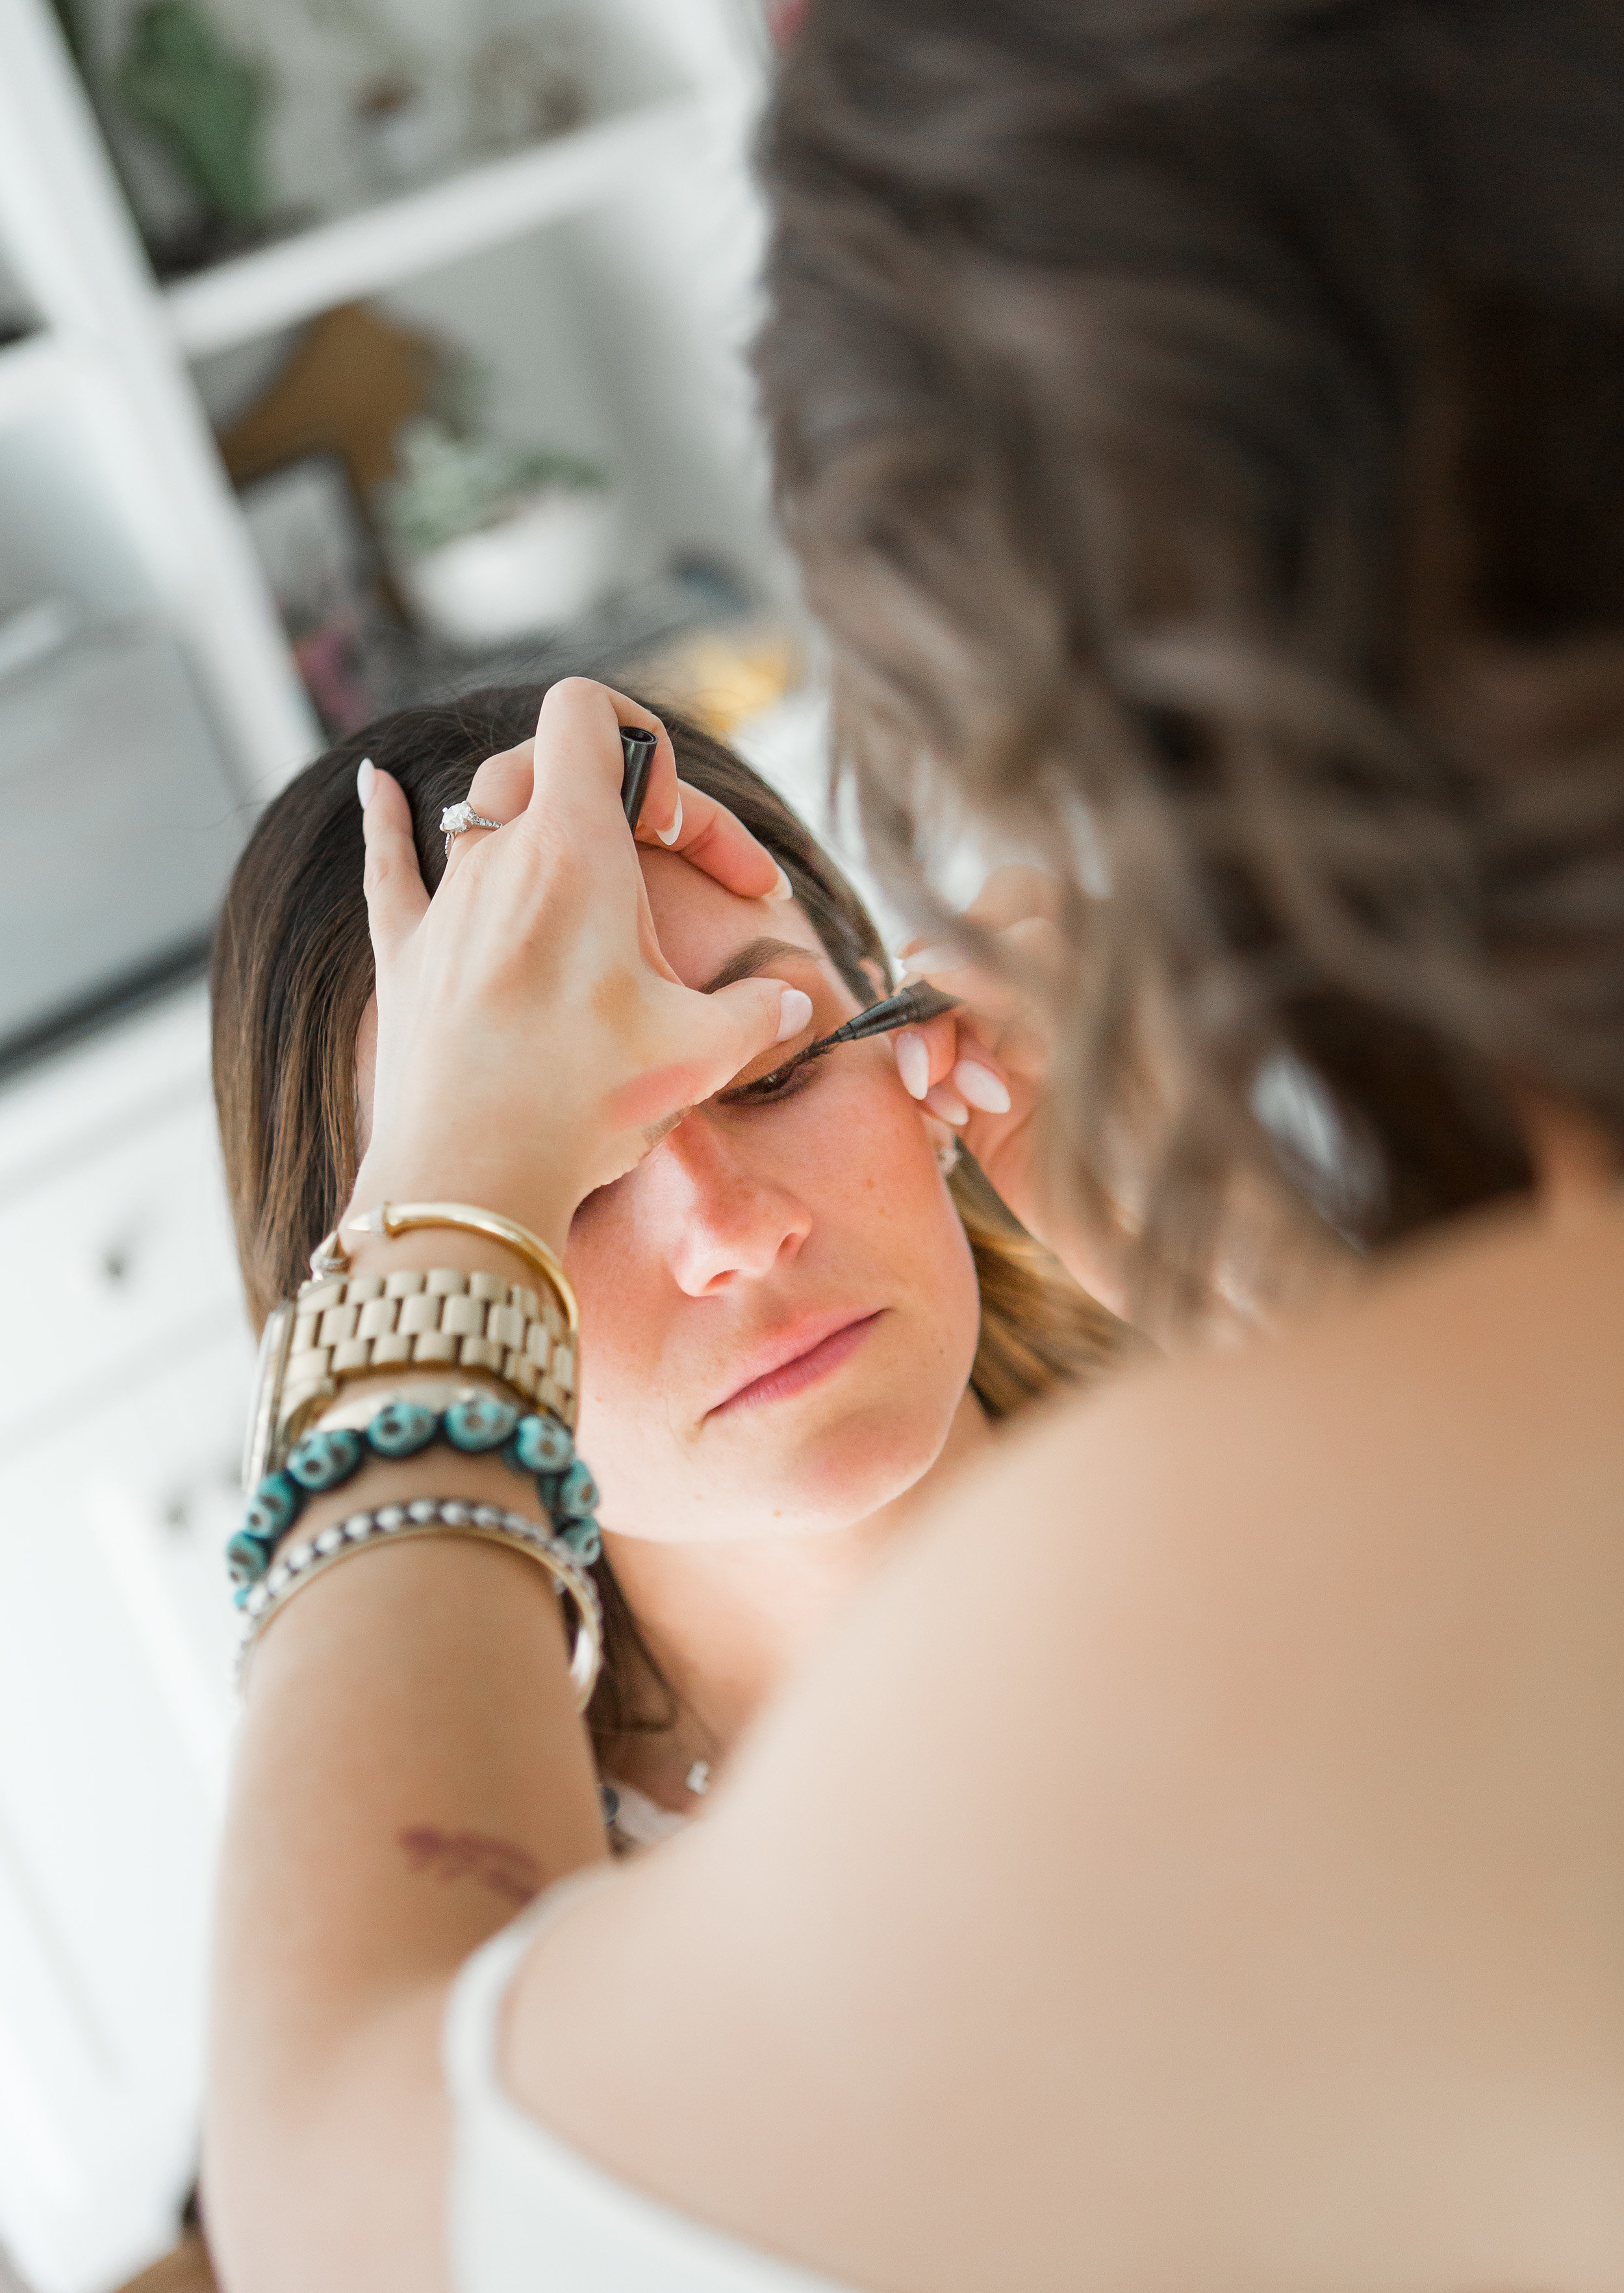
Next, I used the Stila Stay All Day Liquid Eyeliner and delicately lined Bridget’s lash line. I did this by holding the pen like you would a writing utensil and making small dashes that were connected, instead of trying to create one solid line. Dashes creates a smooth line 99% of the time, where as trying to do one continuous line will almost always be jagged.
From there, I took a smudge brush to smudge the eyeliner just a little bit to make it look softer. Smudging helps create a softer line, which is essential in doing a soft smoky eye. I used the Sephora Collection PRO Smudge #11 brush.
I used the same smudge brush and lightly dabbed it into Oud, the dark brown color in upper right corner of the palette, and smudged it lightly on Bridget’s bottom lash line. Doing this helps make her bottom lashes look fuller without using multiple coats of mascara.
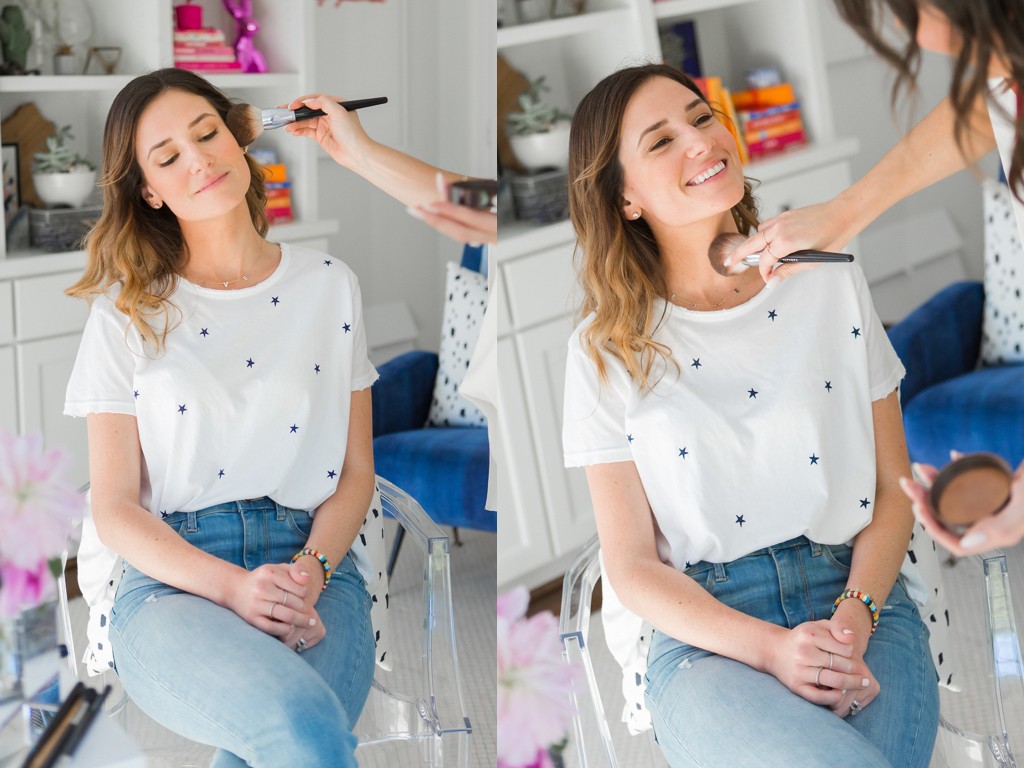
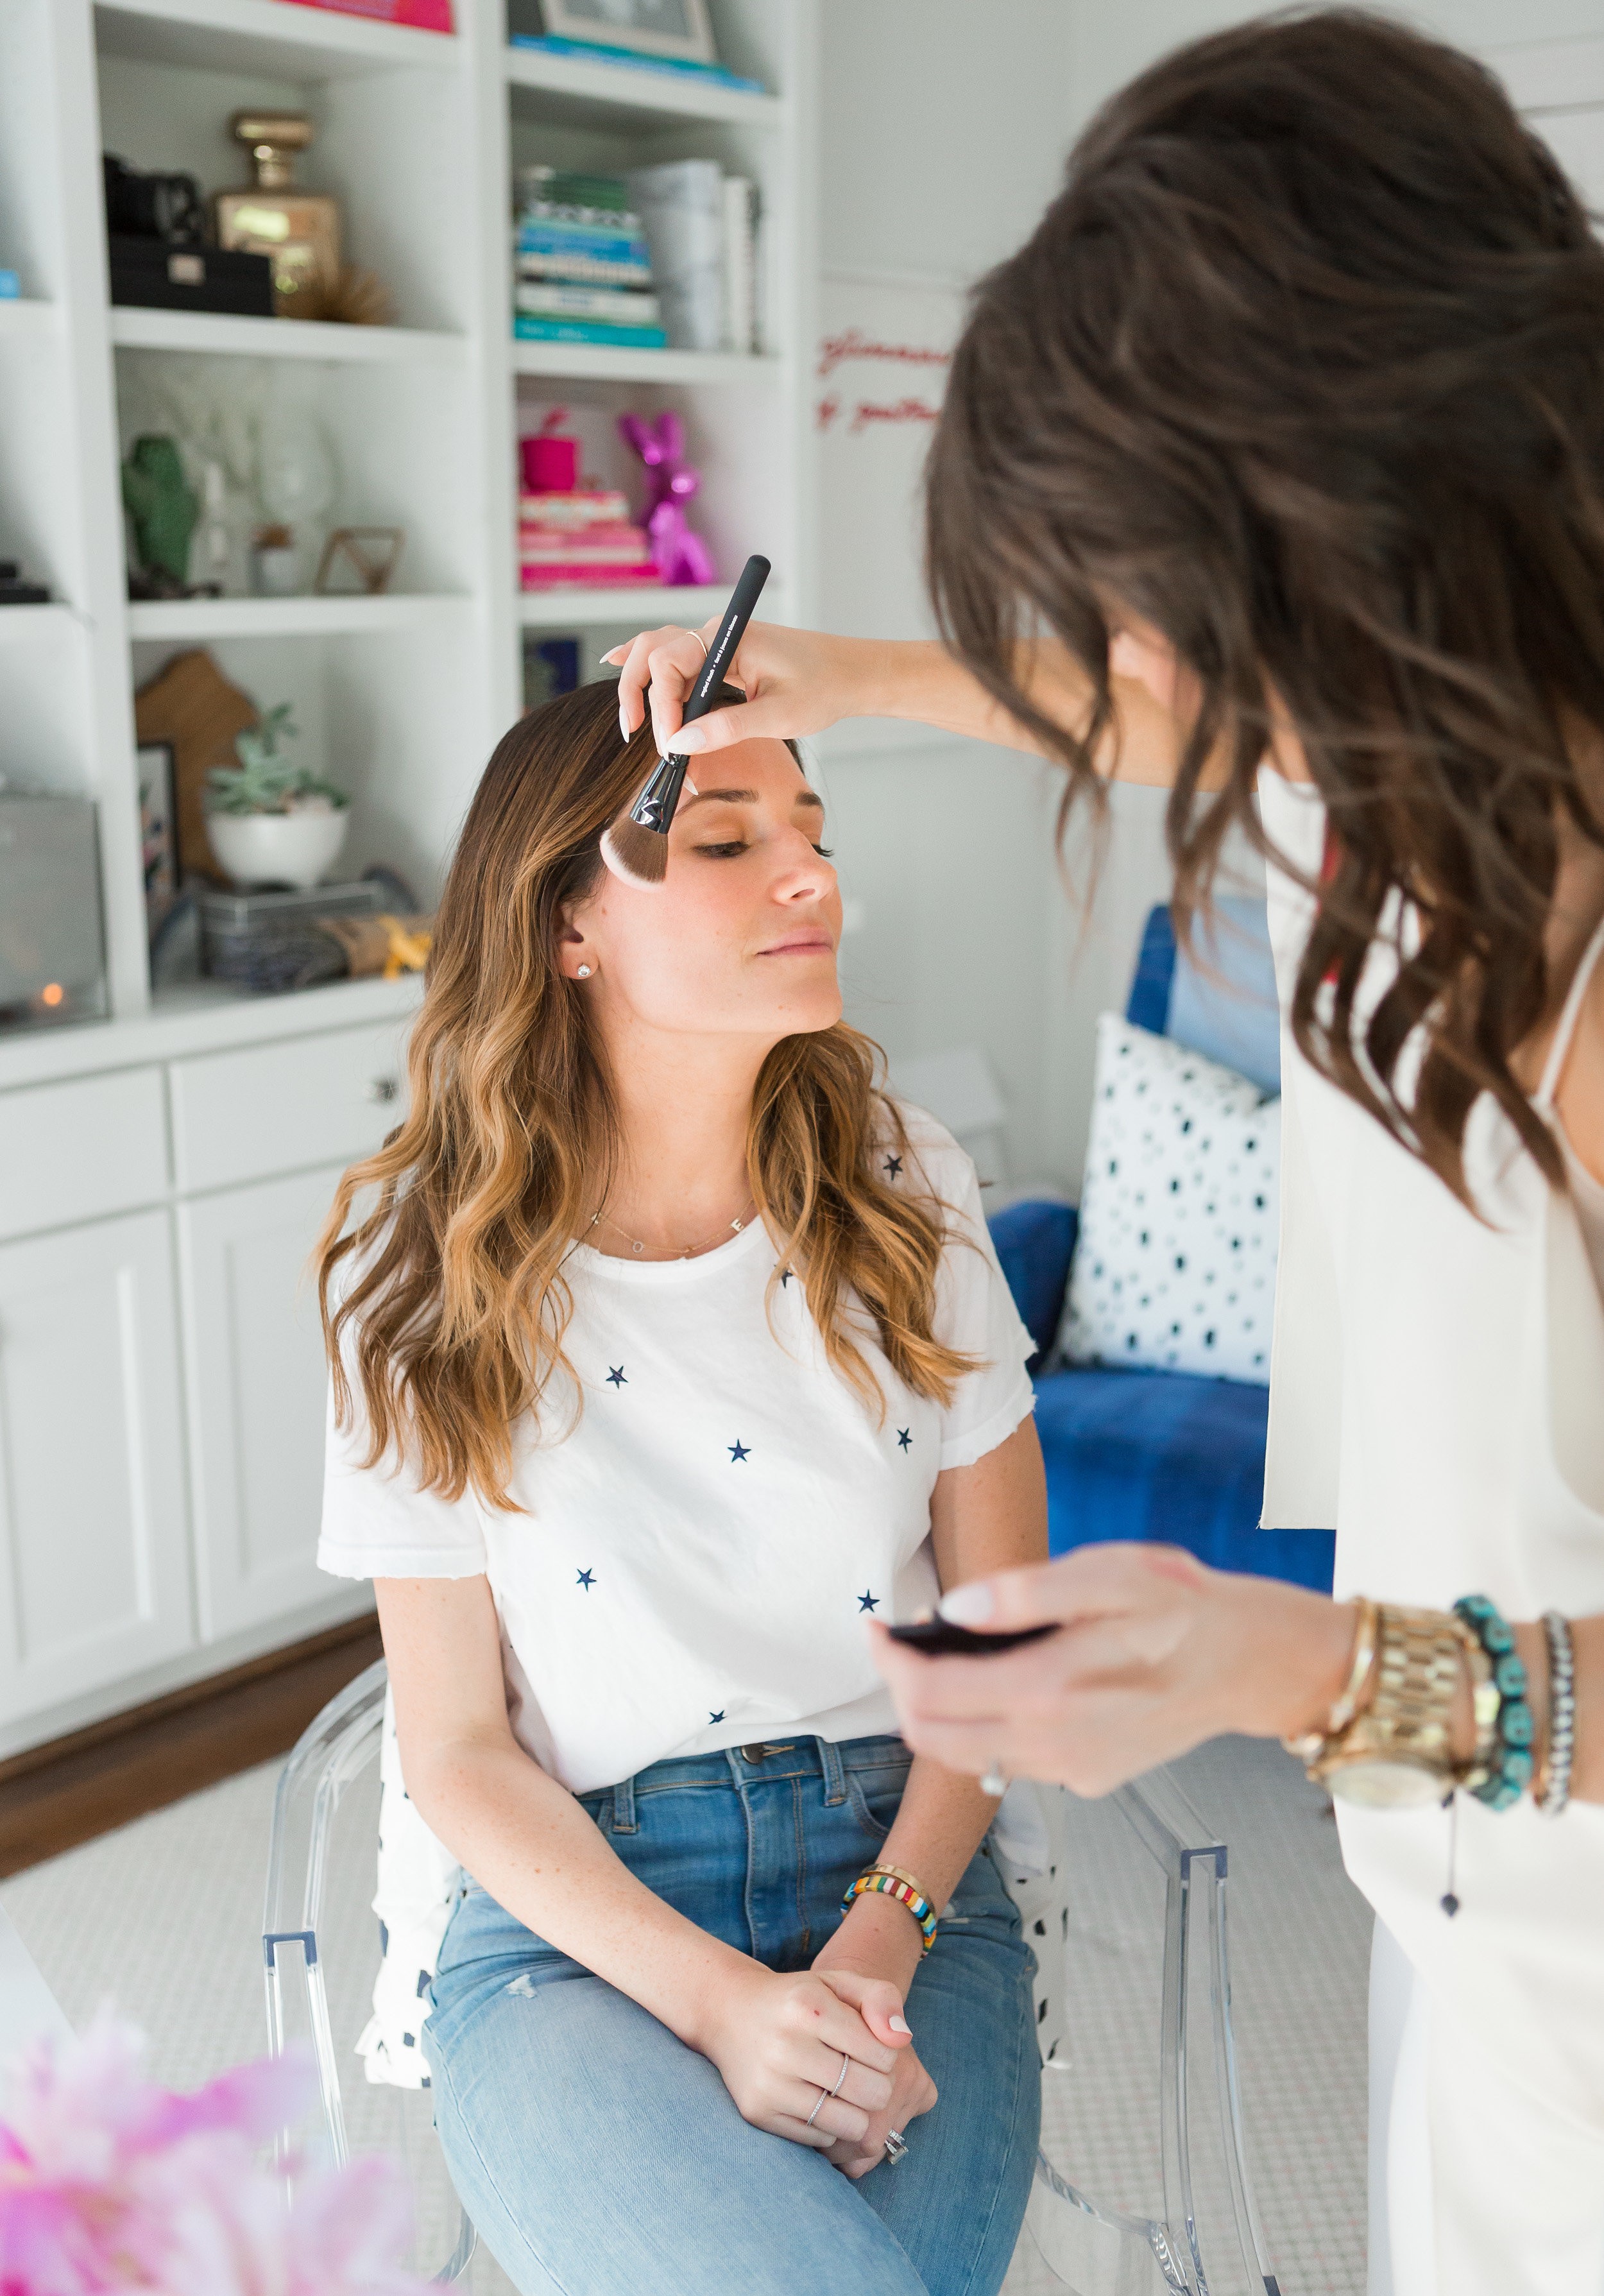
I warmed Bridget’s skin up with the Laura Mercier loose powder in medium deep by applying it on her cheeks, forehead, chin and down her neck slightly. When applying bronzer or blush, I always run it from the apples of the cheek all the way through the hairline, at an angle. Think – apples of cheek to the outside corner of your eye, through your hairline, in a tear drop shape.
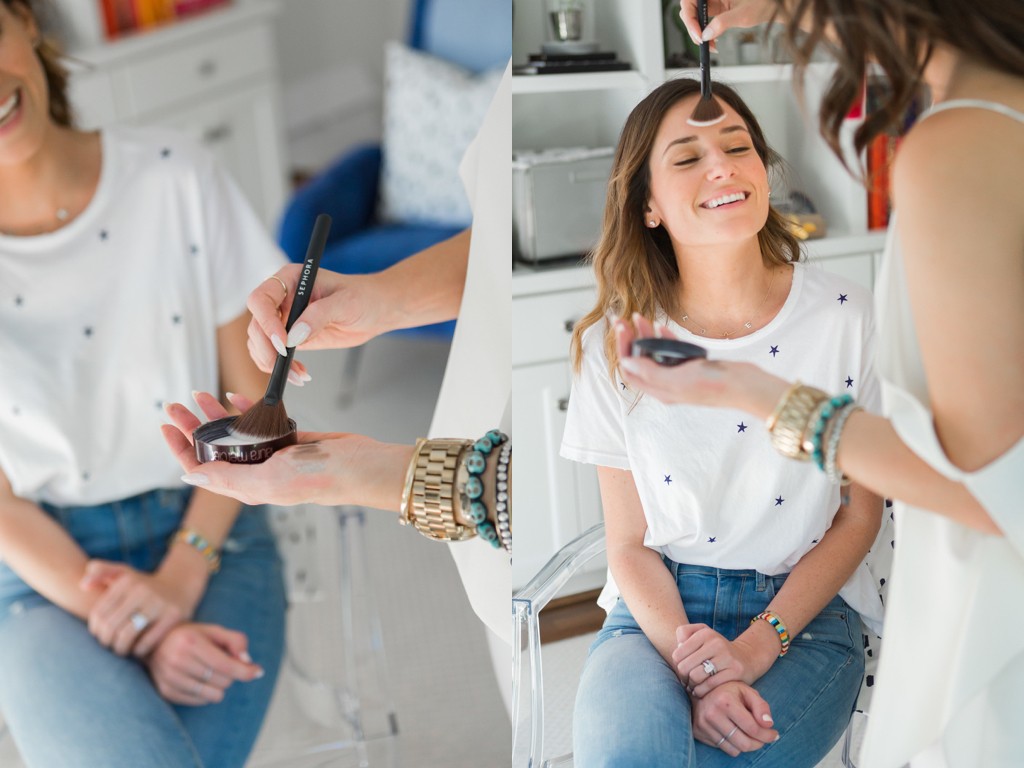
I finished Bridget’s face with Laura Mercier’s Translucent Finishing Powder. Finishing powder helps seal in your foundation, bronzer, etc. and helps create an overall flawless, velvety finish. I applied this powder to Bridget’s T-zone where makeup typically starts to break down first. The reason why I applied the finishing powder before I did Bridget’s blush is because I did not want her blush to have a matte finish. Blush is supposed add dimension to the skin, which is why that product will almost always will have sort of sheen to it. I always apply blush last.
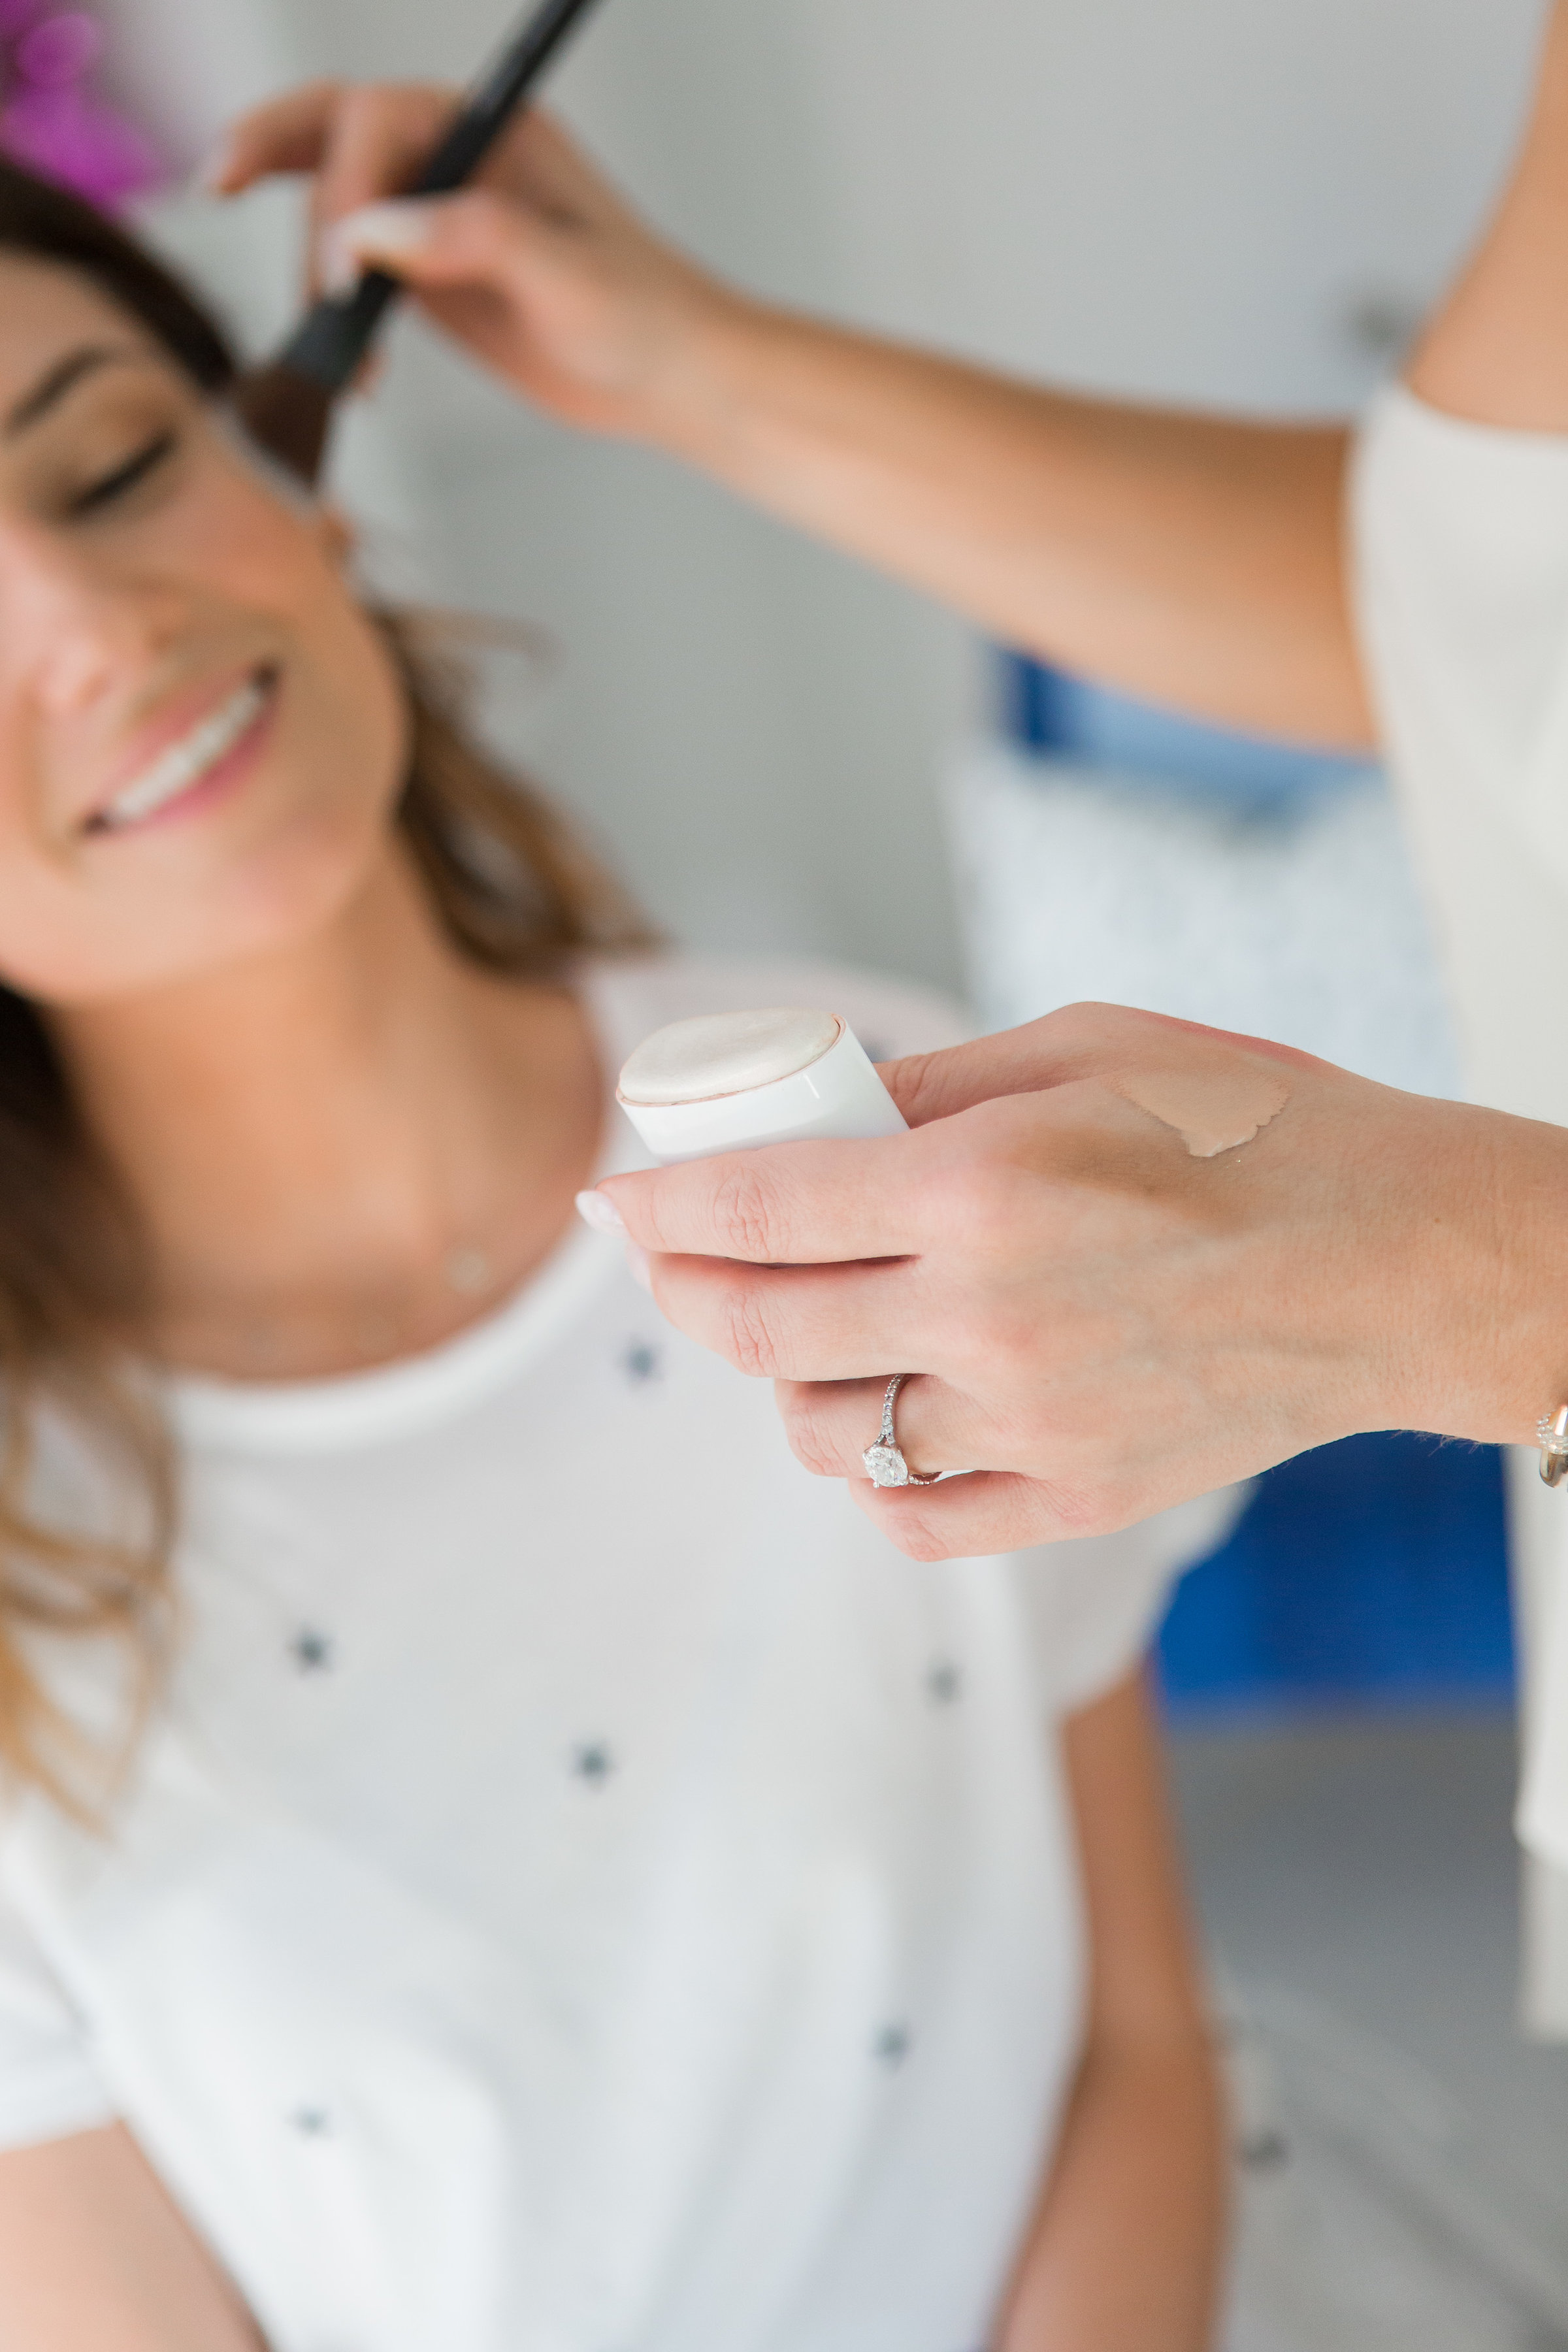
Lastly, I took the Marc Jacobs Glow Stick with a blush brush and applied it to Bridget’s cheeks as I would with any other powder blush, and then applied Nars Orgasm powder blush right on top. When applying bronzer or blush, I always run it from the apples of the cheek all the way through the hairline, at an angle. Using a cream base to the cheeks, before applying powder blush, helps the powder blush last longer, similar to how eyeshadow primer helps eyeshadow last longer.
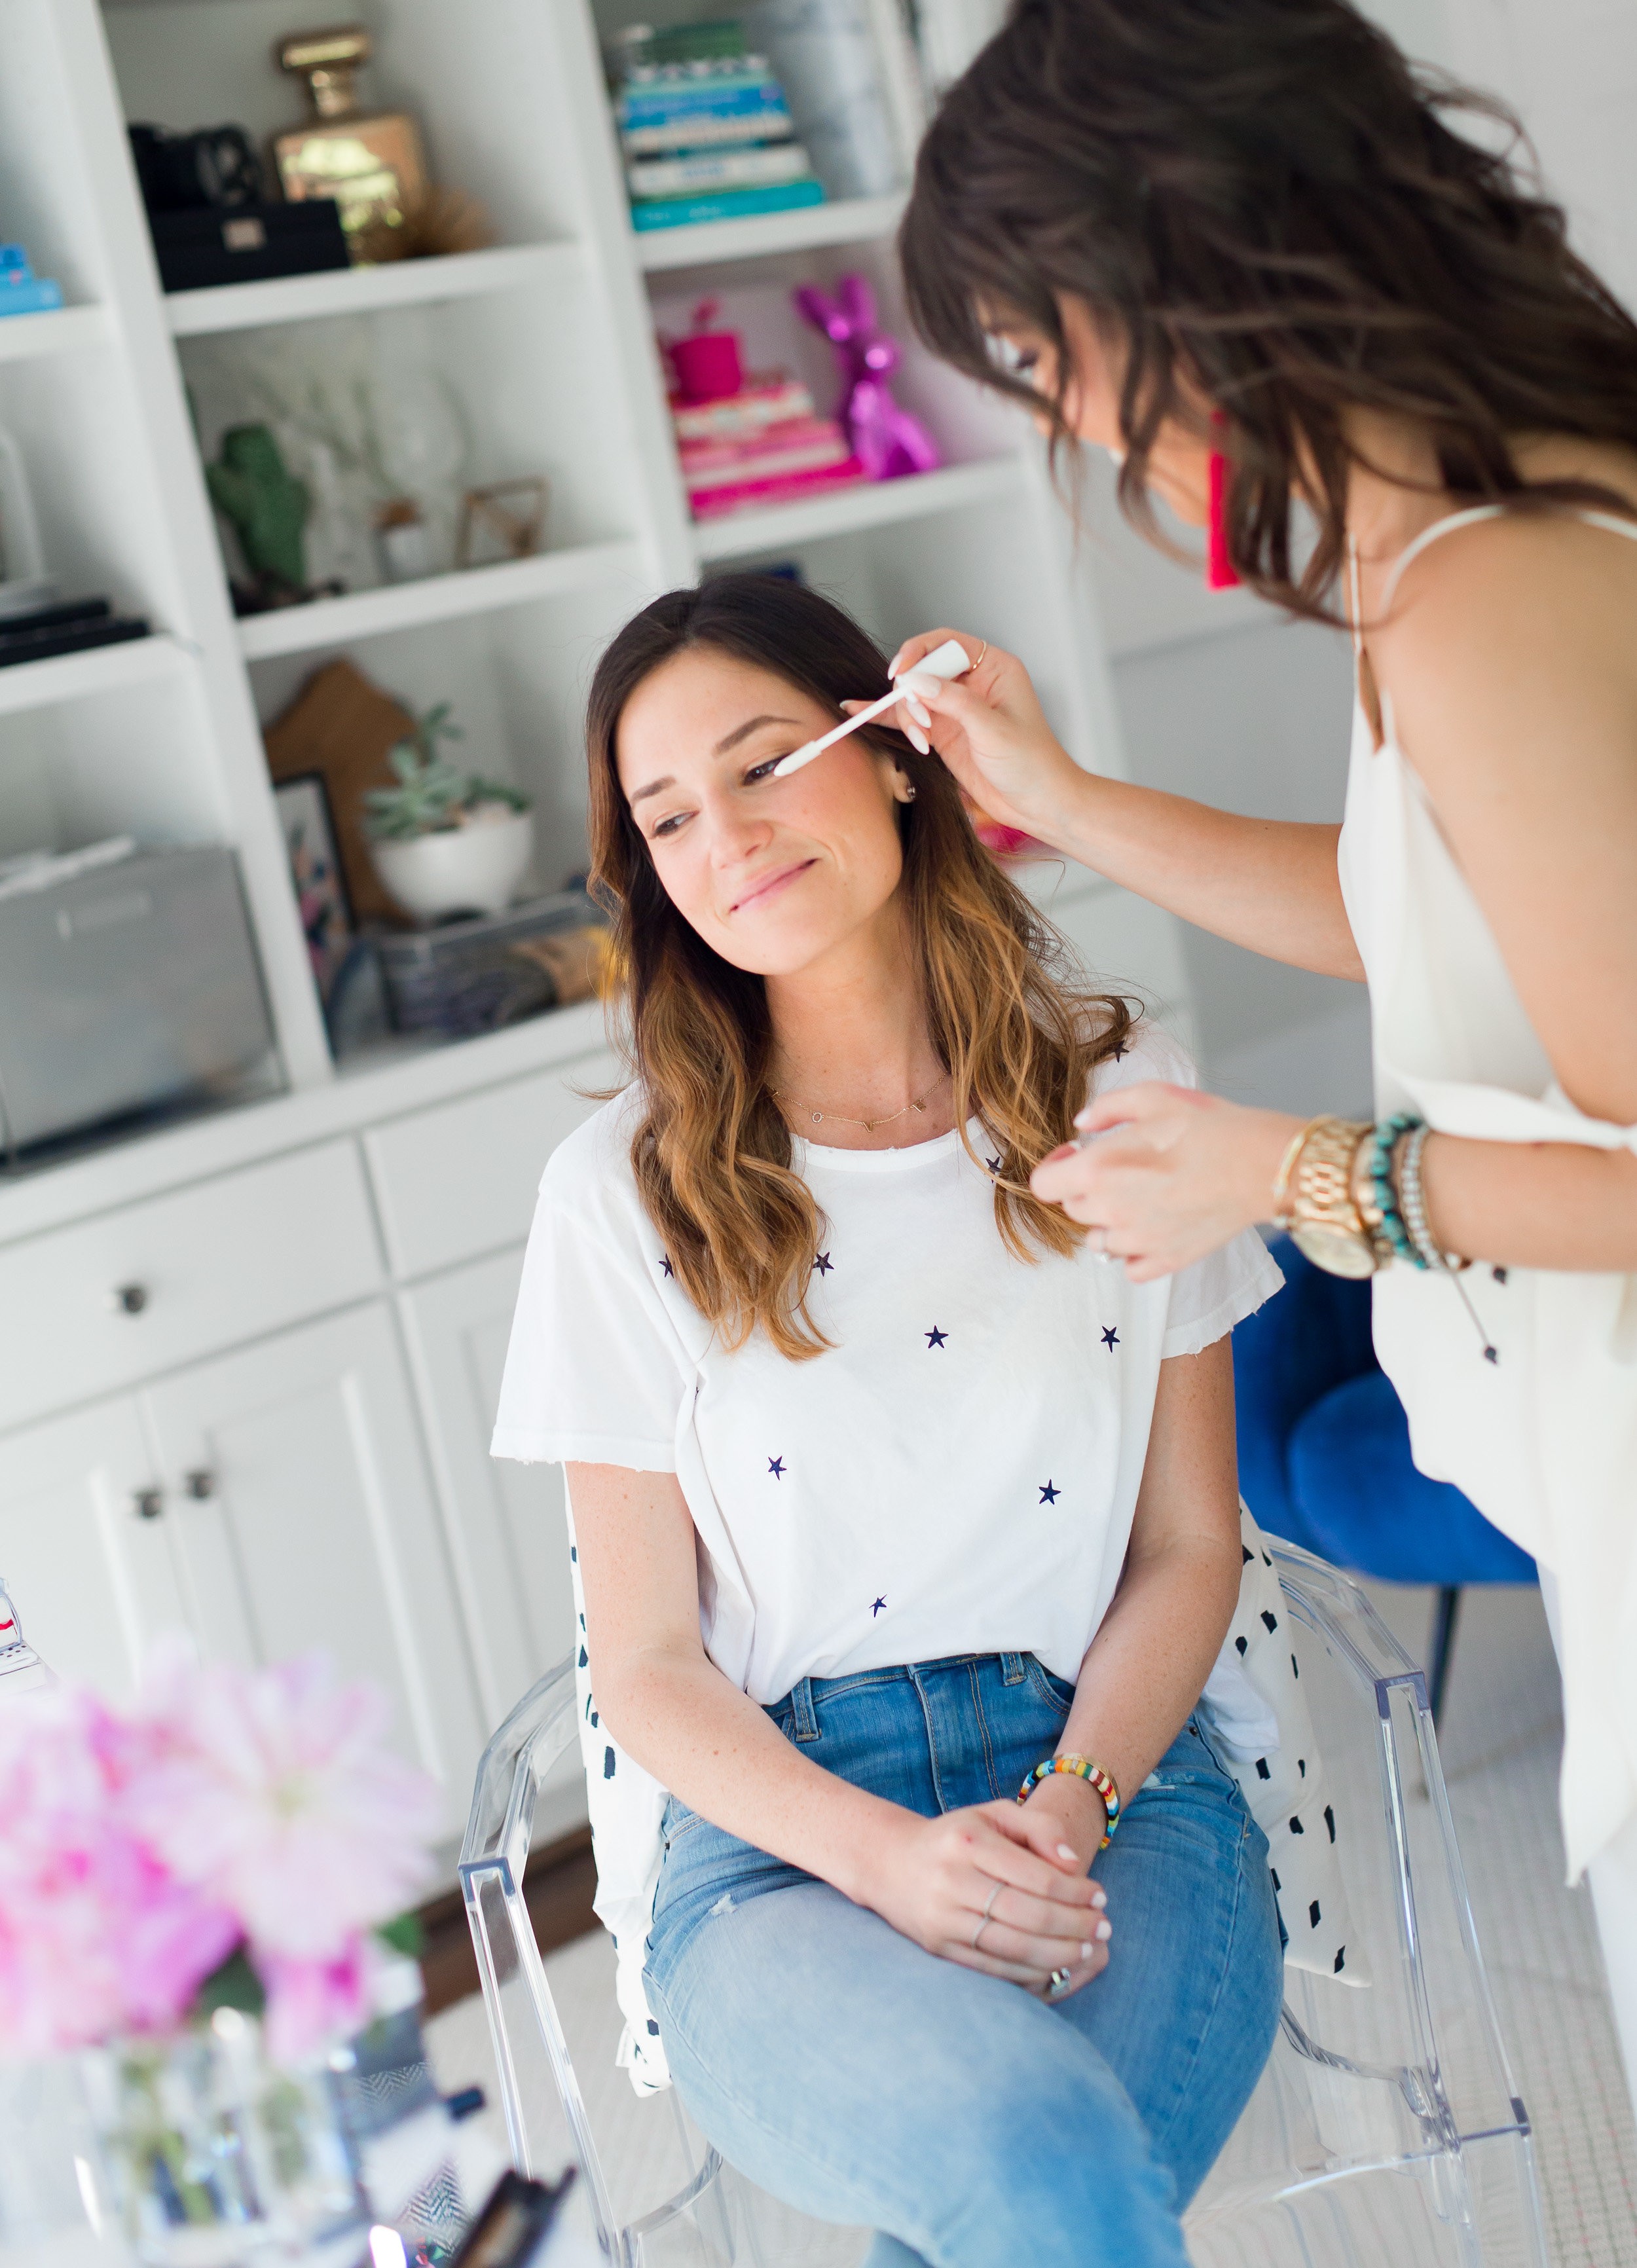
After applying Dior’s Diorshow Maximizer 3D lash primer, I followed it up with Dior’s infamous Diorshow Mascara. Using a mascara primer helps add length and texture to your lashes, to give your mascara something more to hang onto, thus creating length and volume.
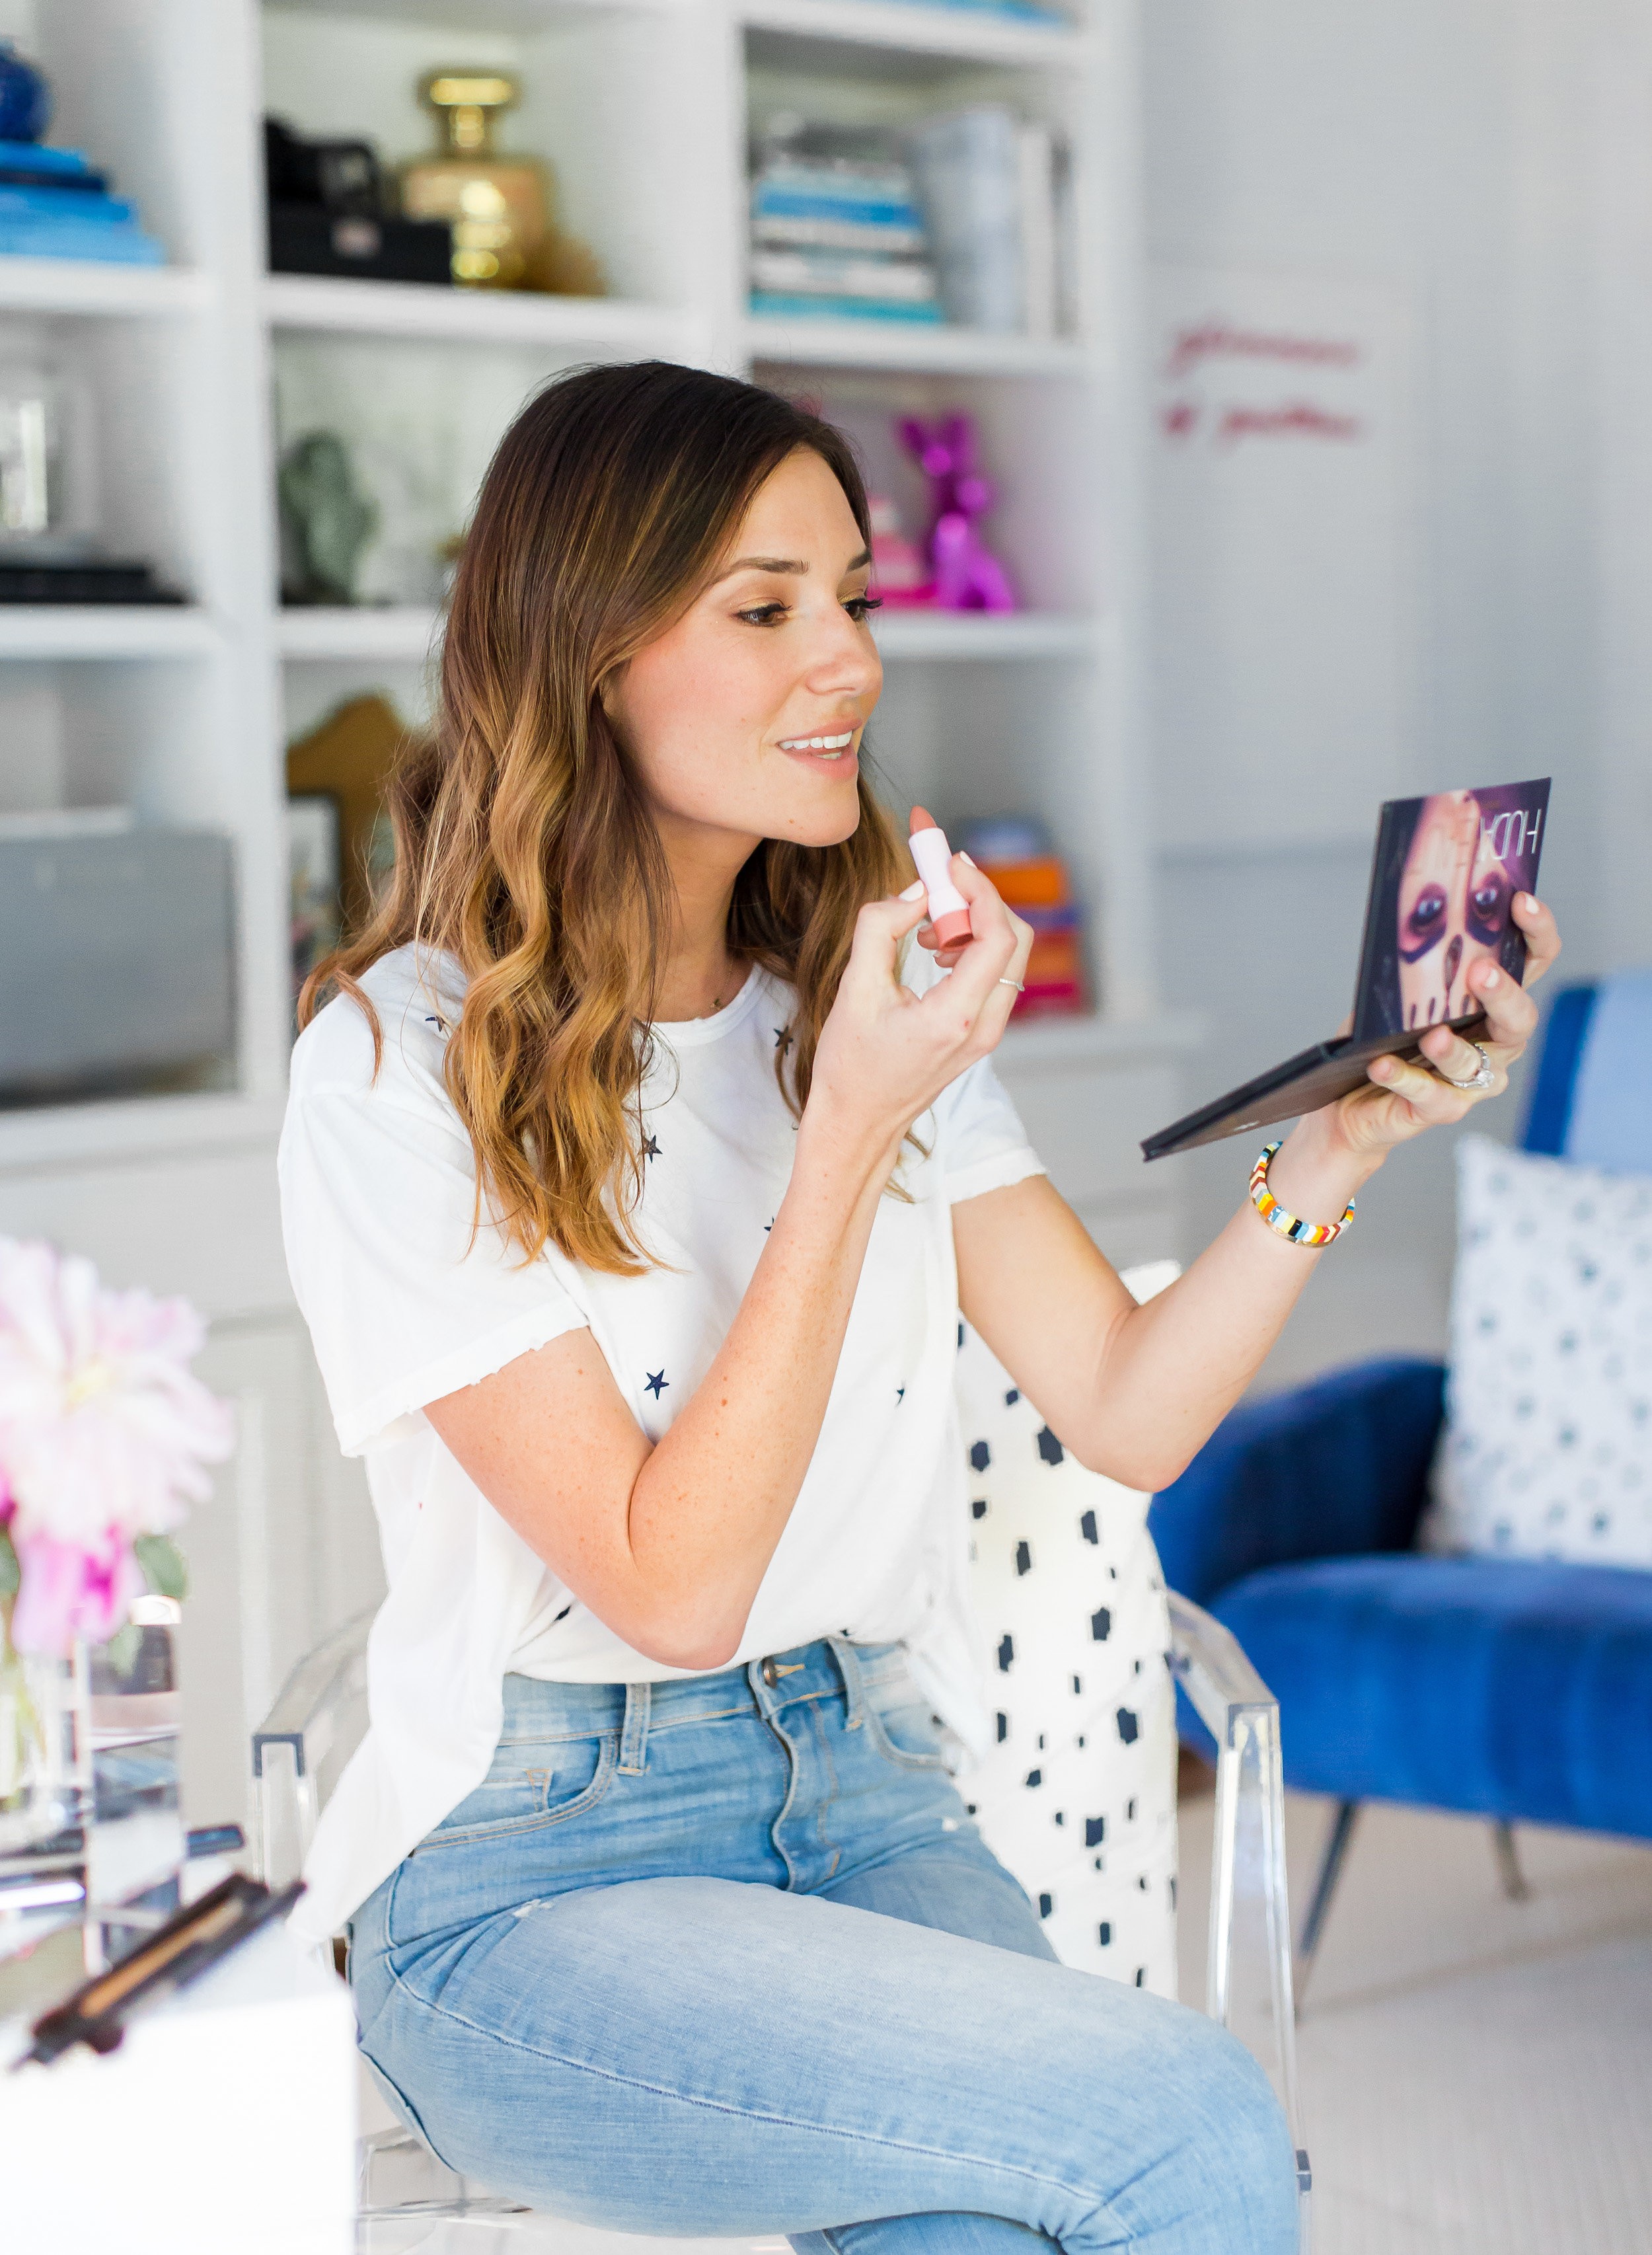
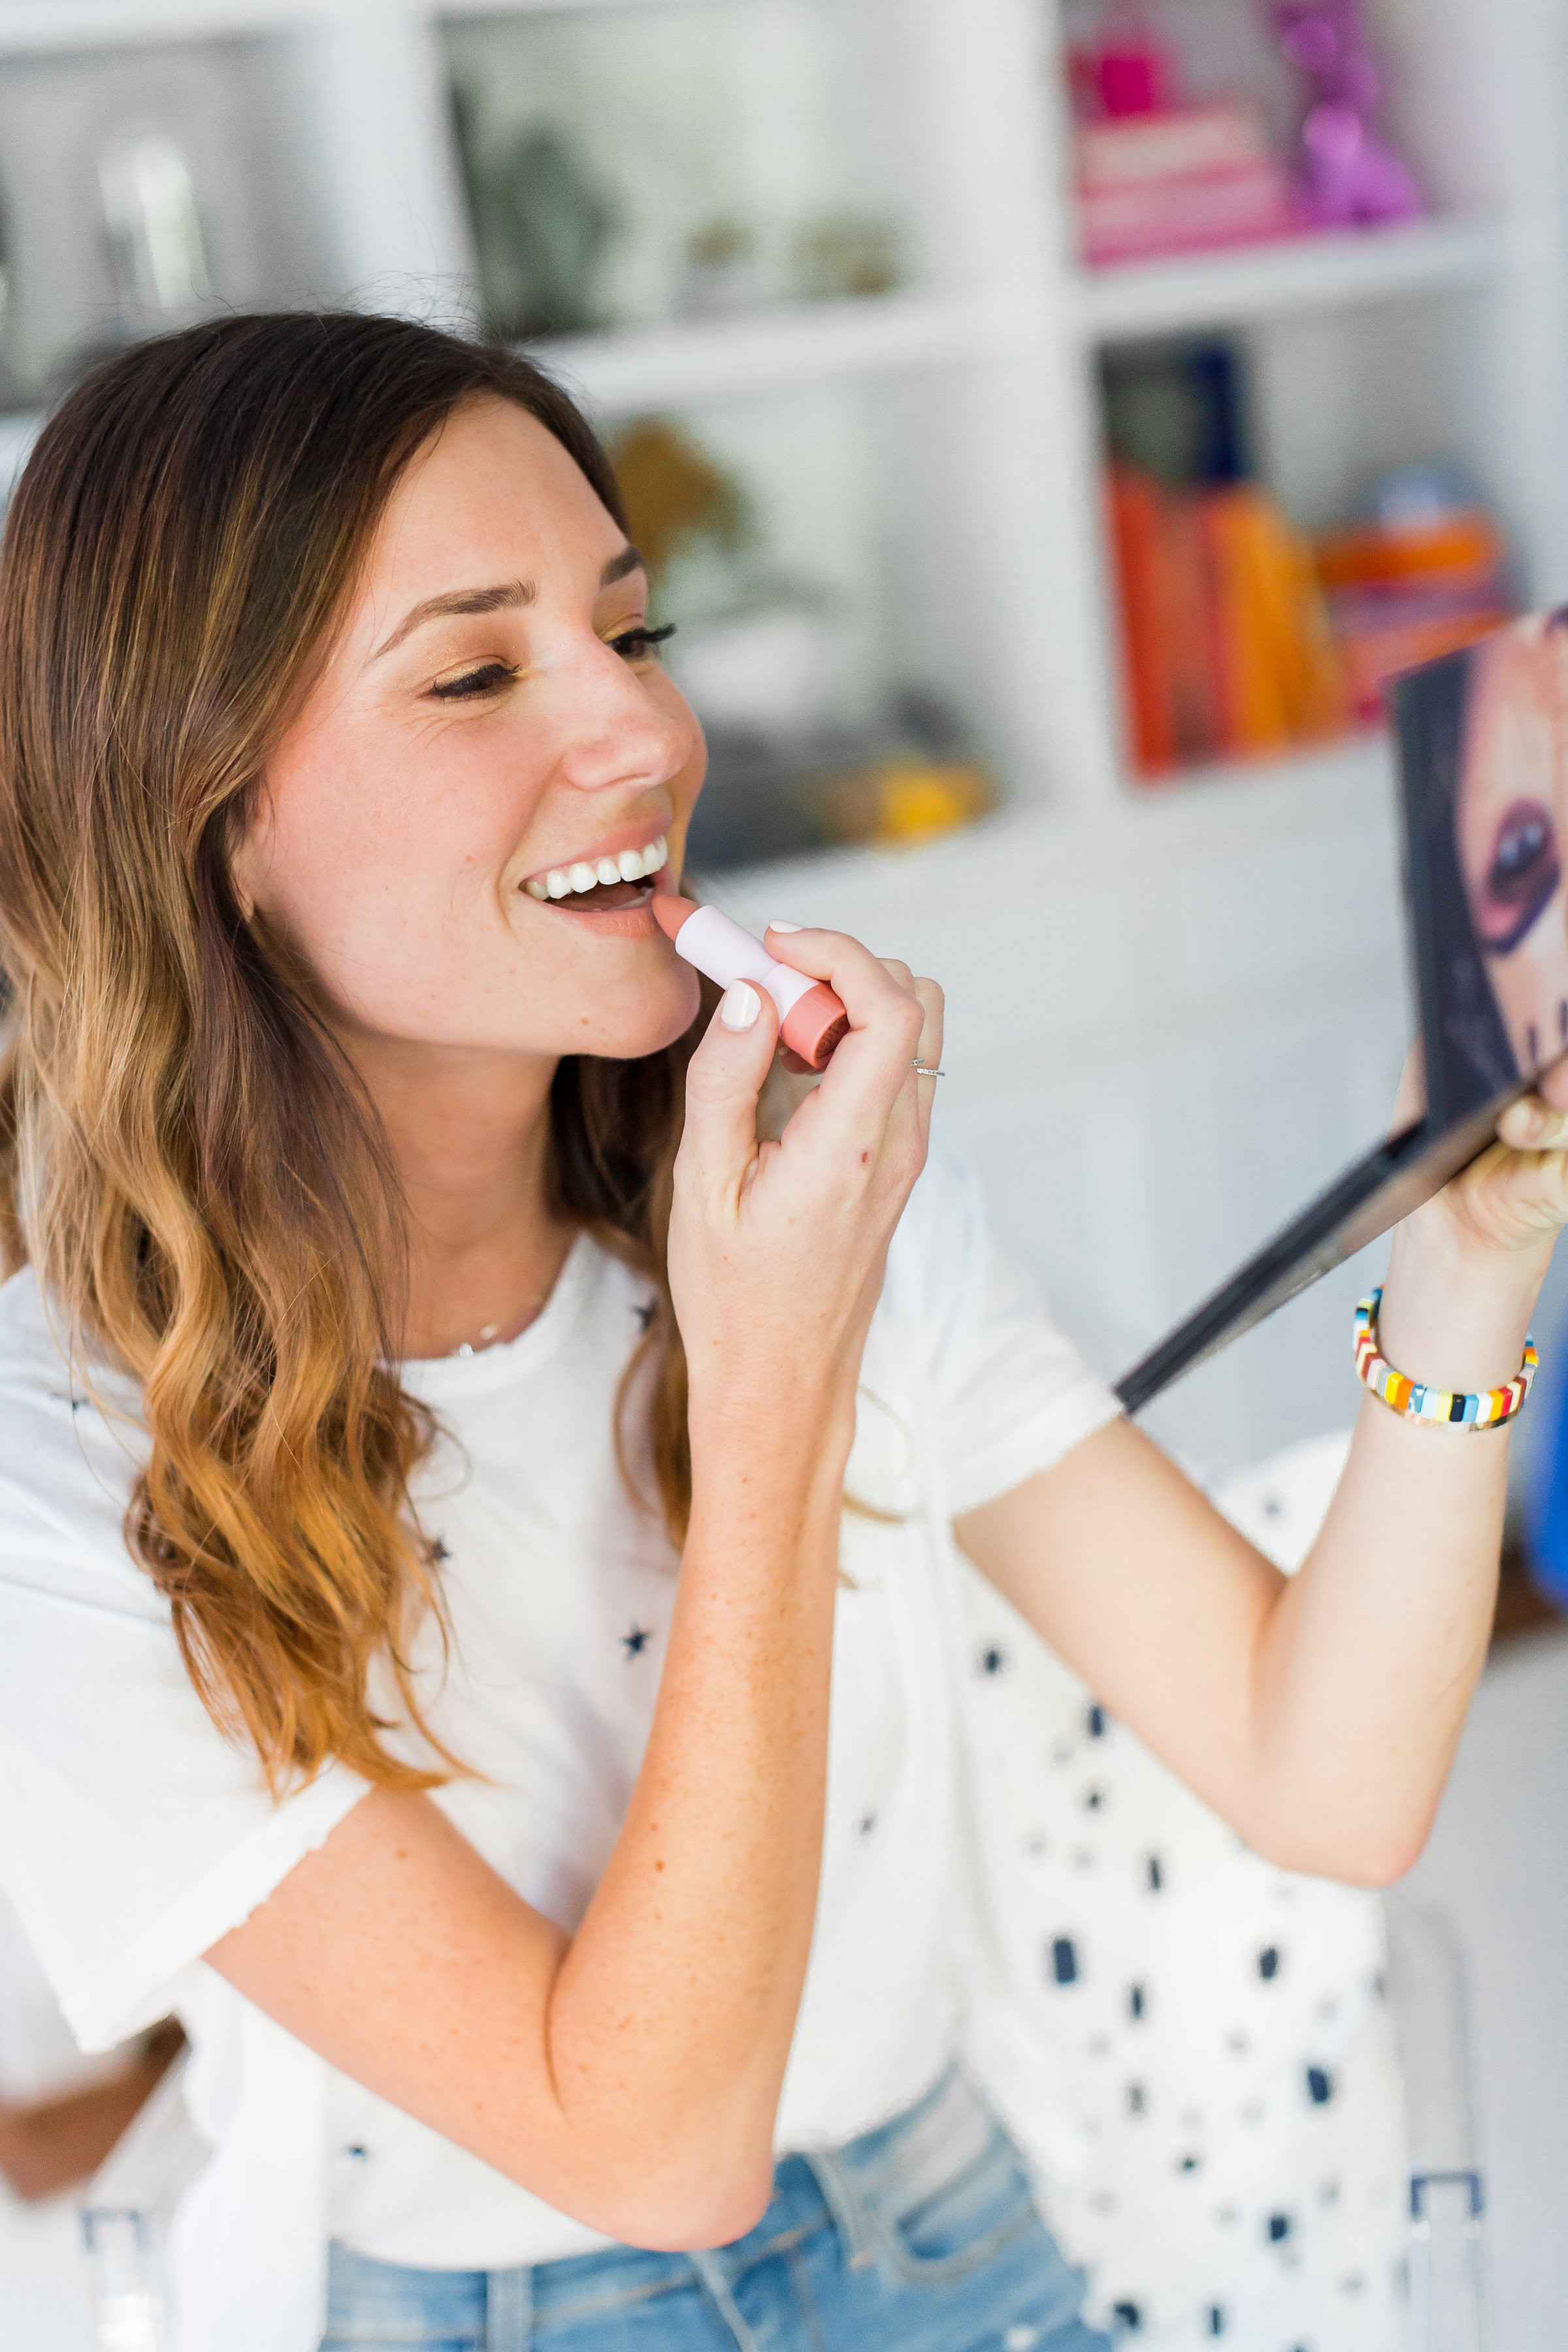
Last but not least, I let Bridget top off her look with lipstick! She chose Sephora’s Collection Lipstories Lipstick in Tan Lines. This lipstick is a high-pigment, lightweight lipstick that provides full-coverage color for only $8. I was seriously impressed with its consistency and love that it’s available in 40 shades and three different finishes: matte, cream, and metal. Tan lines was the perfect pink-y nude.
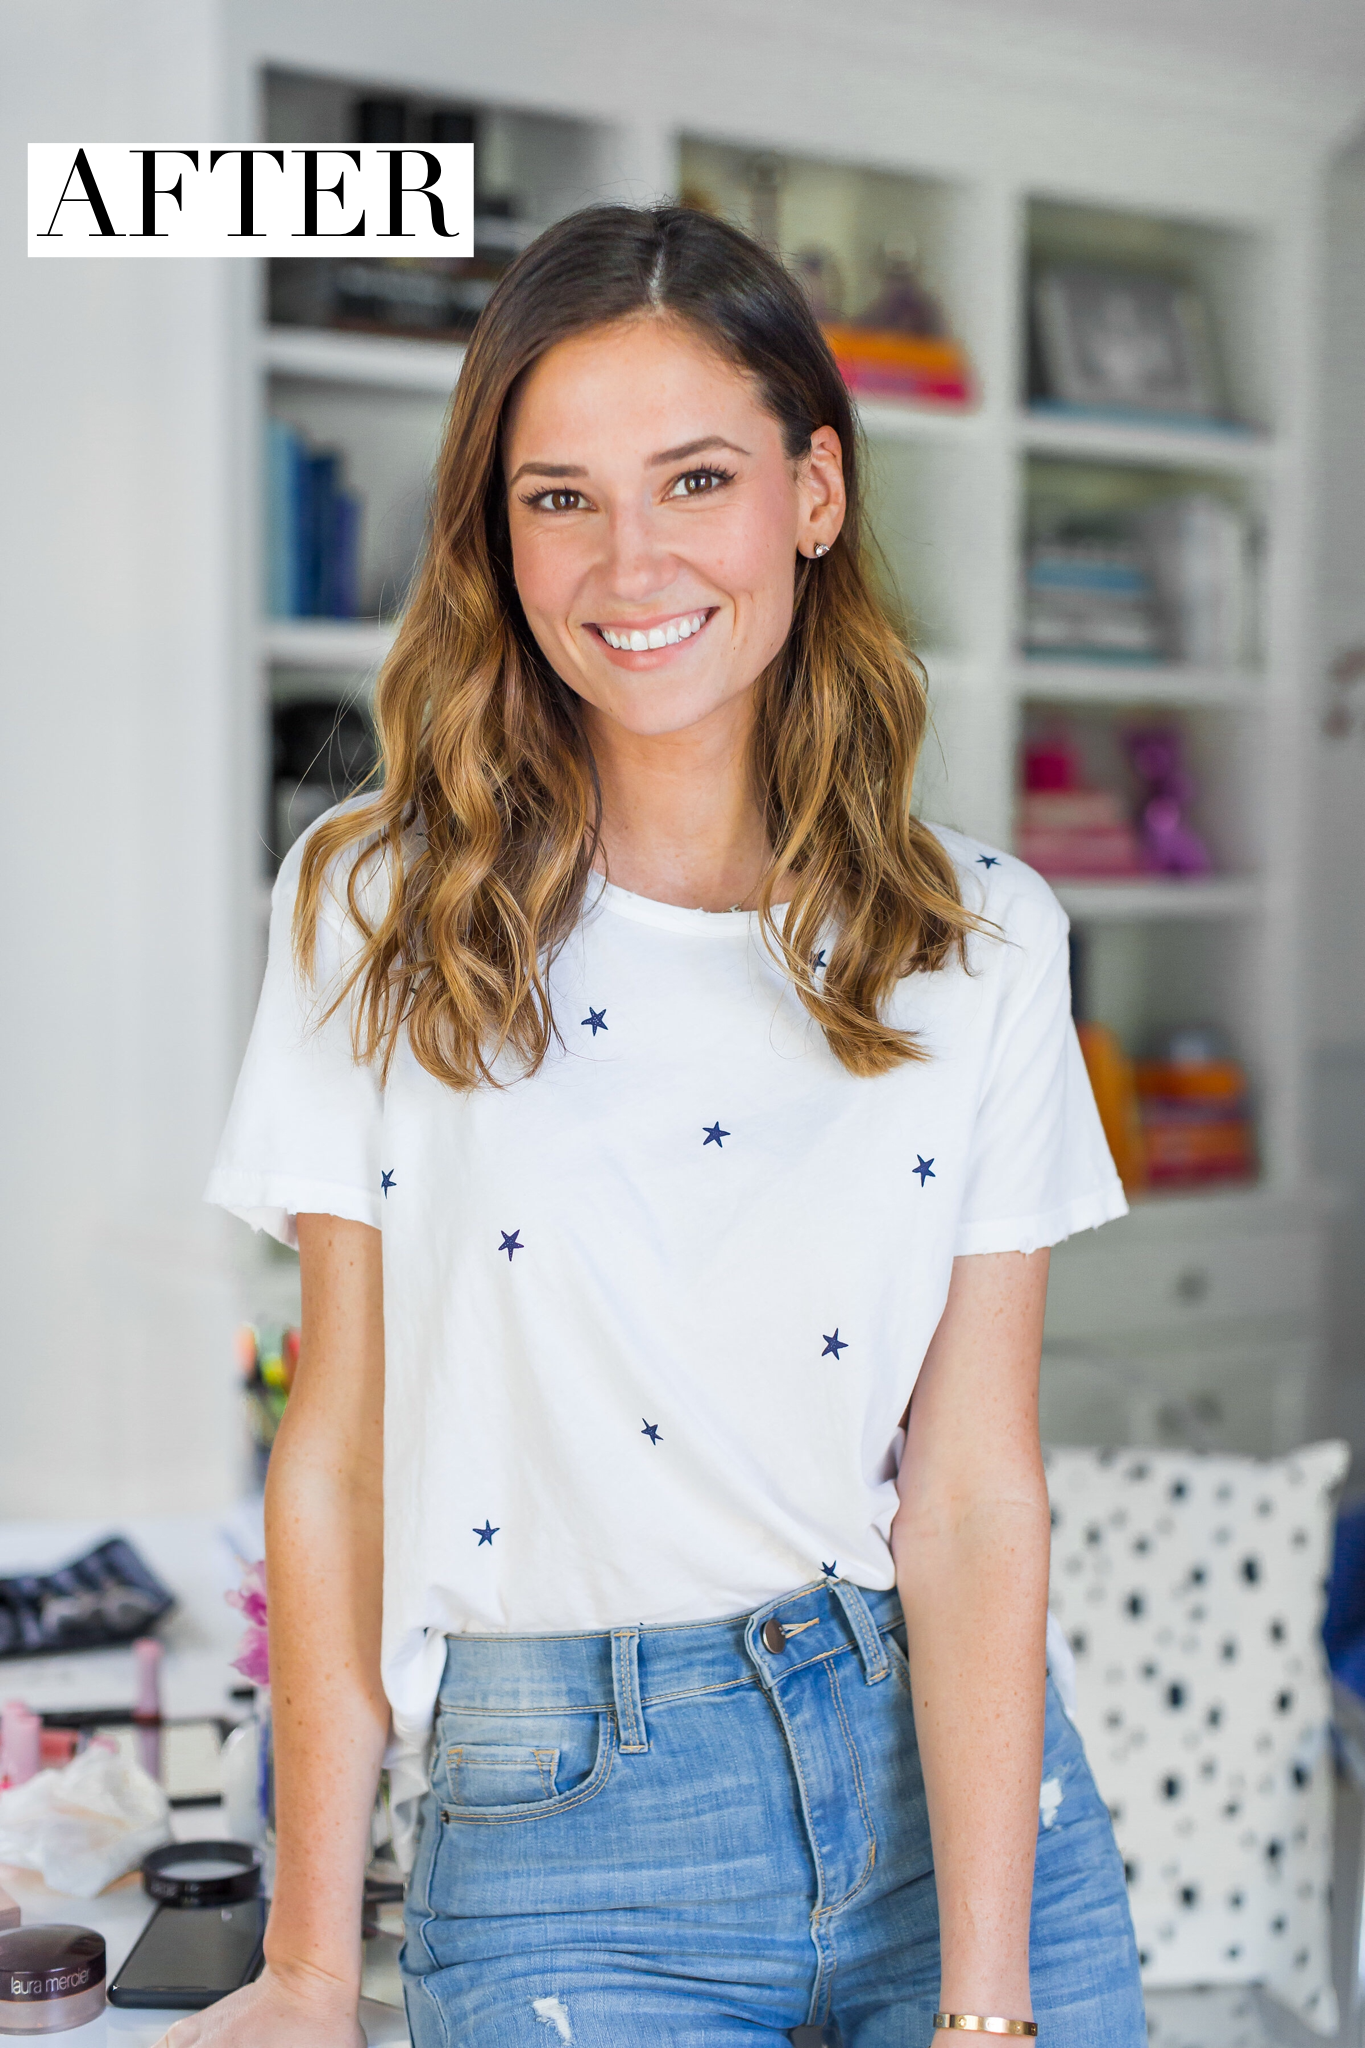
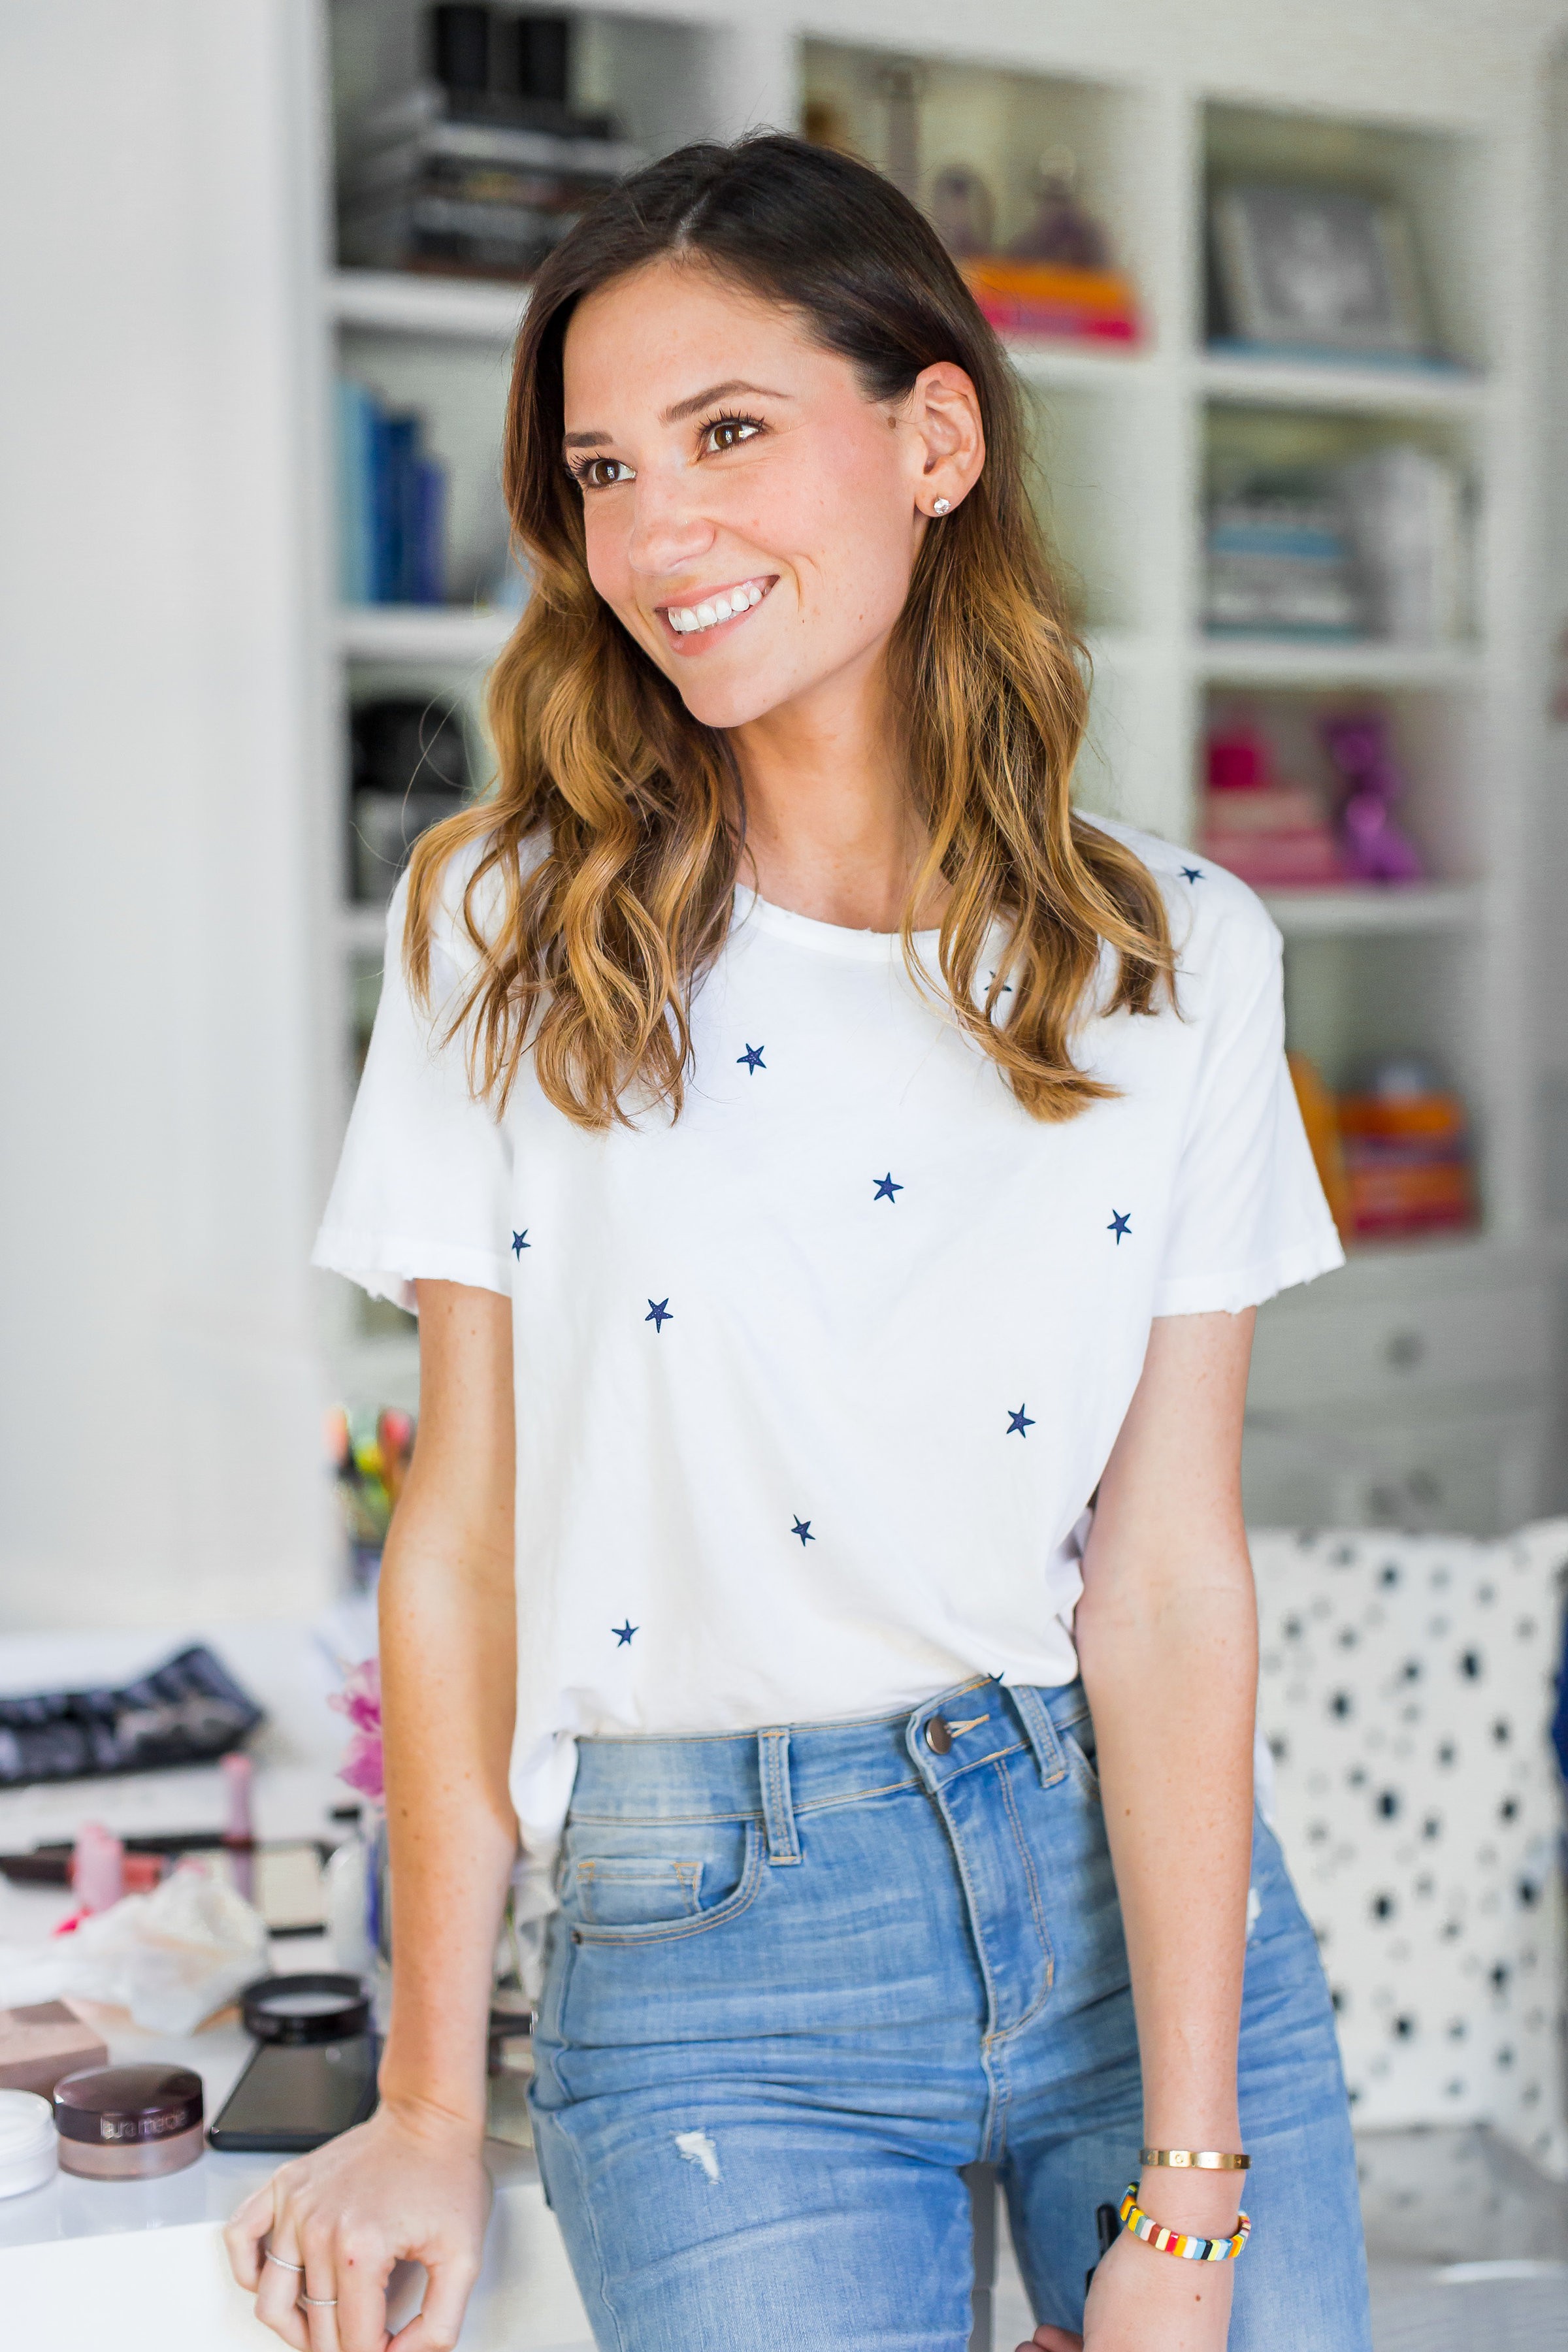
There you have it! Bridget’s full look. I wanted to keep her looking natural and fresh, while still giving her a special, more elevated look. Let me know in the comments what you think!
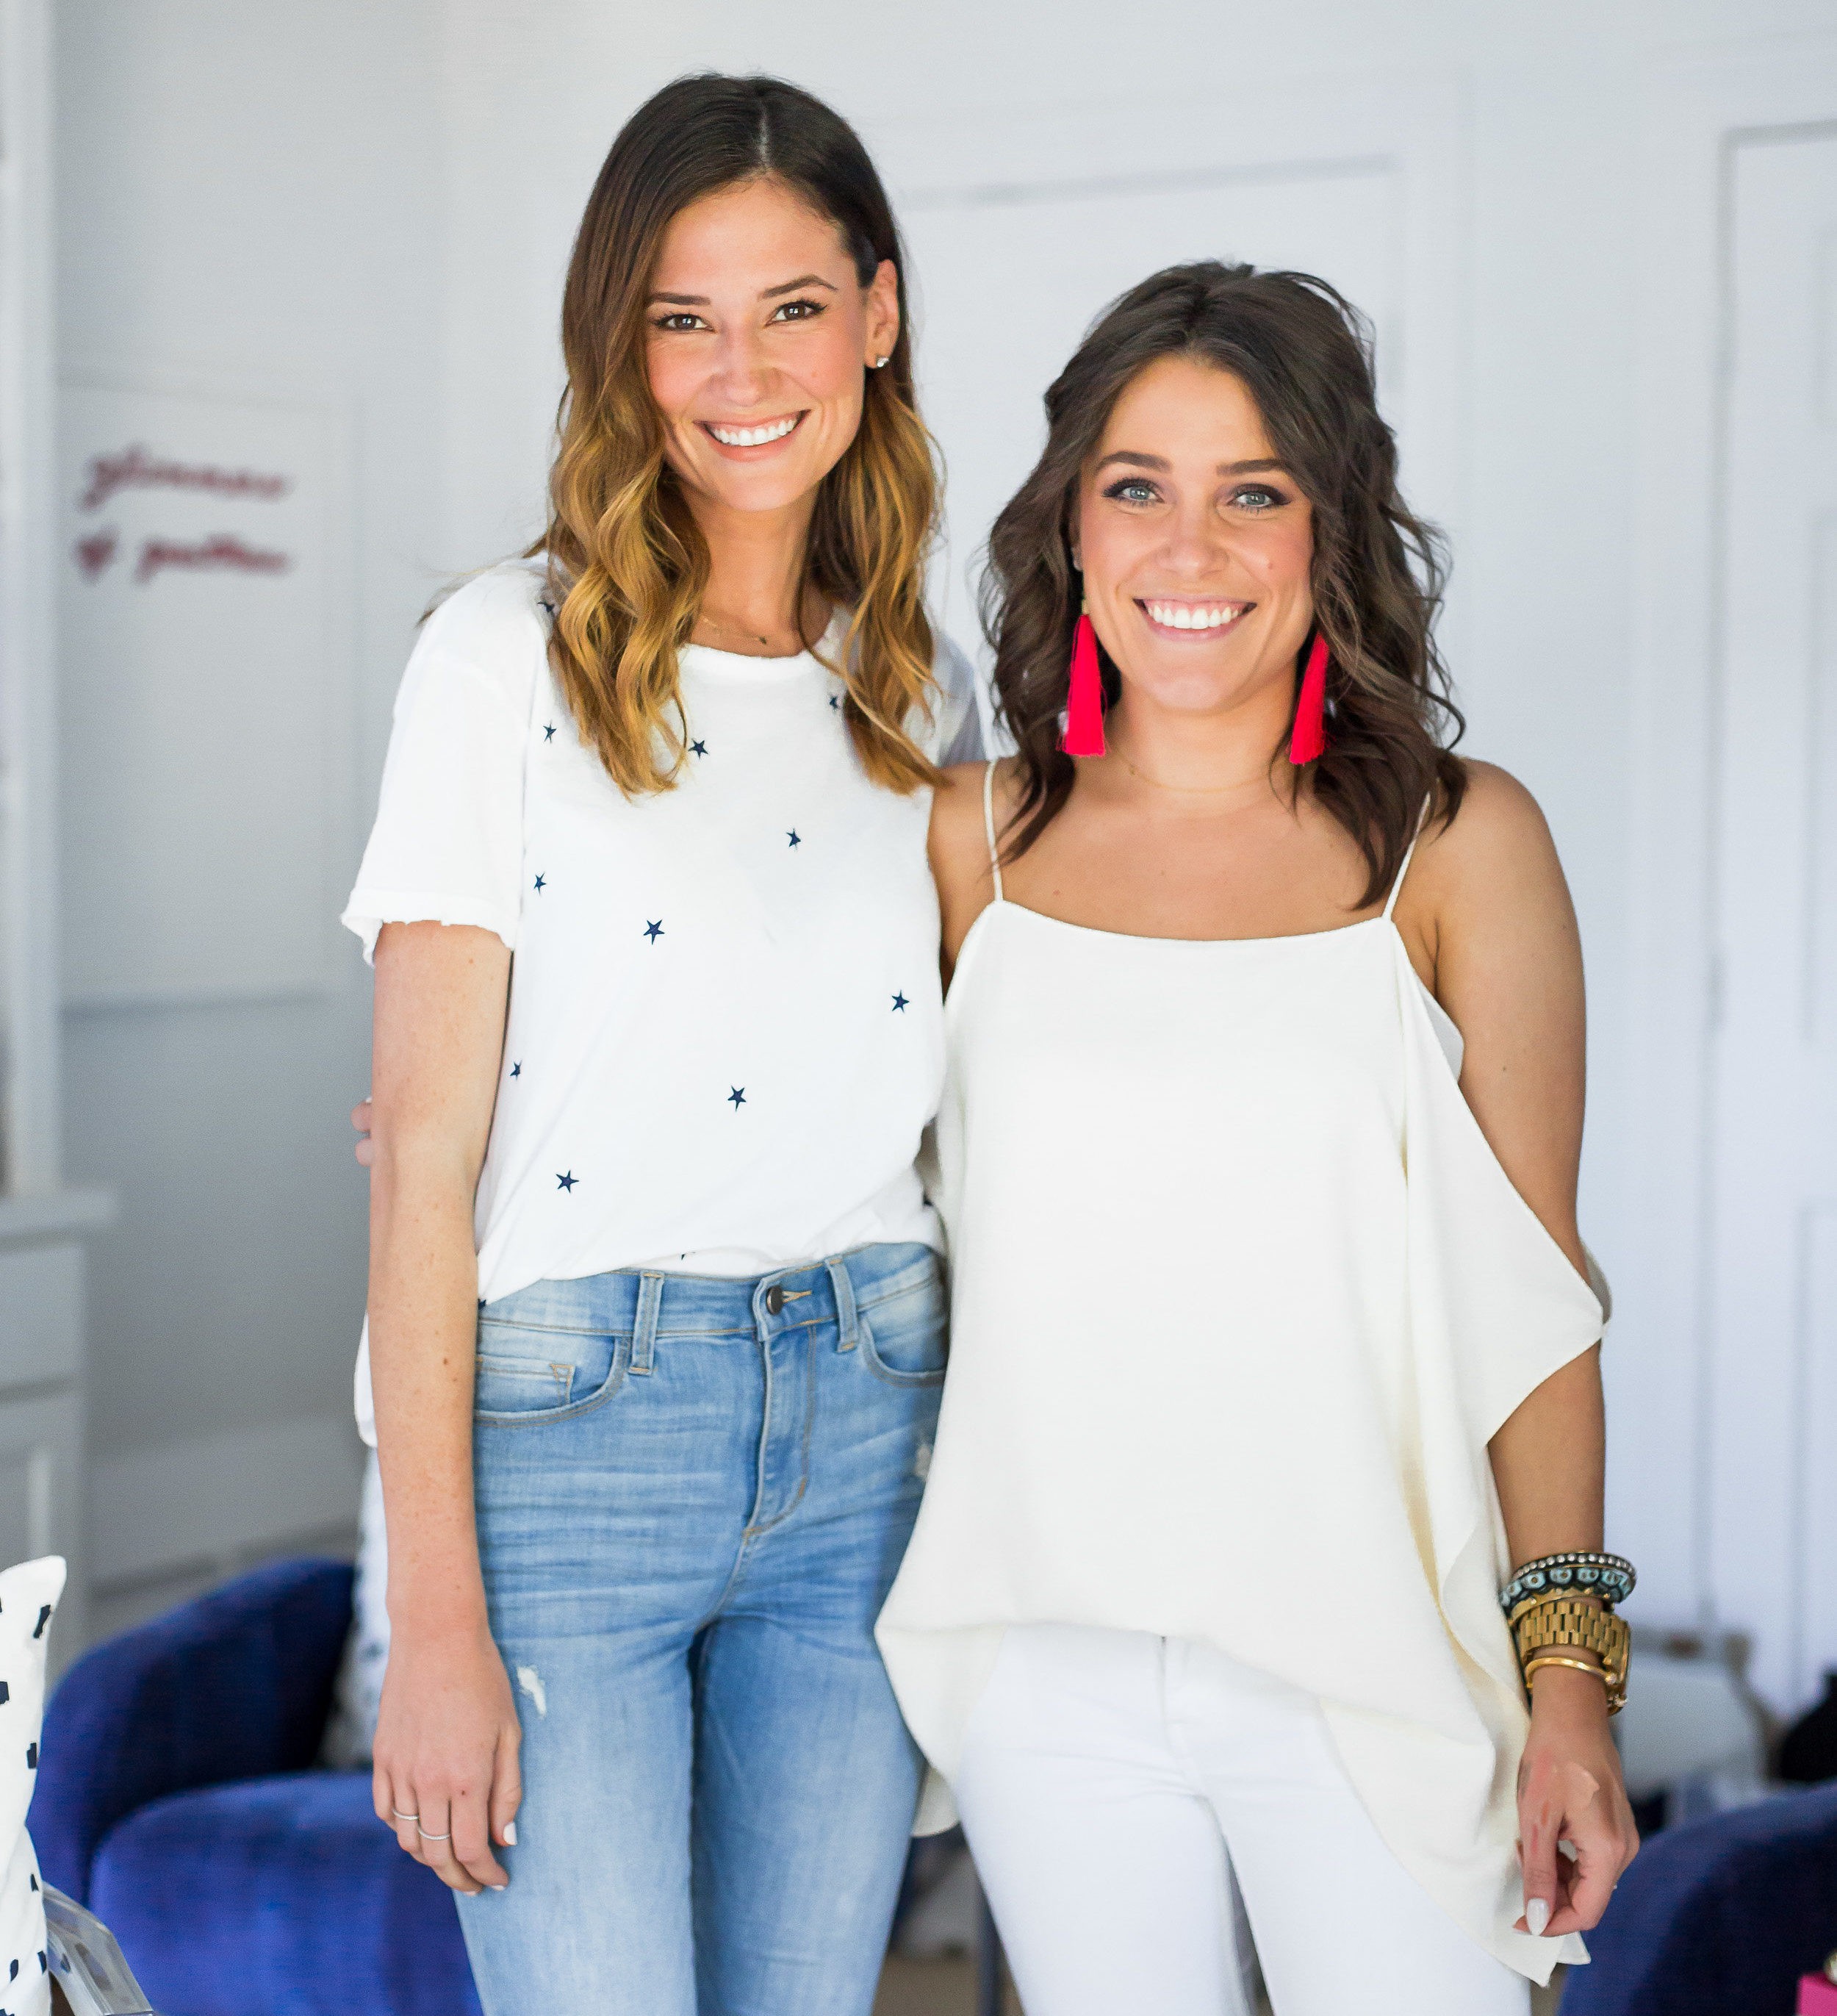
How cute is Courtney! A major thanks to her for teaching us all a thing or two – I can’t wait to try to recreate her look next time I have a special occasion!
Let me know in the comments if you have any pro make up tips – I’ll take all the help I can get!
photos: MAS Photography
